· creativity · 7 min read
Maximizing Runway Gen-2: 10 Hidden Features You Didn’t Know About
Unlock ten lesser-known Runway Gen-2 features that speed up iteration, improve consistency, and let you scale creative video experiments - from seed control and motion tuning to automated batch runs and smart upscaling.
Outcome first: by the time you finish this guide you’ll be able to iterate faster, get repeatable results, reduce artifacts, and scale Gen-2 work from quick experiments to production-ready clips.
This isn’t a list of surface-level knobs. These are the small, powerful controls and workflow quirks that save hours and stop you from repeating the same frustrating fixes. Read on for practical steps, pro tips, and shortcuts you can apply today.
Why these hidden features matter - fast
You can make a fantastic clip in a few clicks. But making dozens of variations, keeping a subject consistent across shots, or automating exports for a client requires more than a single prompt. These hidden features bridge that gap. They move you from one-off novelty to dependable creative tooling.
1) Seed control: the simplest reproducibility hack
What it does: locks the random initialization so the same prompt + settings returns consistent results.
Why it matters: if a version looks perfect, you can reproduce and refine it rather than chasing the exact same lucky output.
How to use it: when you like a result, copy the seed and paste it back into the seed field for future runs. Use different seeds to generate controlled variations.
Pro tip: use a naming system in your project notes (date_prompt_seed) so you can reproduce or batch variations months later.
2) Negative prompts & prompt weighting: cut the noise
What it does: tells the model what to avoid and boosts or reduces emphasis on prompt elements.
Why it matters: removes common artifacts or unwanted visual features without iterative trial-and-error.
How to use it: add a concise negative prompt (e.g., “blurry, watermark, low-res”) to reduce those elements. Use parentheses or repetition to increase weight on important words when the UI supports prompt weighting.
Pro tip: keep a reusable library of negative prompts for different use cases - portrait, landscape, product shots.
3) Motion strength + reference image tuning: control the look and continuity
What it does: balances how much the model alters spatial content versus generating new motion.
Why it matters: you can preserve appearance while adding subtle camera moves, or crank motion for full transformation.
How to use it: for an appearance-locked subject, feed a reference image and lower motion strength. For dreamlike motion, raise motion strength and allow more latents to change.
Pro tip: for character continuity across shots, keep motion low and reuse the same reference image and seed.
4) Quick → Final quality workflow: prototype faster
What it does: lets you choose lower-quality, faster generations for iteration then switch to high-quality for final renders.
Why it matters: large models are expensive. Testing at lower quality is fast and cheap.
How to use it: test prompts at the quickest quality and short durations. When you have a version you like, increase quality, duration, and resolution for final export.
Pro tip: save a preset of your final export settings so you don’t forget codec, resolution, or fps when it’s time to render.
5) Inpainting & mask-based frame edits: surgical fixes without re-rendering
What it does: lets you edit portions of a frame or sequence using a mask rather than regenerating the whole clip.
Why it matters: fix a single frame or patch an object across a shot without losing the rest of the composition.
How to use it: paint or import a mask over the area to change, then prompt the edit. Use small masks and conservative guidance for subtle corrections.
Pro tip: if an artifact persists in consecutive frames, create a slightly larger mask spanning the range and run a short inpaint sequence rather than editing every frame.
6) Appearance locking & identity preservation techniques
What it does: combines seeds, reference images, and lower motion to keep a subject’s look consistent across clips.
Why it matters: crucial for storytelling where a character or object must remain recognizable.
How to use it: save a clean, well-lit reference image. Use the same seed and keep motion and guidance parameters stable. Small adjustments to style should be made with negative prompts or style-transfer layers rather than changing the core reference.
Pro tip: create a folder of ‘‘character assets’’ (reference images, seeds, prompt snippets) to drop into new projects.
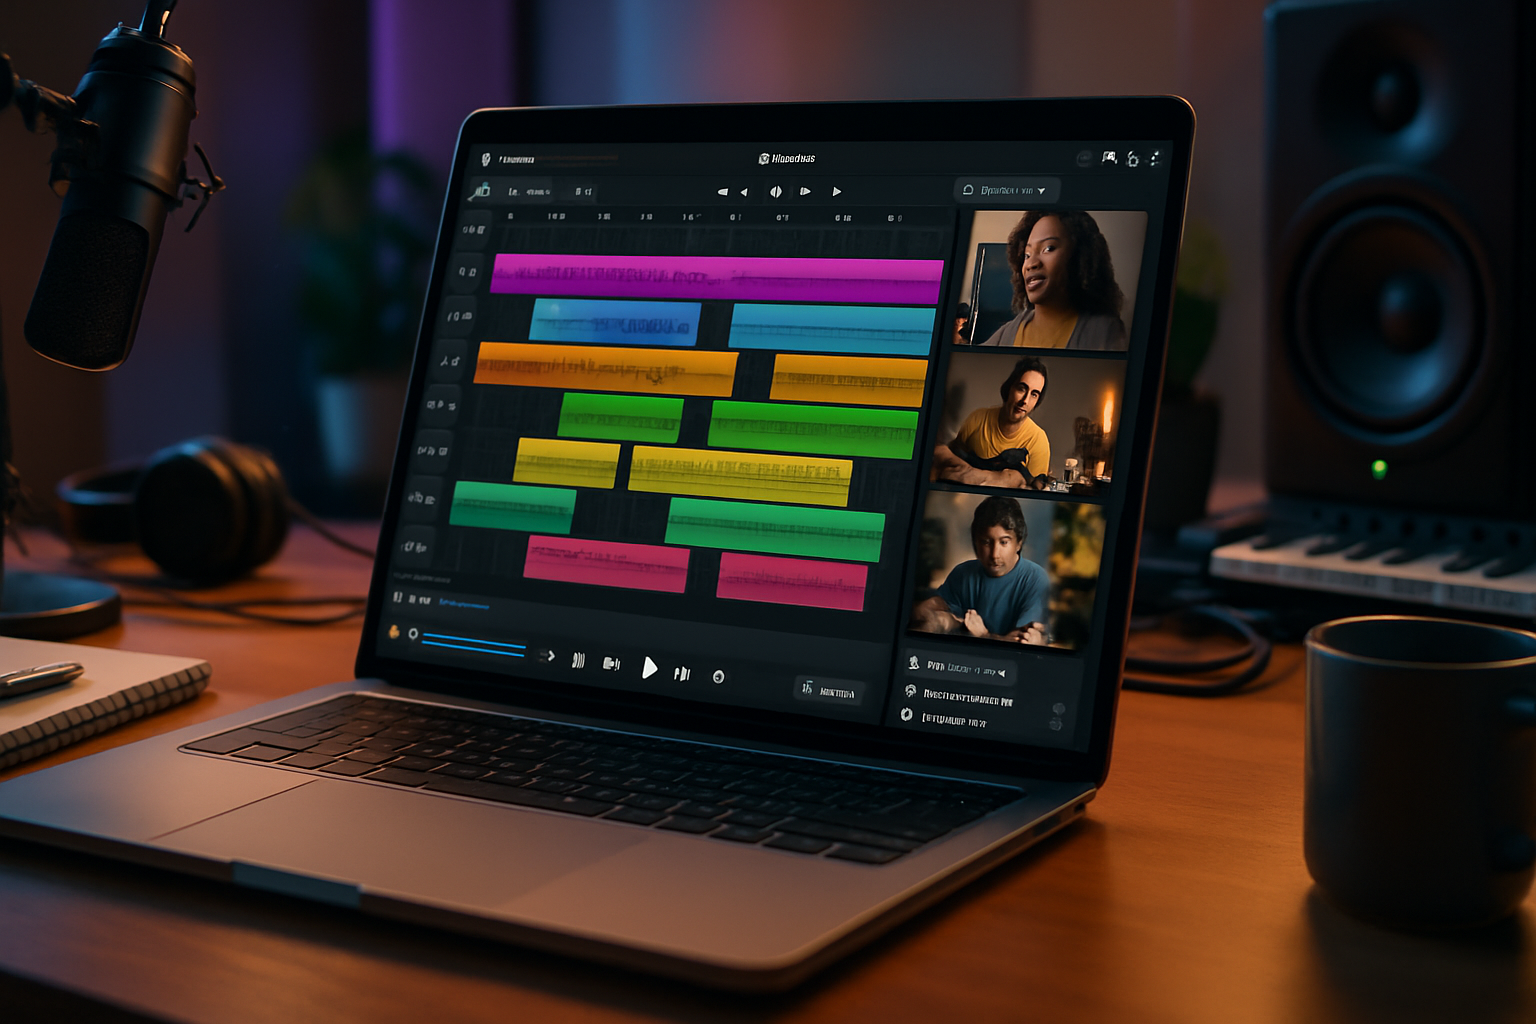
7) Batch generation & presets: scale experimentation
What it does: runs multiple variations automatically instead of manually tweaking and re-rendering each time.
Why it matters: testing dozens of prompts or seeds manually is slow and error-prone.
How to use it: save presets for your common settings (fps, duration, motion, quality). Use batch mode to run through multiple seeds or prompt variations.
Pro tip: keep a CSV or simple JSON that pairs prompts and seeds so you can document and reproduce all outputs.
8) API automation & watch-folder workflows: make Gen-2 part of a pipeline
What it does: exposes generation and export via API so external tools can control runs and handle outputs automatically.
Why it matters: automation lets you integrate Gen-2 with render farms, CI/CD, or content pipelines for social, ads, or iterative design.
How to use it: use Runway’s API endpoints to submit prompts, set seeds, and pull rendered outputs. Pair it with a watch-folder script to trigger uploads as soon as assets are produced.
Example pseudocode:
# Pseudocode: submit a batch job
for prompt in prompts_list:
  call runway_api.generate(prompt=prompt, seed=seed, motion=0.3)
  wait_for_completion()
  download_output()
  add_to_edit_timeline()
Reference: see Runway’s docs for API details and authentication.
9) Temporal consistency tricks: smoothing across frames
What it does: reduces flicker and frame-to-frame artifacts using conservative motion settings, overlapping masks, and post-process interpolation.
Why it matters: temporal inconsistencies break immersion and look amateurish.
How to use it: lower motion strength for subtle changes, use the same seed and reference image across the clip, and combine Gen-2 output with a frame-interpolation step to smooth micro-jitters.
Pro tip: render slightly longer than the final duration then trim. The extra frames often help with smooth in/out motion.
10) Upscaling, color-matching, and export presets for faster delivery
What it does: applies upscalers and consistent color transforms before export to match client specs and broadcast standards.
Why it matters: good-looking output at the right resolution saves rework downstream in editing or color grading.
How to use it: use a fast prototype resolution then apply the upscaler only on your final pass. Export using the codec and color space required by your editor or delivery platform.
Pro tip: bake a small LUT (even a curve or two) as a preset and apply it consistently to outputs so all clips match when assembled.
Bonus shortcuts and micro-hacks
- Use short durations (1–3s) while iterating.
- Keep a prompt library - copy/paste saves lots of time.
- Screenshot any result you like with metadata (seed, motion, quality) in the filename.
- When something looks close, nudge guidance or seed instead of rebuilding the whole prompt.
- For character continuity, prefer reference images over trying to describe the subject in text alone.
Troubleshooting quick list
- Excessive artifacts - add a negative prompt, lower guidance, or use inpainting on problem areas.
- Flicker between frames - reduce motion strength, stabilize with frame interpolation, or increase guidance consistency.
- Too slow / expensive - prototype at low quality and short duration. Reserve high-quality renders for final variants.
Where to learn more and keep up with updates
Runway updates features frequently. Bookmark the official Gen-2 announcement and the support docs to catch new controls and API capabilities:
- Runway Gen-2 announcement: https://runwayml.com/blog/gen-2/
- Runway help & docs: https://docs.runwayml.com/ and https://runwayml.com/
Final word - the one thing that changes everything
All the features above are useful on their own. But the real multiplier is combining them: lock your seed, use a reference image, iterate quickly at low quality, batch your variations, and then run a single high-quality, upscaled final through your export preset. That sequence is the difference between hobby experiments and repeatable production.
Make that workflow your default. Your creative output will be faster, cleaner, and far more reliable.