· creativity · 6 min read
10 Hidden Miro Features That Will Transform Your Collaboration
Discover 10 lesser-known Miro features - from bulk sticky-note creation and Smart Drawing to the Board Outline, Card View, facilitation tools and the Developer API - that will streamline workshops, speed up workflows, and level up team collaboration.

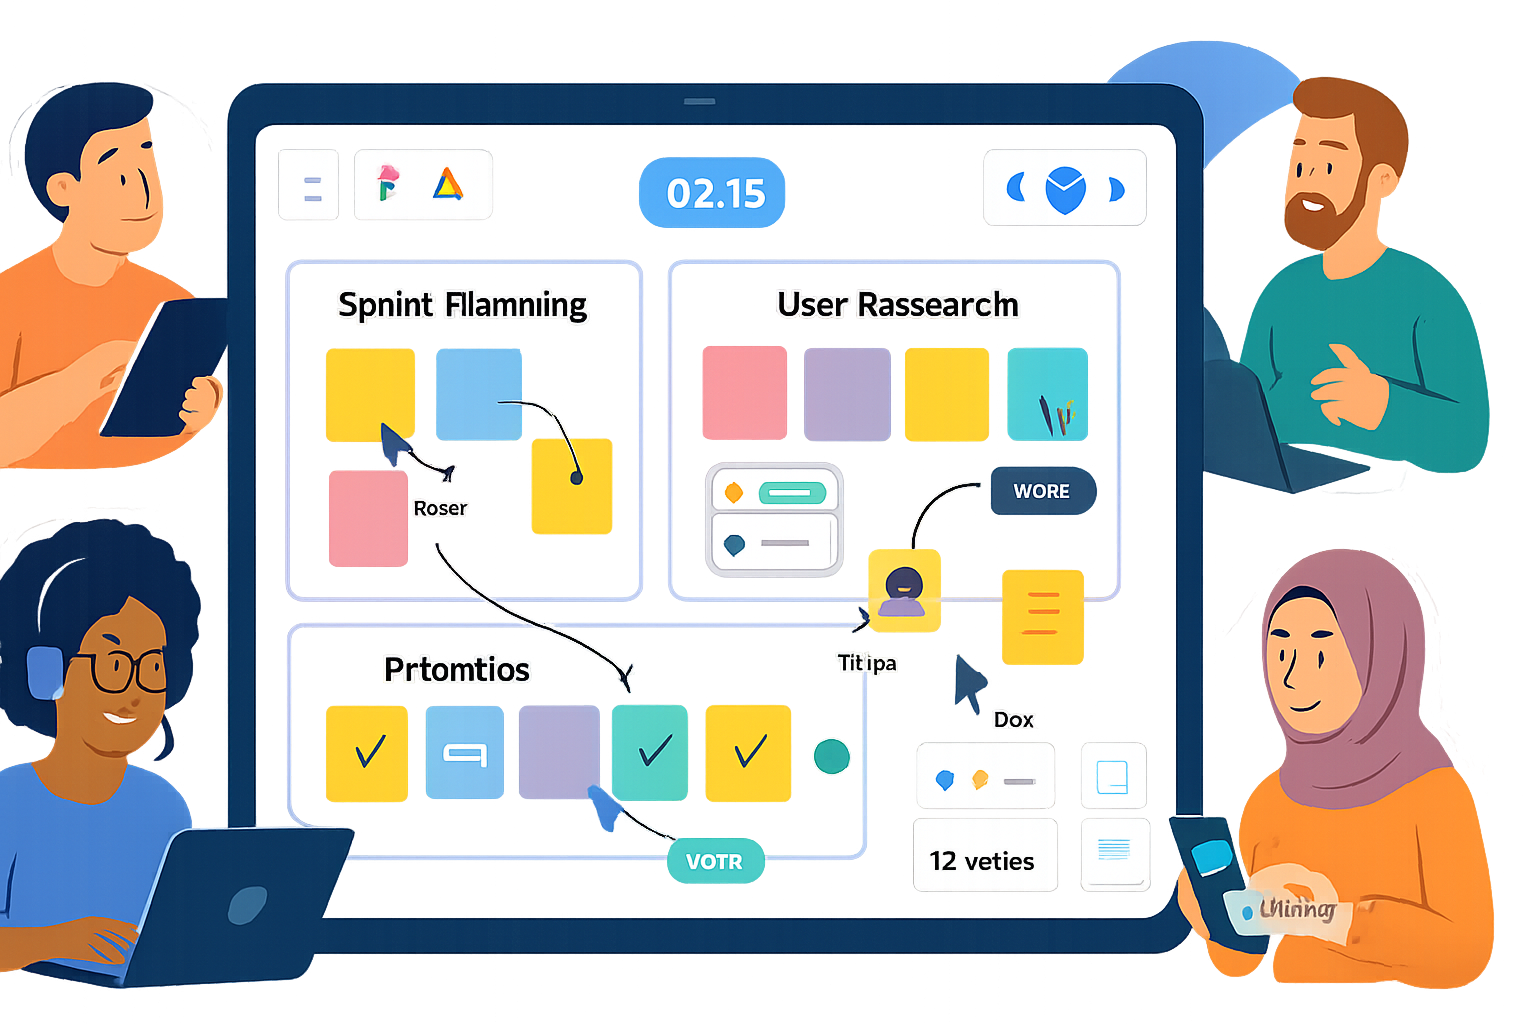
Miro is full of visible power - sticky notes, infinite canvas, and templates - but it’s the lesser-known features that often unlock a dramatic boost in team collaboration. Below are 10 hidden (or underused) features, practical ways to use them, and quick tips to get immediate value.
1) Bulk-create sticky notes from pasted text
Why it helps: Turning a long list or brainstorm into individual stickies manually is slow. Miro can convert pasted newline-separated text into separate sticky notes instantly.
How to use it:
- Copy a bulleted or newline-separated list (from an email, Google Doc, Slack, etc.).
- Click the Sticky Note tool on the toolbar, then paste (Ctrl/Cmd+V) onto the board.
- Miro will create one sticky per line.
Tips:
- After paste, use the Arrange menu to evenly distribute and tidy them up.
- Use color-coding (select multiple stickies) to group themes quickly.
Reference: Miro Help Center - https://help.miro.com
2) Frames + Board Outline + Presentation mode (frame-to-frame storytelling)
Why it helps: Frames act like slides on the infinite canvas. Combine frames with the Outline panel and Presentation mode to lead workshops, capture outcomes, or create a shareable narrative.
How to use it:
- Draw frames around sections of your board (F shortcut).
- Open the Outline/Frames panel (left sidebar) to reorder frames and jump to sections.
- Use Presentation mode to move through frames like slides.
Tips:
- Number frames for a clear flow before presenting (Frame title supports numbering).
- Use frames to create “views” for different stakeholders (e.g., Summary, Backlog, Action Items).
Reference: Frames guide - https://help.miro.com
3) Smart Drawing (auto-shape and quick diagramming)
Why it helps: Quickly sketch flows and the Smart Drawing tool converts messy sketches into clean shapes and connectors - great for fast diagramming during remote workshops.
How to use it:
- Enable Smart Drawing in the toolbar (or just draw shapes with the pen tool).
- Draw a rough rectangle/circle/arrow; Miro will detect and convert it into a polished shape.
Tips:
- Combine with Connectors (next section) for fast flowcharts.
- Pair with keyboard shortcuts to speed up transitions between drawing and editing.
Reference: Smart Drawing - https://help.miro.com
4) Connectors and Connection Mode (stay attached as you move things)
Why it helps: Connectors keep relationship lines attached when you rearrange shapes or cards, so you can restructure flows without rebuilding links.
How to use it:
- Select a shape and drag from one of the connection dots to another object.
- Use the Connection mode (press C) to draw multiple connectors in sequence.
Tips:
- Lock objects (right-click → Lock) when your layout is finalized to prevent accidental moves while keeping connectors intact.
- Use curved connectors for readability on crowded boards.
Reference: Connect objects in Miro - https://help.miro.com
5) Board search, filters & the Outline panel (find anything fast)
Why it helps: Large boards can get unwieldy. Use Search and Filters to locate objects by type, text, or author; the Outline panel gives a quick map of frame structure.
How to use it:
- Open the Search bar (Ctrl/Cmd+F) and type a word or author name.
- Use the filter options to show only Sticky notes, Shapes, or Comments.
- Open the Outline/Frames panel to jump to sections instantly.
Tips:
- Tag sticky notes with consistent prefixes or short keywords (e.g., “PRIORITY:”) so search finds them easily.
- Filter by author to review contributions after a workshop.
Reference: Miro Help Center - https://help.miro.com
6) Facilitation superpowers: Voting, Timer, Summon & Follow
Why it helps: Facilitating remote sessions is hard. Miro’s facilitation tools help you keep time, reach consensus, and guide attendees’ views.
Key tools and how to use them:
- Voting - Run a poll on selected objects (Plugins → Voting). Set time and number of votes.
- Timer - Add a visible countdown to keep activities on pace (Tools → Timer).
- Summon / Bring everyone to frame - Bring participants to your current view to re-center attention.
- Follow mode - Ask participants to follow you during a walkthrough so everyone sees the same area of the board.
Tips:
- Use a short vote (60–90s) to decide top priorities after a brainstorm.
- Combine Timer + Summon - close activity, then bring people back to discuss results.
Reference: Facilitation tips on the Miro Blog - https://miro.com/blog
7) Apps & Integrations (Marketplace) - embed work, automate tasks
Why it helps: Connect your design files, task trackers, and automations directly into boards so work stays in context.
Popular integrations:
- Figma embeds and live updates
- Google Drive and Docs previews
- Jira and Trello card creation and syncing
- Zapier for automation between Miro and other tools
How to use it:
- Open the Marketplace (left toolbar) and install the app.
- Drag/embed or authenticate per the app’s instructions.
Tips:
- Embed a Figma file as a live preview during design reviews to keep commentary on the board.
- Use Jira integration to convert sticky notes into tracked issues with one click.
Reference: Miro Marketplace - https://miro.com/marketplace
8) Card View & CSV import/export (organize and move data at scale)
Why it helps: Card View is ideal for turning brainstorm outputs into a backlog. Export/import via CSV lets you move lists to/from spreadsheets or PM tools quickly.
How to use it:
- Select a group of sticky notes and convert them to Cards (right-click → Convert to card) or open Card View for easy editing.
- Export sticky notes or cards to CSV to analyze in a spreadsheet, or import a CSV to create cards/stickies in bulk.
Tips:
- Use CSV export after an ideation session to create a prioritized task list for engineering or PMs.
- In Card View, add metadata (assignees, status) before exporting to preserve context.
Reference: CSV import/export & Card View - https://help.miro.com
9) Version history, board activity & comments: audit and recover
Why it helps: Mistakes happen. Version History and Activity let you see who changed what and restore earlier board states. Comments let you track asynchronous feedback.
How to use it:
- Open the Version History to browse saved versions and restore a prior state.
- Use the Activity feed to see recent edits and who made them.
- Add comments to objects and @mention teammates to create threaded, actionable discussions.
Tips:
- Take a “snapshot” (duplicate board) before major restructuring if multiple teams rely on the board.
- Resolve comments once action items are closed to keep the board clean.
Reference: Restore board versions - https://help.miro.com
10) Keyboard shortcuts & Quick Actions (speed up every workflow)
Why it helps: Power users move faster. Shortcuts and quick commands reduce clicks and keep sessions snappy.
Useful shortcuts (defaults):
- F - create a Frame
- S - Sticky note tool
- C - Connection/Connector tool
- V - Select tool
- Ctrl/Cmd + Z - Undo
- Spacebar (hold) - Pan
How to access Quick Actions:
- Press Ctrl/Cmd+Shift+P (Quick Search/Actions) and type an action (e.g., “timer”, “frames”, “voting”).
Tips:
- Share a short cheat sheet of 6–8 shortcuts with your team before a workshop.
- Encourage 1–2 facilitators to use Quick Actions for fast tool access during live sessions.
Reference: Keyboard shortcuts - https://help.miro.com
Quick checklist to try in your next session
- Paste a brainstorm list to create stickies in one move.
- Frame the board before the workshop and use Summon to bring people to the right frame.
- Run a 90s vote to prioritize ideas, then export winners to CSV for tracking.
- Embed a Figma prototype and collect feedback with comments.
- Use Smart Drawing + Connectors to capture decisions as a clean diagram.
Further reading and resources
- Miro Help Center: https://help.miro.com
- Miro Marketplace (apps & integrations): https://miro.com/marketplace
- Miroverse (community templates): https://miro.com/miroverse
- Miro Developers (API & webhooks): https://developers.miro.com
Use these hidden features to save time, reduce meeting friction, and make artifacts from your collaboration easier to act on. Small changes-like pasting a list to create stickies or using the Outline to guide a meeting-compound into a much smoother team experience.


