· productivity · 8 min read
Maximizing ClickUp: 10 Hidden Features You Didn’t Know Existed
Unlock ten lesser-known ClickUp features - from webhook automations to formula fields and mind maps - and learn practical, step-by-step ways to boost project efficiency today.

Outcome first: by the end of this article you’ll know 10 underused ClickUp features you can enable today to cut manual work, get laser visibility into team capacity, and automate repetitive tasks so things actually move forward without you chasing them.
Short. Practical. Actionable. You’ll leave with specific steps and real use ideas.
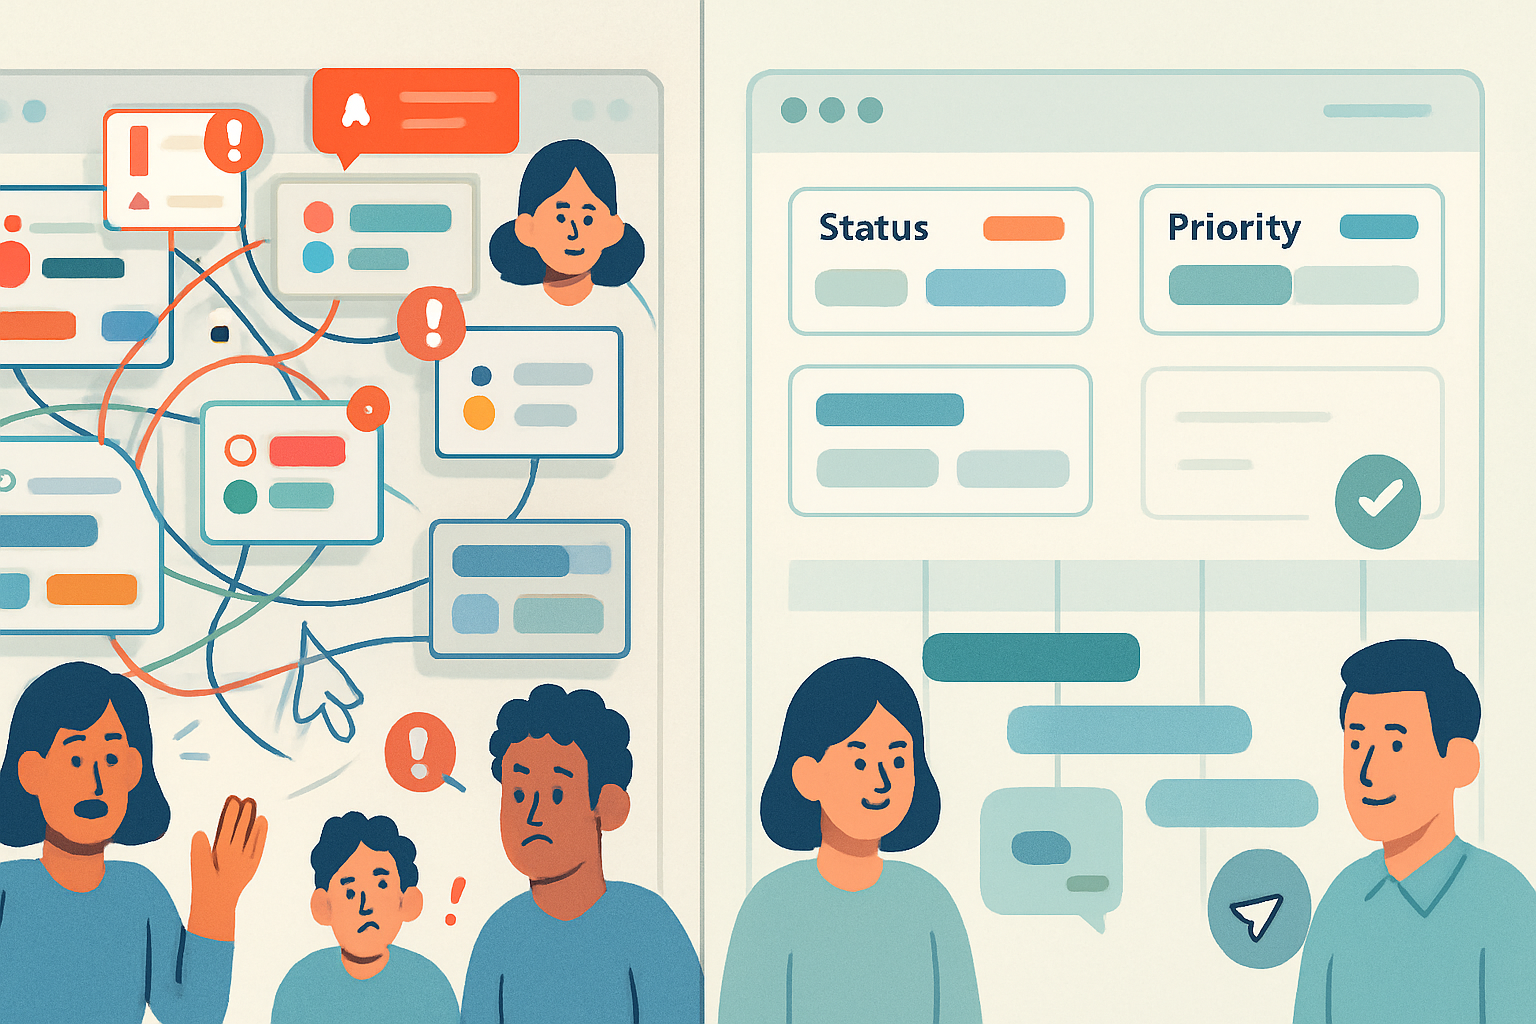
Why look for “hidden” features?
Because the small tricks scale. One automation can replace dozens of status-update emails. One formula field can save you spreadsheet work. One API endpoint can eliminate a weekly manual export. Little changes compound into massive productivity gains.
Below are 10 features most teams know exist - but rarely exploit fully. For each: what it does, why it matters, and how to use it now.
1) Advanced Automations: conditions, chains, and webhooks
What it is
ClickUp Automations are more than “when status changes, assign”. You can chain actions, add conditions (based on custom fields, priorities, or assignees), and use the Webhook action to push data externally.
Why it matters
Automations remove repetitive, error-prone work and keep handoffs consistent. They scale across projects and teams.
How to use it now
- Open Automations in the Space or Folder you want to automate.
- Choose your Trigger (e.g., Task status changes).
- Add Conditions - for example - “Custom field ‘Client’ equals ACME”.
- Chain Actions - set a due date, add a comment, change assignee, and finally trigger a Webhook to notify an external system.
Pro tips
- Use conditions to keep automations specific; otherwise they trigger too often.
- Use Webhooks to connect to Zapier, Integromat, or your own service when you need actions outside ClickUp.
- Keep named templates for common automation flows so you can reapply them quickly.
Resources: ClickUp Automations overview: https://help.clickup.com and ClickUp API/Webhooks: https://clickup.com/api
2) Task Relationships: link, mirror, and report across Spaces
What it is
Relationships let you link tasks across lists, folders, and spaces. You can create upstream/downstream relationships and use them to visualize cross-project dependencies.
Why it matters
Many project delays happen between teams. Relationships keep those handoffs visible and traceable.
How to use it now
- Open a task and choose “Relationships” or “Add relationship”.
- Link to another task and set the relationship type (blocks / is blocked by / relates to).
- Use the Relationships column in List or Table view to surface linked tasks on a board for review.
Pro tips
- Combine with Automations to update status when an upstream task completes.
- Use relationships for cross-functional scorecards - pull related task metrics into a Dashboard.
3) Mind Maps & Whiteboards: design then convert nodes to tasks
What it is
ClickUp’s Mind Map and Whiteboard views let you brainstorm visually and then convert nodes or sticky notes directly into tasks, preserving context.
Why it matters
Fewer missed ideas. More structure. You can go from ideation to execution in seconds.
How to use it now
- Create a Whiteboard or Mind Map view in a Folder or List.
- Add nodes or sticky notes for ideas, scope items, and risks.
- Right-click (or use the node menu) and choose “Convert to task”. Assign, set a due date, and add to a Sprint or List.
Pro tips
- Use color-coding for priority/owner while brainstorming to make conversion faster.
- Place a link to the original whiteboard in the task description so the context is preserved.
Reference: ClickUp Whiteboards & Mind Maps: https://help.clickup.com
4) Goals & Targets with auto-rollups
What it is
Goals let you set high-level objectives and measure progress using Targets (number, currency, task-based). Progress can be auto-rolled up from child goals or linked tasks.
Why it matters
Goals tie daily work to business outcomes. Rollups provide real progress, not guesses.
How to use it now
- Create a Goal and pick the Target type (e.g., tasks completed, revenue, numeric).
- Link tasks or set child goals that contribute to the target.
- Watch automatic rollups update the parent goal’s progress.
Pro tips
- Use task-based targets to count delivery rather than effort (“Launch tasks completed”).
- Combine with Dashboards to create an executive snapshot of goal progress.
5) Advanced Recurring Tasks: complex patterns and clones
What it is
Recurring tasks can be simple (daily/weekly) or highly specific (last weekday of the month, every 2nd Tuesday, or after task completion). You can create a new task each recurrence or clone and reset subtasks/checklists.
Why it matters
Recurring work often gets forgotten or mishandled. Built-in recurrences reduce noise and improve consistency.
How to use it now
- Open a task and click Recurrence.
- Choose a recurrence pattern. For non-standard patterns, choose Custom and pick weekdays/month rules.
- Select whether to create a new task each time or update the existing one.
Pro tips
- Use “after task closes” to schedule follow-up tasks only once the prior work is done.
- Keep a template task with checklists so each recurrence includes the same steps.
6) Formula Custom Fields: spreadsheet power inside tasks
What it is
Custom Formula fields let you compute values using other fields (numbers, dates, text) without leaving ClickUp - think estimated vs actual ratios, cost calculations, or time left.
Why it matters
No more exporting to spreadsheets for everyday calculations. Calculations stay with the task and update in real time.
How to use it now
- Add a Custom Field of type “Formula” to your List or Folder.
- Build your formula using available fields (sum, difference, date math, conditionals).
- Use the Formula field in Table or List view to sort and filter.
Pro tips
- Use IF(…) expressions to create status-based calculations (e.g., IF(status = “Done”, 1, 0)).
- Combine with Dashboards to show aggregated metrics derived from formulas.
7) Workload View & Capacity Planning
What it is
Workload View shows who’s overloaded and who’s under capacity, using time estimates and custom capacity settings for each member.
Why it matters
Stop hero-ing. Balance work before deadlines slip.
How to use it now
- Open Workload View and select the List(s) or Folder(s) to analyze.
- Ensure tasks have time estimates and members have capacity set.
- Adjust assignments or move tasks to balance the chart.
Pro tips
- Set realistic time estimates and review weekly.
- Use filters to look at only billable or client-specific tasks when planning capacity.
8) Task Tray & Quick Create: edit without context-switching
What it is
The Task Tray (right-side task preview) lets you create or edit tasks without losing your place. Quick Create gives you a global place to spin up tasks instantly.
Why it matters
Context switching kills productivity. The Task Tray keeps you inside a view while you triage and update tasks.
How to use it now
- Click any task to open the Task Tray.
- Edit fields, add comments, or change status from the tray and close it to return to your view.
- Use the global ”+ New” button (or Quick Create) to add tasks anywhere without navigating into a List.
Pro tips
- Keep a recurring triage session where you breeze through the tray to update status and assign next steps.
- Pair Quick Create with templated checklists to standardize new tasks.
9) Docs ↔ Tasks: convert comments, checklists, and snippets into action
What it is
Within ClickUp Docs you can turn headings, checklist items, and comments into tasks. Docs stay linked to the tasks they spawn.
Why it matters
You can go from meeting notes to action items in two clicks - no retyping and no orphaned notes.
How to use it now
- Create or open a Doc and highlight a line or checklist item.
- Use the “Convert to task” option or the task icon next to a heading.
- Choose the destination List, assignee, and due date.
Pro tips
- Use a Meeting Notes Doc template that outlines decisions and actions; convert action items immediately.
- Keep the Doc linked in the task description for context and traceability.
10) API & Webhooks: stitch ClickUp into your stack
What it is
ClickUp’s API and Webhooks let you programmatically create, update, and react to tasks. Use them for reporting, synchronization, and custom automations.
Why it matters
When built-in automations hit a limit, the API opens unlimited possibilities: custom triggers, bespoke reports, and integrations with in-house tools.
How to use it now
- Generate an API token from your ClickUp profile.
- Use Webhooks to get event callbacks (task created, task updated) to your endpoint.
- Use the API to create tasks from external forms, sync status to other systems, or push time-tracking data.
Example use-case
- Automatically create a ClickUp task when a customer support ticket reaches a certain priority, and attach the ticket link to the task.
Pro tips
- Limit scope - only subscribe to the events you need.
- Log and retry webhook deliveries to handle transient network errors.
Reference: ClickUp API docs: https://clickup.com/api
Quick playbook - try three features in 30 minutes
- Create one Automation that updates a task and posts a comment when a custom field changes. (10 minutes)
- Convert your next meeting note actions in a Doc into tasks and assign owners. (10 minutes)
- Open Workload View and rebalance one team’s assignments for the coming week. (10 minutes)
Small actions. Big returns.
Final note
ClickUp is deep. Most teams use maybe 20% of what it can do. Dig into these ten features and you’ll replace busywork with robust processes, clear handoffs, and a single source of truth - which means calmer teams and projects that actually finish. That’s the real win.
References
- ClickUp Help Center: https://help.clickup.com
- ClickUp Blog: https://clickup.com/blog
- ClickUp API documentation: https://clickup.com/api