· creativity · 5 min read
Mastering Miro: 5 Hacks for Designers and Creatives
Five actionable Miro hacks tailored for graphic designers - from using frames as artboards and building a UI component library to running fast remote critiques and integrating Figma for seamless prototyping.
By the end of this article you’ll be able to turn Miro into a design workspace that supports quick ideation, high-fidelity mockups, and frictionless team critique. Expect practical steps, ready-made habits, and shortcuts you can use on your next project.
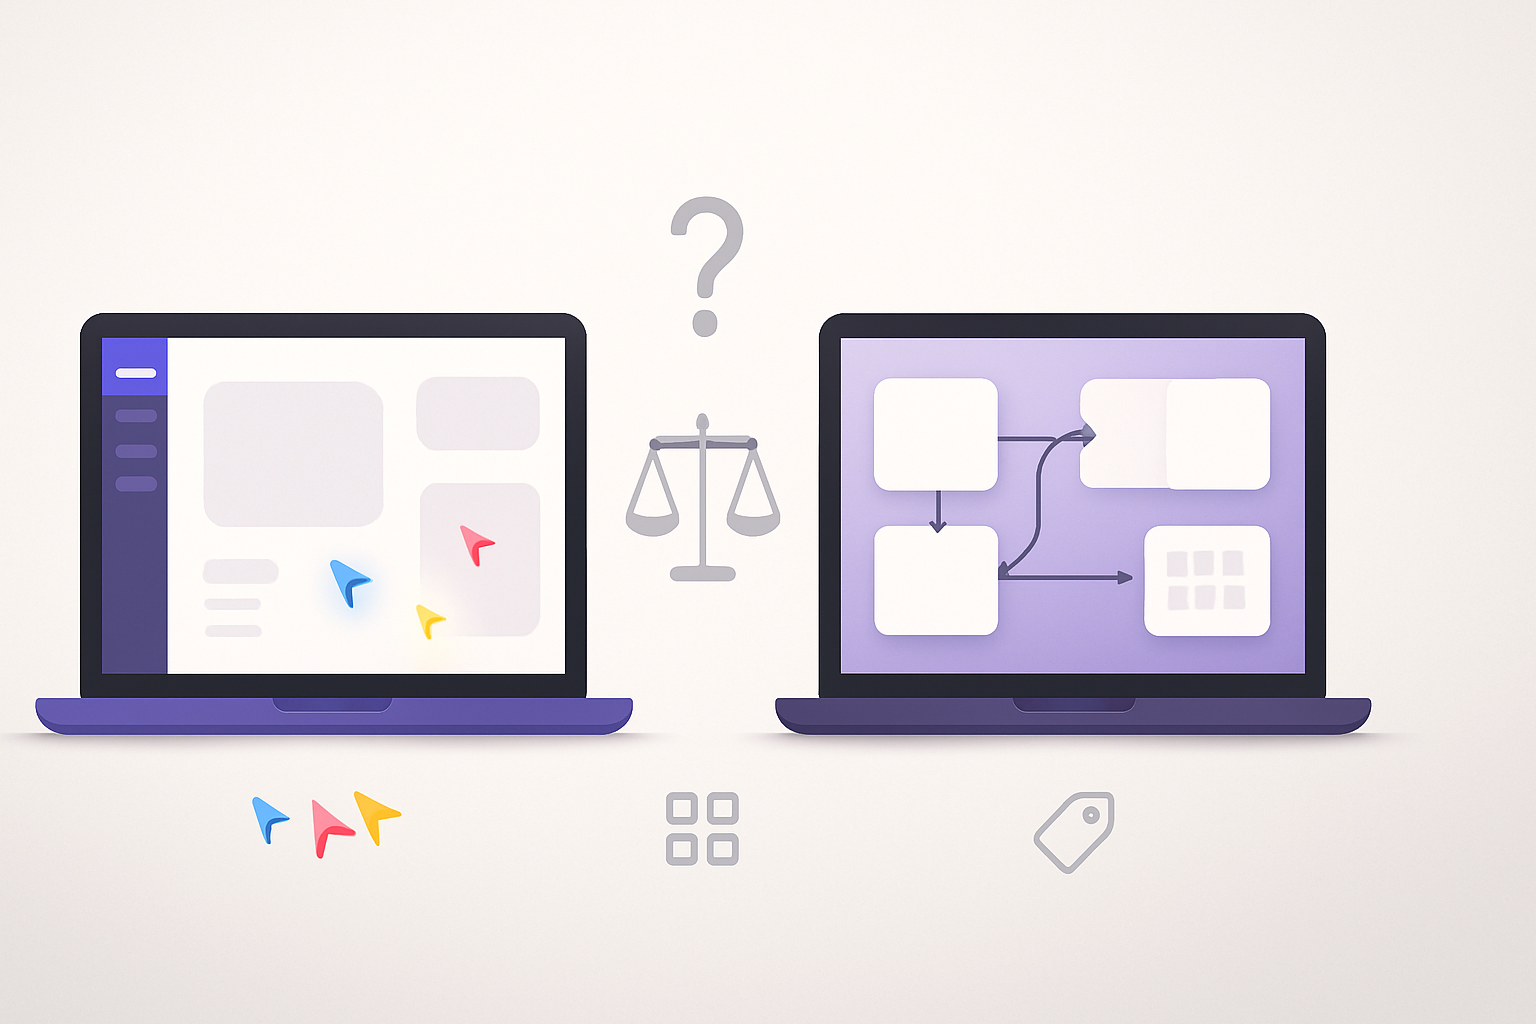
Why treat Miro like a design tool
Miro doesn’t replace your design app. It extends it. It becomes the place where ideas live before they become pixels - and where teams land on direction faster. Use Miro well and you shave hours from discovery, feedback cycles, and handoffs. Use it poorly and it’s a chaotic whiteboard.
Below are five repeatable hacks that turn Miro into a structured, exportable, and collaborative design environment.
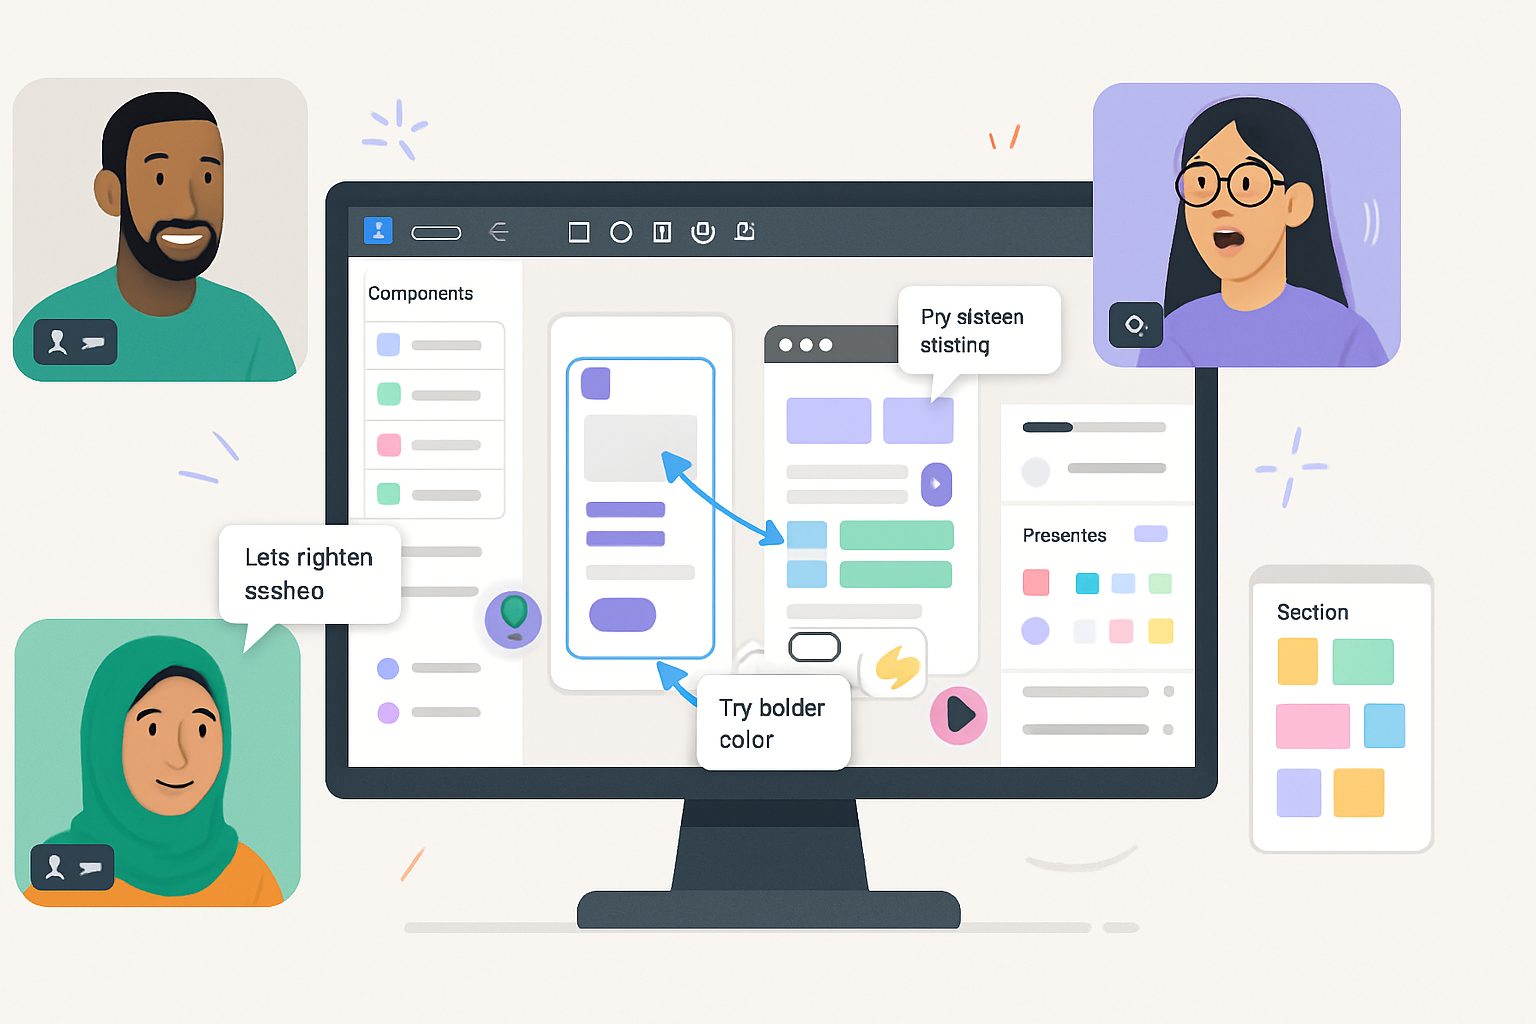
Hack 1 - Frames as artboards: design, present, export
Frames are your artboards. Treat them that way.
How to apply it
- Create a frame per screen, concept, or moodboard. Use descriptive names (e.g., “Mobile - Signup v2”).
- Use the frame toolbar to align and size frames consistently. Snap to grid for pixel rhythm.
- Present directly from frames with Presentation mode for streamlined walkthroughs.
- Export frames individually as PNG or SVG for handoff to devs or to drop into your portfolio.
Why it works
Frames give structure to the infinite canvas. You get discrete deliverables, better exports, and predictable presentation flow.
Quick tip
Put device outlines or a simple grid inside a frame so every screen matches the same visual rhythm. Export the frame to hand off exact assets.
Reference: See Miro’s frame and export options in the Help Center: https://help.miro.com/hc/en-us
Hack 2 - Build a lightweight component library and master templates
Stop re-creating the same UI kits and icons. Make them a living library.
How to apply it
- Create a dedicated board (or a board section) called “Components & Library.”
- Add UI elements (buttons, cards, forms, icon sets) inside frames and label them clearly.
- Lock master components or put them on a locked layer/frame to prevent accidental edits.
- Save frequently used frames as templates you can copy into new boards.
Why it works
A single source of truth speeds mockups, ensures consistency, and reduces cognitive load when you switch contexts.
Quick tip
Export a component as SVG to keep it crisp in presentations - or paste SVGs from your design tool to preserve vector editability.
Reference: Browse Miro apps and marketplace for icon and asset apps: https://miro.com/marketplace/
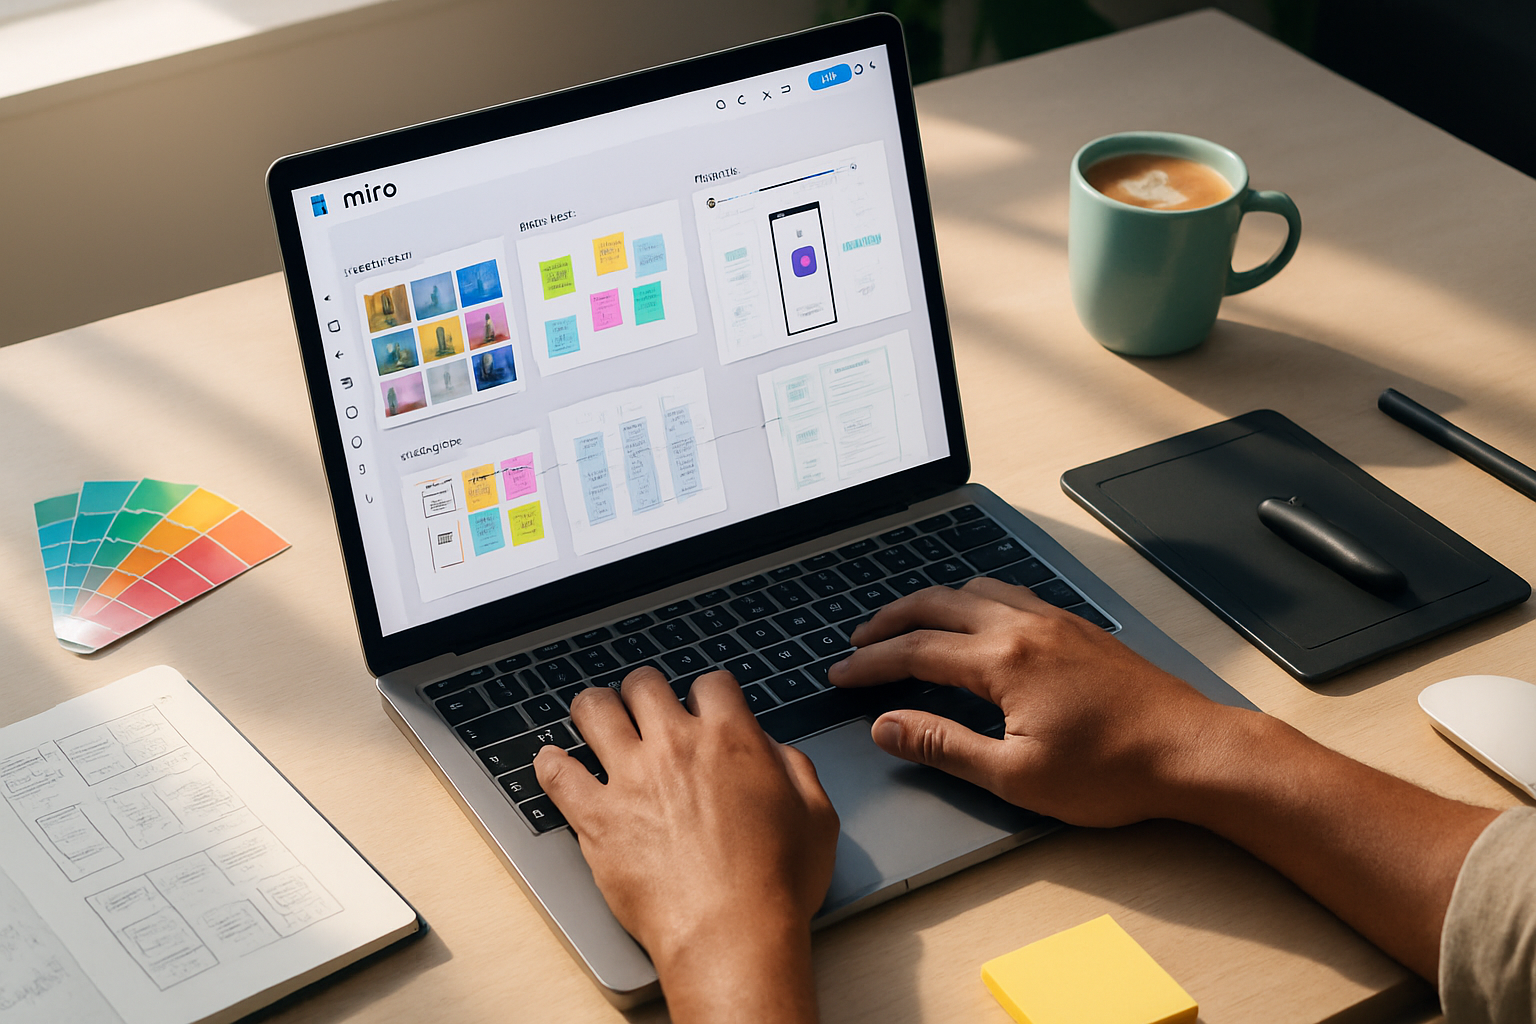
Hack 3 - Moodboards and asset workflows that scale
Collect. Cull. Curate. Repeat.
How to apply it
- Use the Unsplash and Iconify apps (or drag and drop your assets) to assemble moodboards quickly.
- Cluster images with sticky notes for annotations - color palette, typography direction, tone.
- Use the Arrange menu to distribute images evenly or create a consistent grid.
- Use color-picking (from uploaded images) to build a palette and pin it to the board.
Why it works
Design decisions become visible and defensible. Stakeholders can react to visual directions without digging into files.
Quick tip
Use smart duplication (Alt-drag or Cmd/Ctrl+D) to iterate variations fast. Duplicate a frame, swap a few images, and you have a new option.
External assets: Unsplash - https://unsplash.com/
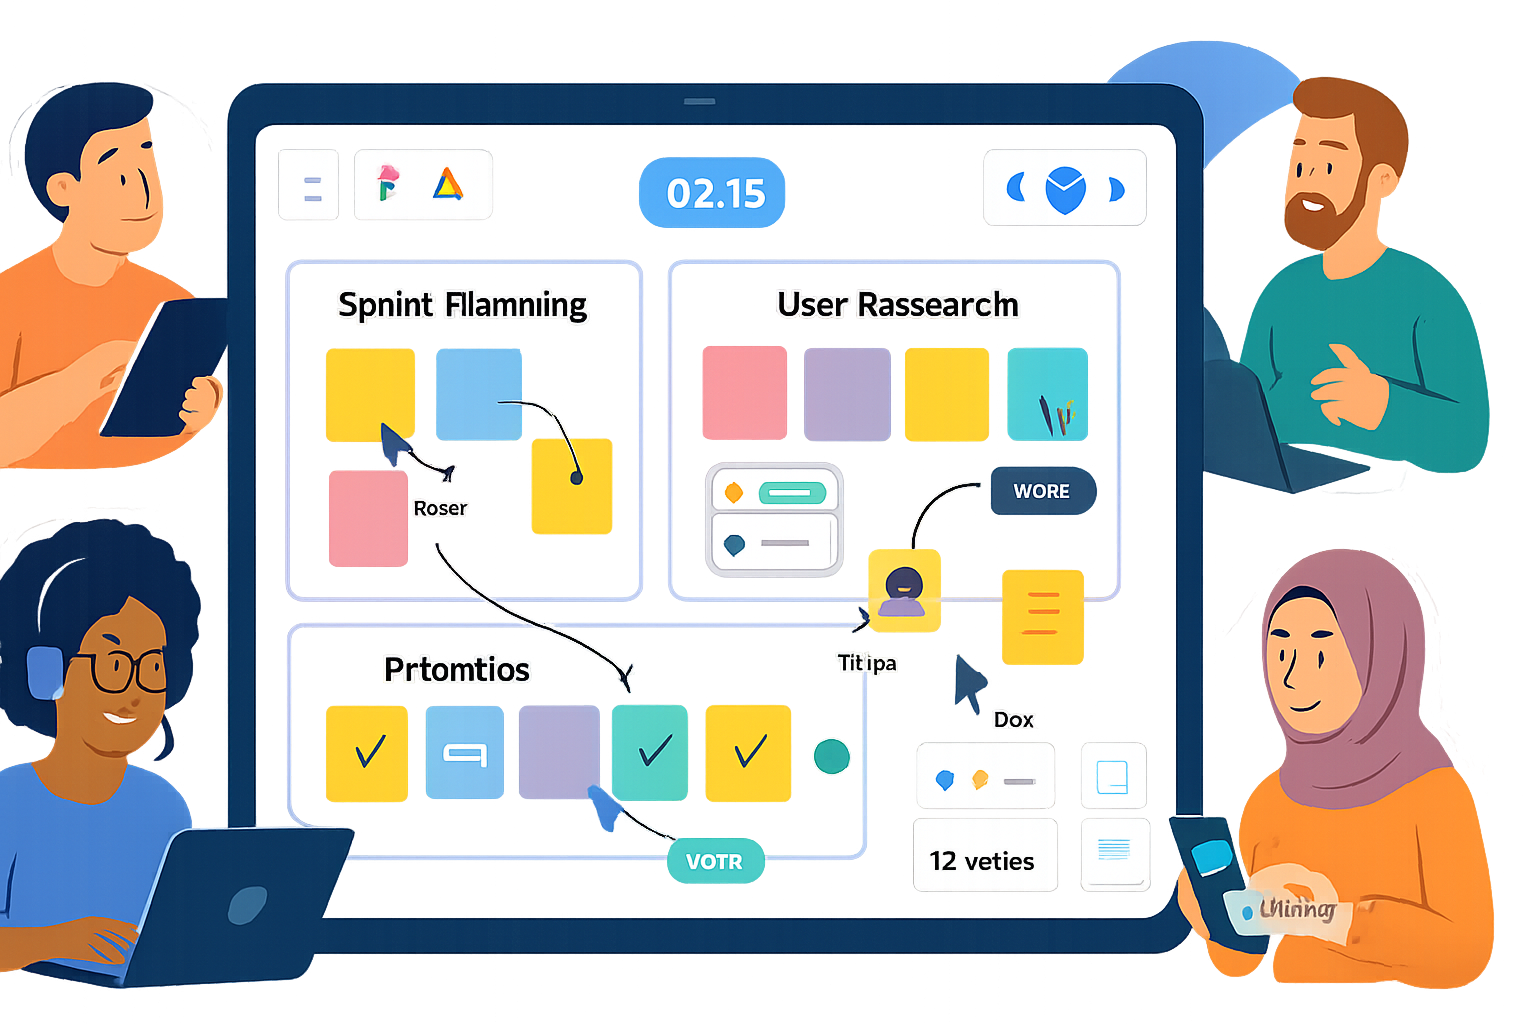
Hack 4 - Run faster remote critiques and workshops
Make feedback structured, respectful, and actionable.
How to apply it
- Frame the agenda - a frame for goals, one for artifacts, one for feedback.
- Use the Timer during brainstorming or critique to keep short, focused rounds.
- Enable voting for feature prioritization or visual choices (dot voting forces decisions).
- Collect comments directly on designs, then convert prioritized notes into tasks or cards.
Why it works
Structured sessions reduce noise. With timers and voting you get decisions, not endless opinions.
Quick facilitation script
- 60 seconds - silent review (everyone adds sticky notes).
- 5–8 minutes - author explains intent.
- 10 minutes - focused critique (use voting to pick top 3 issues).
Miro features for facilitation: timers, voting, comments - details in the Help Center: https://help.miro.com/hc/en-us
Hack 5 - Integrate Figma and prototype directly in Miro
Bridge ideation and fidelity without losing momentum.
How to apply it
- Embed Figma frames into Miro to show live designs. Changes in Figma can be reflected in Miro embeds.
- Create clickable prototypes by linking frames and objects (use the link hot-spot to target other frames or URLs).
- When you need higher-fidelity exports, push polished screens from Figma to Miro and present them in context.
Why it works
Designers stay in their preferred tools for layout and pixels, but the team experiences flow, context, and discussion in Miro.
Quick integration tip
Embed the Figma file and annotate it in Miro during design reviews so stakeholders see notes next to the live screen.
Reference: Embedding Figma in Miro - https://help.miro.com/hc/en-us/articles/360017572674-Embed-Figma-files
Bonus: productivity tricks every designer should adopt
- Keyboard and mouse habits - learn Alt-drag duplicates, group objects, and use grid snapping.
- Naming discipline - name frames and key layers - search becomes fast and reliable.
- Version safety - keep a “master” board and create copies for big changes (use board export for backups).
- Export smart - use SVGs for vector assets, 2× PNG for high-res screens, and PDF for multi-frame handoffs.
Putting it into practice - a 30-minute routine
- Start a board from your “Brief” template.
- Create 3 frames - Concepts A/B/C.
- Pull moodboard images into each frame and drop 3 sticky-note hypotheses.
- Embed any Figma comps you already have.
- Run a five-minute silent review, then vote.
You just moved from idea to decision in half an hour. Short. Effective. Repeatable.
Miro is a canvas. You choose what to build on it. With frames as artboards, a small reusable library, curated asset workflows, structured critique, and tight Figma integration, you turn messy brainstorming into tidy design progress. Use these five hacks, and your next design sprint will feel faster, clearer, and more collaborative.
References
- Miro Help Center: https://help.miro.com/hc/en-us
- Embed Figma files in Miro: https://help.miro.com/hc/en-us/articles/360017572674-Embed-Figma-files
- Miro Marketplace (apps & plugins): https://miro.com/marketplace/