· productivity · 5 min read
Making the Most of Miro for Non-Designers: Tips and Tricks
Practical, non-designers' guide to using Miro for brainstorming, running meetings, and managing projects - with workflows, templates, and actionable tips you can apply today.
What you’ll be able to do after reading this
By the end of this article you’ll run clearer meetings, capture better ideas, and turn messy boards into actionable plans - all without a design degree. Simple steps. Real results.
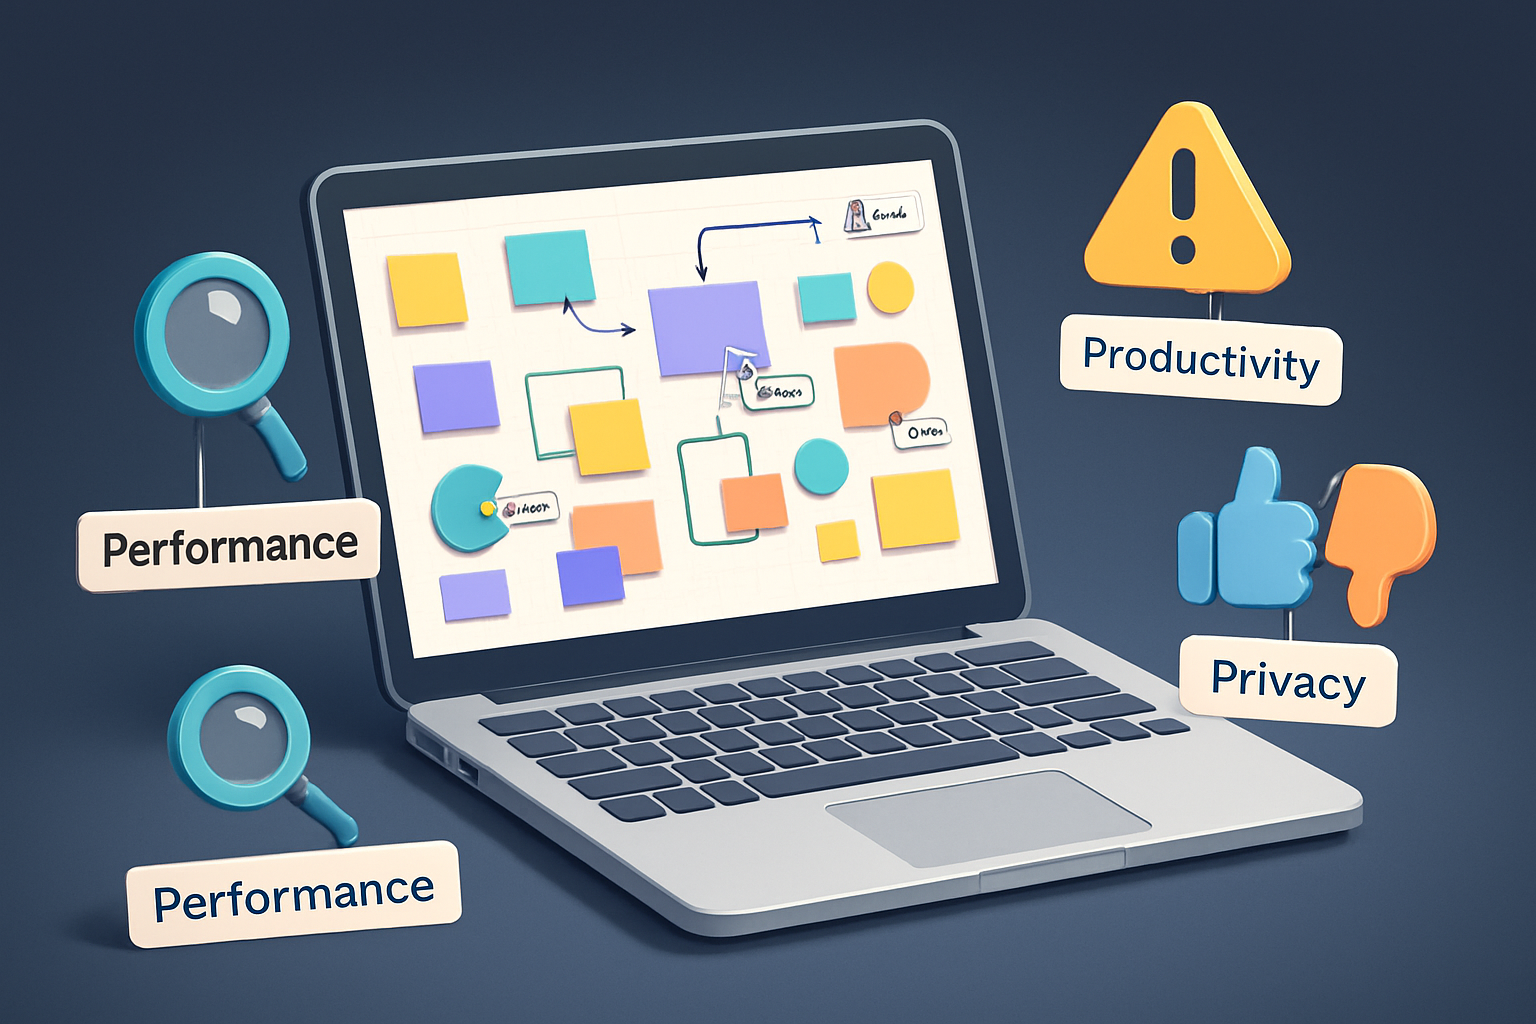
Why Miro works for non-designers
Miro is a visual canvas built for thinking together. It doesn’t expect you to be a designer. It gives you building blocks: sticky notes, shapes, frames, templates, and simple interactions. Use them the way you use a whiteboard - but with search, version history, integrations, and templates that scale work across teams.
Short sentence. A strong advantage: visual thinking removes a lot of ambiguity, fast.
Quick orientation: the few features you really need
- Canvas - infinite space for ideas and artifacts.
- Frames - think of them as slides or containers. Great for organizing and presenting.
- Sticky notes - quick capture. Use them for ideas, tasks, or feedback.
- Shapes & connectors - simple diagramming - no design skills required.
- Templates - pre-made workflows (retros, user journeys, Kanban, etc.). Start here.
- Comments & mentions - asynchronous discussion and action items.
If you remember only one thing: frames + templates = instant structure.
Practical workflows for non-designers
Below are pragmatic, repeatable workflows you can use immediately.
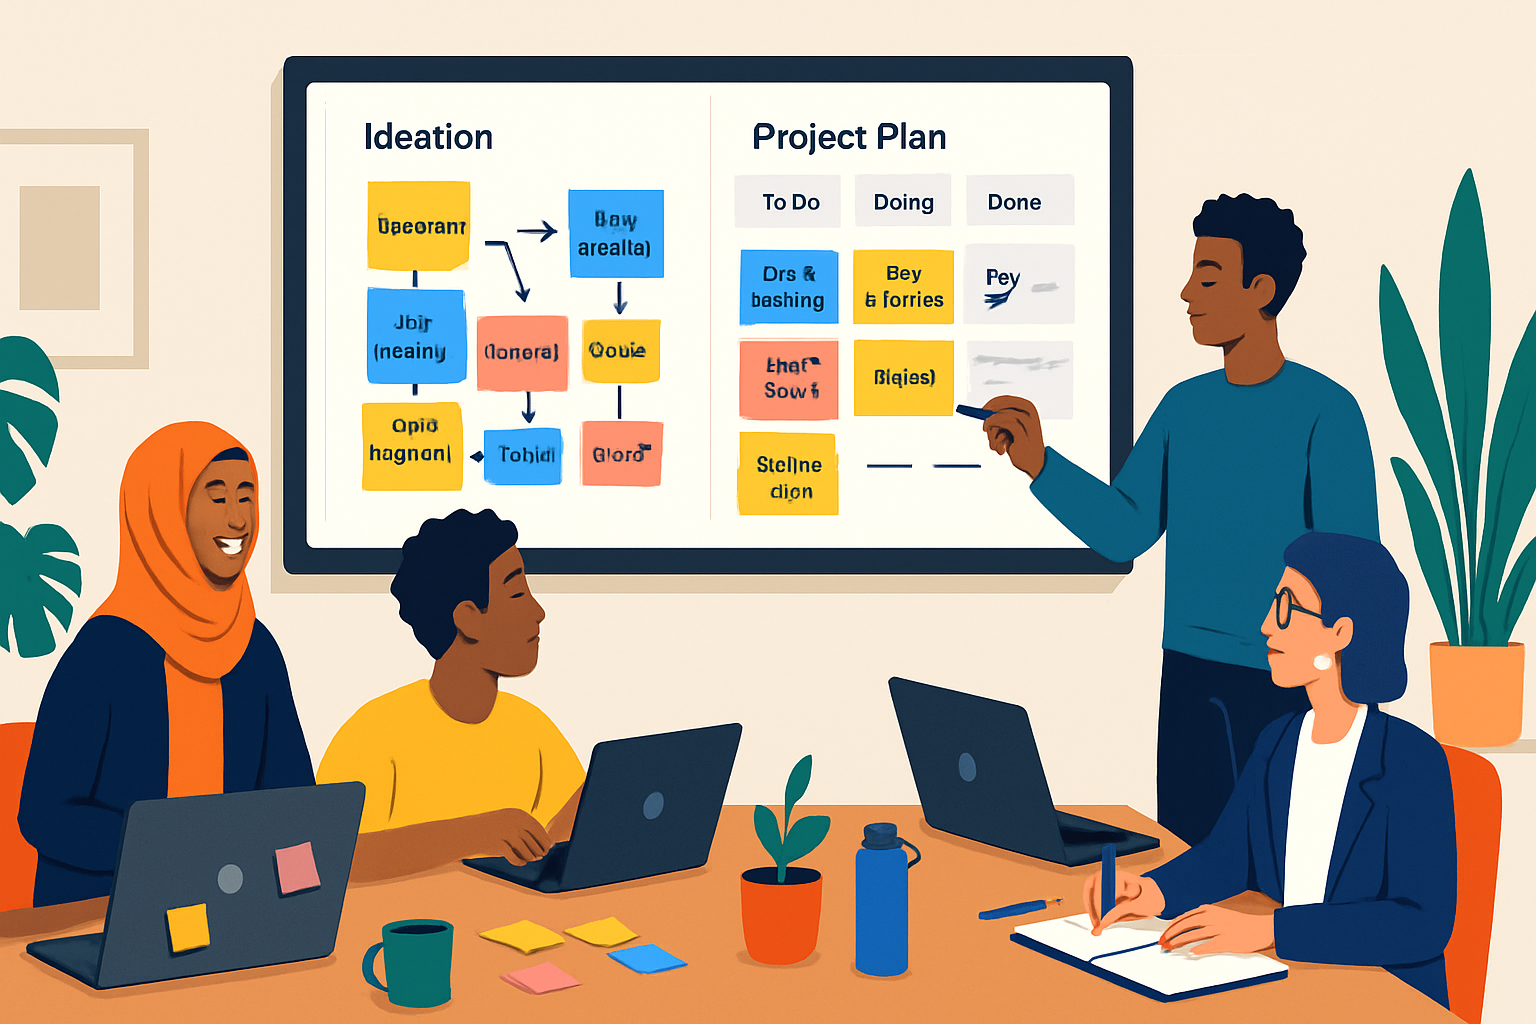
1) Run a 15-minute high-energy ideation
- Create a new board from a brainstorming template (Miro Templates).
- Add a frame titled “Ideation” and set a 5–10 minute timer (use Miro’s timer widget).
- Ask participants to add one idea per sticky note.
- After the timer, cluster similar notes into groups using frames or color.
- Dot-vote on the top 3 ideas with the voting plugin.
Outcome: a prioritized shortlist you can act on immediately.
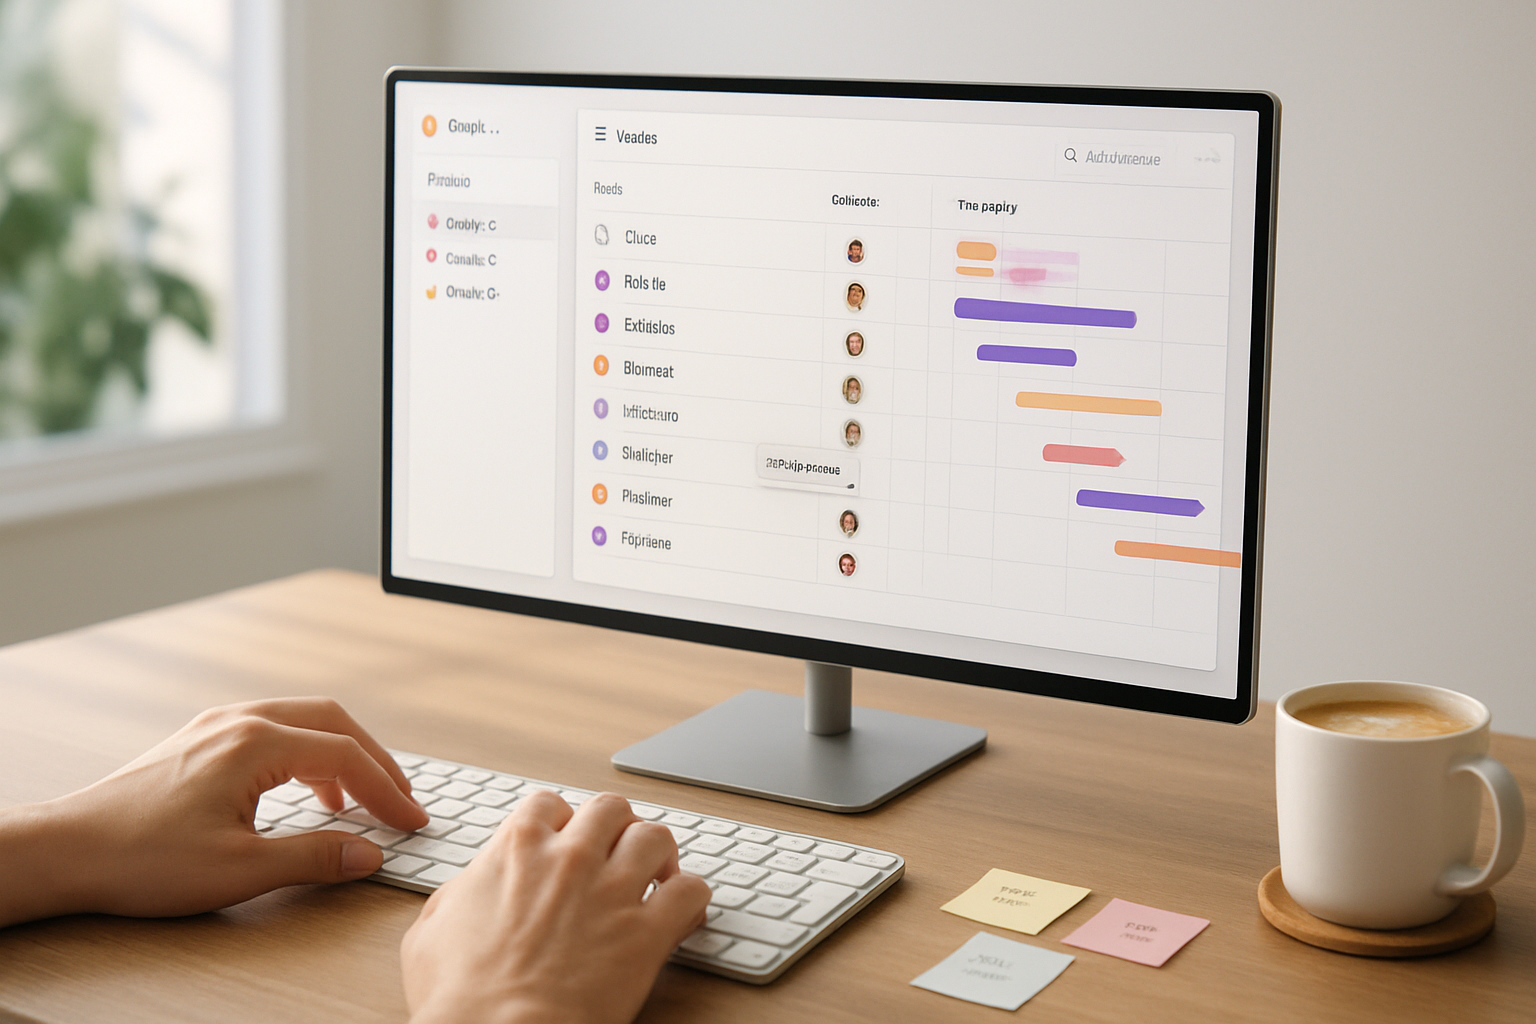
2) Turn a Miro board into a lightweight project plan
- Create a frame for “Project Overview” with goals, success metrics, and stakeholders.
- Add a Kanban or task-board template for backlog / in-progress / done.
- Use cards for tasks; assign owners by adding @mentions or owner labels.
- Link each card to relevant docs (Google Drive, Confluence) or Jira tickets.
- Use the Outline panel to create a quick navigation map for the board.
Result: a living project plan that’s easy to update in meetings and share with stakeholders.
3) Run a remote retrospective
- Use a retro template (Start/Stop/Continue or Mad/Sad/Glad).
- Give everyone 5–7 minutes to add sticky notes privately.
- Group and cluster, then discuss each cluster aloud.
- Convert top insights into action cards and assign owners.
This process turns feelings into measurable improvements.
Design-light visual rules that make boards readable
You don’t need aesthetic talent. You need clarity.
- Limit color palette. Use 2–4 colors and assign meaning (e.g., priorities, themes).
- Consistent sticky-note sizes. Pick one or two sizes and stick to them.
- One idea per sticky note. Short, punchy phrases win.
- Use frames as chapters. Name them clearly.
- Use alignment and grids for tidy layouts. Select a group and use the alignment tools.
- Favor icons over long text when possible.
Strongest visual rule: design for the person who sees the board without your explanation.
Shortcuts, tips and time-savers
- Keyboard shortcuts - learn a handful. For example, hold V for move, S for sticky notes, R for shapes. (See
- Templates - always check templates before building from scratch - they save hours.
- Lock objects to avoid accidental moves (right-click → Lock).
- Use the Outline panel to jump between frames quickly.
- Use duplication (Ctrl/Cmd + D) to create consistent cards or templates within the board.
- Name frames and use the Table of Contents (Outline) for easier navigation.
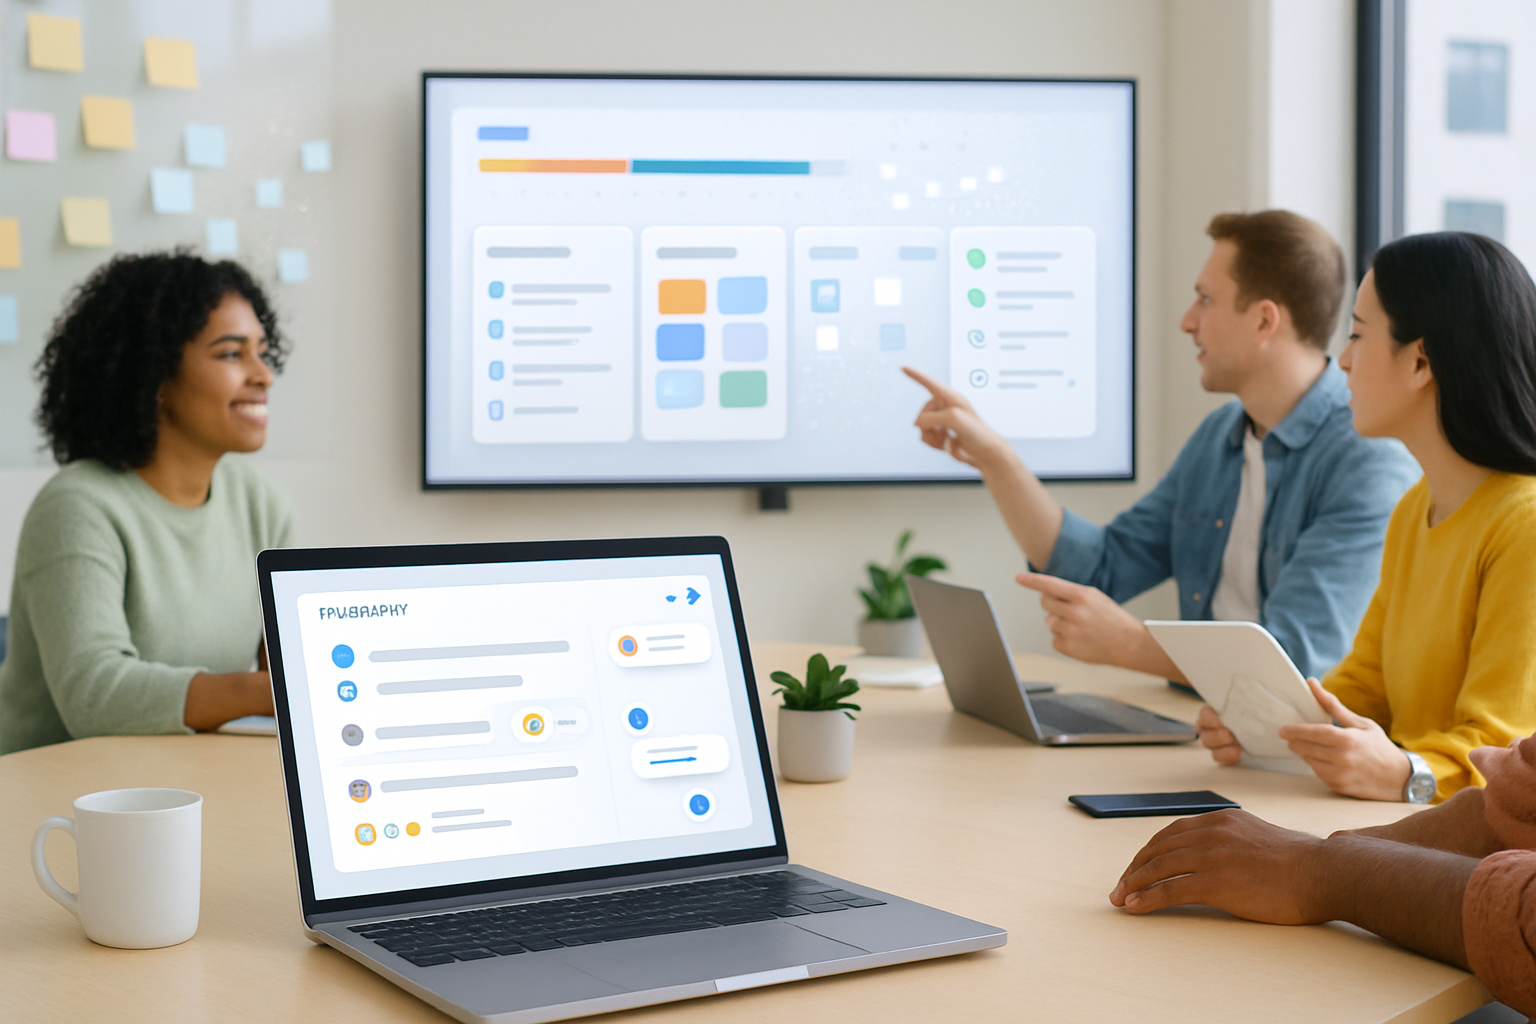
Collaboration features to lean on
- Commenting & mentions - tag people with @ to create actionables.
- Voting - quick prioritization during workshops.
- Presentation mode - use frames as slides for stakeholder share-outs.
- Shared cursors and live cursors - helpful for real-time facilitation.
- Permissions - set who can view, comment, or edit before big sessions.
Integrations that make Miro a project hub
- Jira & Asana - convert Miro cards into tickets or link them.
- Google Drive & Figma - embed files so everything stays in one place.
- Slack & Microsoft Teams - push board updates or open boards from chat.
Explore integrations under the “Apps & Integrations” menu or at Miro’s integration pages (Miro Integrations).
How to create reusable, non-designer-friendly templates
- Build a simple frame with clear instructions at the top.
- Limit moves - lock the frame background and leave placeholders unlocked for contributors.
- Add example content in faded text or a different color to guide users.
- Save as a template in the team library so others can reuse it.
A good template reduces onboarding friction. It scales your practices.
Common pitfalls and how to avoid them
- Pitfall - boards become dumping grounds. Fix: weekly clean-up, archive old frames.
- Pitfall - too many colors and shapes. Fix: apply a consistent scheme and document it.
- Pitfall - unclear ownership. Fix: always tag an owner for tasks created in the board.
- Pitfall - slow performance from huge boards. Fix: split content into multiple boards or archive completed frames.
Accessibility & etiquette for mixed experience teams
- Start with a template and a 3-minute orientation at the start of the session.
- Invite guests as commenters if they shouldn’t change layout.
- Use large fonts and good contrast for shared screens.
- Record key decisions in a single “Decisions” frame rather than burying them in the middle of a board.
Example minute-by-minute agenda: 30-minute product sync
- 0–5 - Quick status (use a frame with live metrics).
- 5–15 - Blockers & decisions (collect sticky notes and vote).
- 15–25 - Quick planning (move top items into a planning frame or Kanban).
- 25–30 - Assign owners & confirm next steps.
Tight agendas keep boards focused and useful.
When to use Miro vs. when to use docs or spreadsheets
Use Miro when you need spatial thinking, visual clustering, group ideation, or a shared sense of context. Use docs and sheets for linear, text-heavy documentation and finalized tracking.
A simple rule: Miro for discovery and alignment. Docs for final specification.
Resources
- Miro help center: https://miro.com/help
- Miro templates: https://miro.com/templates
- Miro blog with examples and case studies: https://miro.com/blog
Final perspective
Miro gives non-designers the power to surface ideas, align teams, and turn conversations into action. Start small. Use templates. Keep structure simple. Do that, and what looks like a blank canvas becomes your team’s most effective operating surface.
The most practical skill isn’t learning every tool - it’s making your board the place where decisions actually happen.