· creativity · 6 min read
DIY Mural Projects: Tips and Tools for the Average Joe
A step-by-step beginner's guide to planning, executing, and preserving a mural using affordable tools and practical expert tips - from design transfer to sealing the final coat.
Outcome: by the end of this guide you’ll be able to plan, paint, and protect a small-to-medium sized mural using inexpensive tools and confident techniques you can repeat again and again.
Why you should keep reading: murals transform bland walls into stories, brighten neighborhoods, and sharpen your design skills - all without a degree or a big budget.
First steps: pick a project you can finish
Start small. A single exterior wall, a garage door, or an interior accent wall is perfect. Big ideas are great. But finishing is better. When you complete one project you’ll learn more than reading ten tutorials.
Ask these quick questions before you begin:
- Who owns the wall? (permission matters - always.)
- Is the surface interior, exterior, wood, brick, stucco, or drywall? (This determines materials.)
- How big is the usable area? Measure it. A quick sketch with measurements will save hours.
- What’s your time window? (Weather and daylight affect exterior work.)
If you’re painting outdoors, check whether a permit or neighborhood approval is needed. For public projects, consult local arts councils like Mural Arts Philadelphia or community guidelines.
Materials and tools - affordable, practical, and reliable
You don’t need pro-grade everything. But spending a little in the right places improves results and saves headaches.
Basic tools list (budget friendly):
- Primer - exterior acrylic or masonry primer for walls; interior wall primer for indoor murals.
- Paint - 1–5 gallon buckets of exterior latex acrylic for outdoor murals; artist-grade acrylics for fine details. Brands like Sherwin-Williams or local big-box store paints are fine for large fills.
- Brushes - 1” and 2.5” angled sash brushes, a few flat brushes (1/2”–1”), and a couple of large wall brushes.
- Rollers - 9” roller frame, 3/4” nap for smooth surfaces, 1–1.5” nap for rough surfaces.
- Drop cloths, painter’s tape, mixing buckets.
- Chalk line, level, and measuring tape.
- Pencil, charcoal, or soft chalk for sketching on the wall.
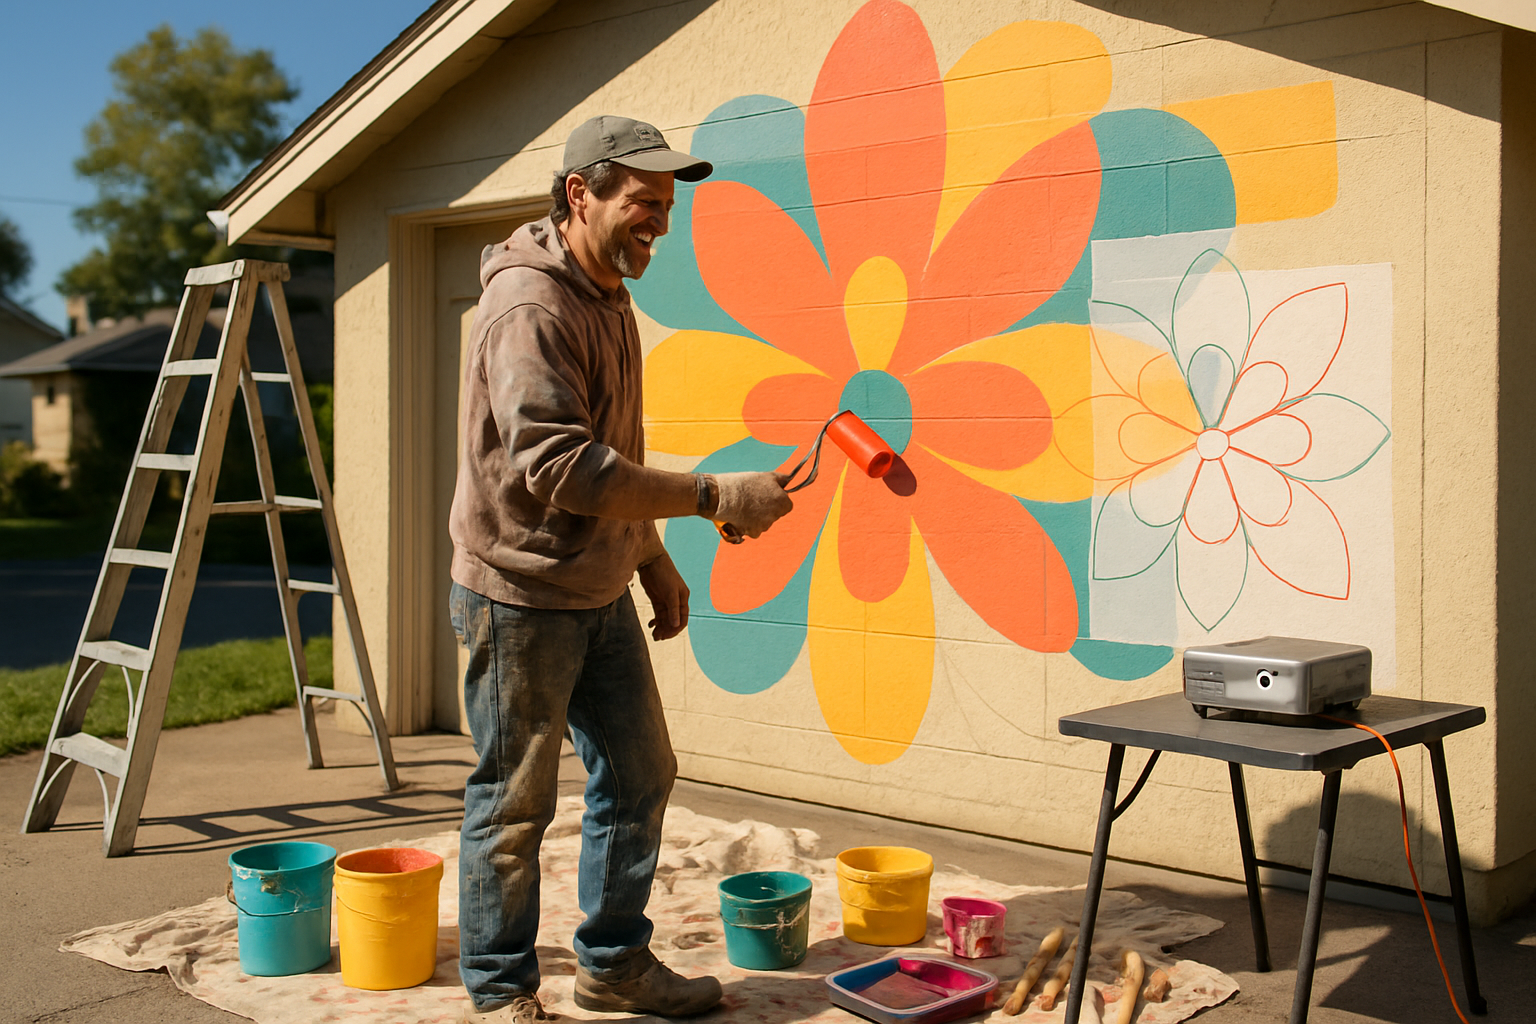
- Projector (optional) - inexpensive digital projectors work well for transferring complex designs indoors or on light-colored exterior walls.
- Spray paint for quick color-blocking and accents (optional).
- Sealant - clear acrylic or polyurethane sealer suited for interior or exterior use.
- Safety - ladder or scaffolding (rent for larger projects), gloves, N95 masks for dust/spray, and eye protection. Follow ladder safety guidelines like those from
Estimated budget (small mural, 6’ x 8’):
- Primer and paint - $50–$150
- Brushes/rollers/tape - $20–$50
- Projector or spray paint (optional) - $50–$150
- Sealant - $20–$60
- Misc (dropcloths, buckets) - $20–$40
Total: $160–$450 depending on choices and what you already own.
Choosing paint: what to buy and why
- Exterior acrylic latex - durable, UV-resistant, and budget-friendly for walls and garages. Great for exterior murals.
- Artist acrylics - higher pigment concentration - better for small-scale, detail-rich murals or indoor work where color accuracy matters.
- Spray paint - fast coverage and smooth gradients; use for accents and stencils. Read and follow local spray-paint regulations.
Pro tip: use a mid-toned base coat. It’s easier to add highlights and shadows than to paint over a stark white ground. This reduces the number of coats for full coverage.
Design and transfer: make the project manageable
Design in stages:
- Concept sketch. Start on paper or in a simple digital editor. Keep composition and color palette tight - 3–5 dominant colors plus neutrals.
- Test swatches. Paint small color tests on cardboard or a spare plank to check drying behavior and final tones.
- Transfer method - choose one:
- Grid method - draw a proportional grid on your reference and mark the same grid on the wall with light chalk. Scale by square. Low-tech and very precise.
- Projector - plug in a projector and trace. Fast and excellent for complex shapes (works best at dusk/dawn or on lighter walls).
- Pounce pattern - create a paper stencil, perforate edges, and dust through with charcoal - traditional and effective.
Grid basics: if your reference is 12” x 12” and your wall is 6’ x 6’, a 1” grid on the sketch becomes a 6” grid on the wall.
Painting workflow: efficient and stress-free
- Prep the wall - clean dirt, repair holes, sand peeling paint. Prime and allow proper drying time.
- Block in shapes - use rollers and large brushes to paint flat areas first. Work from background to foreground.
- Build layers - mid-tones, then shadows, then highlights. Paint in thin layers - you can always add opacity but you can’t remove it without sanding.
- Details and edges - switch to smaller brushes for lines and fine features. Use painter’s tape for crisp geometric edges.
- Texture and effects - sponging, stippling, dry brushing, or spray can create texture. Test on scraps first.
- Step back frequently - look from distance and close up. Paint looks different from each vantage point.
Timing tip: allow each major coat to dry fully; this prevents color bleeding and muddying.
Color, contrast, and composition made simple
- Limit your palette. Too many colors make a mural feel chaotic.
- Value matters more than hue. Ensure strong darks and lights to make the image readable from far away.
- Use a dominant color to unify the piece and 1–2 accent colors to draw the eye.
- Place the strongest contrast where you want attention - eyes, focal object, or logo.
Use free color tools like Adobe Color or simple printed swatches to compare options.
Common beginner mistakes and how to avoid them
- Skipping primer - paints adhere poorly to dirty or previously flaking surfaces. Prime.
- Overcomplicating the design - simplify shapes and focal points.
- Painting in one go without rests - fatigue leads to sloppy edges. Work in short, focused sessions.
- Ignoring safety - unstable ladders and no mask for spray paints are unnecessary risks.
Finishing and protection
- For exterior murals - use a UV-protective acrylic sealer or varnish to reduce fading and make cleaning easier.
- For indoor murals in kitchens or bathrooms - consider a wipeable polyurethane or acrylic varnish.
- Clean the surface gently. Avoid power-washing painted exteriors unless sealant indicates it’s safe.
Maintenance and touch-ups
- Keep a small touch-up kit - matching leftover paint in labeled containers, a few small brushes, and a color photo of the finished mural.
- Inspect annually for peeling, mildew, or graffiti. Address issues early - sand, clean, re-prime, and re-paint the affected area.
Community and permissions (public murals)
- Get written permission from property owners.
- For public walls, contact local arts organizations or city departments. They can advise on permits, insurance, and community processes like those outlined by Americans for the Arts.
- Document the process. Photos and short progress videos help for promotion and future grant applications.
Quick step-by-step cheat sheet
- Get permission and measure the wall. 2. Clean, repair, and prime. 3. Transfer design (grid or projector). 4. Block in large areas. 5. Add mid-tones, shadows, highlights. 6. Detail and edges. 7. Seal and document.
Safety checklist
- Stable ladder or rented scaffolding.
- Dust mask or N95 for sanding and priming.
- Respirator for solvents or heavy spray paint use.
- Gloves and eye protection.
- Never work alone on risky heights.
(OSHA ladder safety resources: https://www.osha.gov/ladder-safety)
Inspiration and further learning
- Watch step-by-step murals on YouTube to see workflows and timing. Practical seeing-beats-reading when it comes to large-scale painting.
- Visit local murals, photograph them, and note composition and color choices.
Final words
Start with a simple plan and a small wall. Expect learning curves and little disasters - they’re part of the process. The biggest advantage you have is iteration: every mural makes the next one faster and bolder. So paint the first one imperfectly, finish it well, and watch how your confidence becomes the most dramatic color in your palette.