· creativity · 6 min read
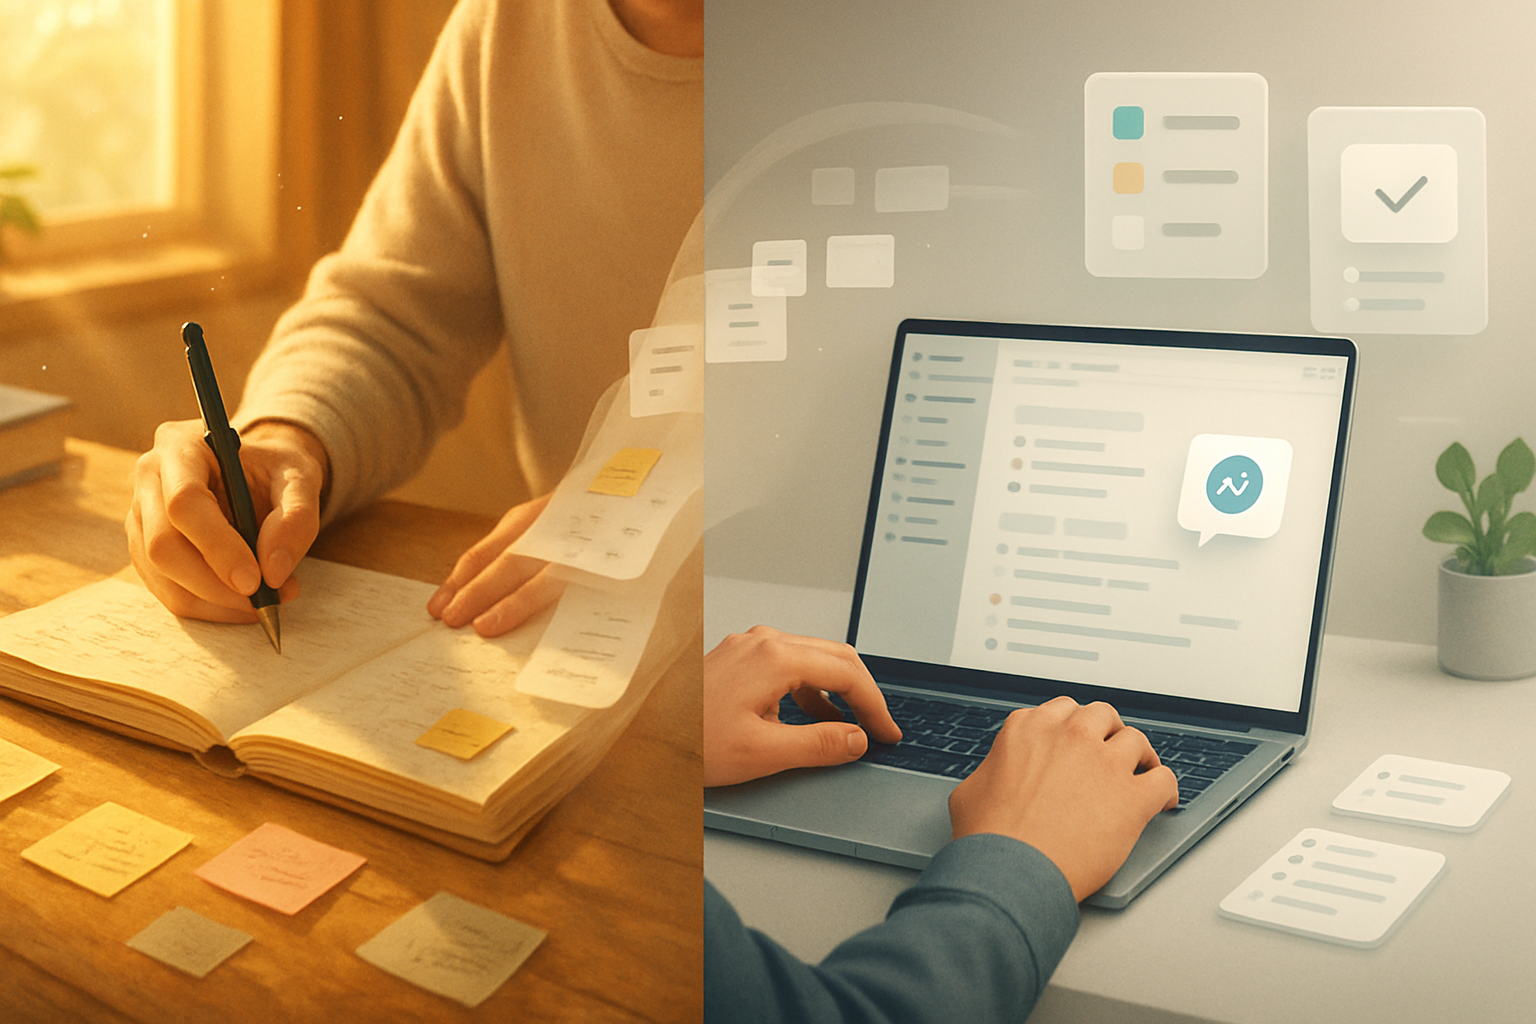
Digital vs. Traditional Sketching: Which Style Reigns Supreme?
A deep, practical exploration of digital and traditional sketching: strengths, weaknesses, practical tips for each, hybrid workflows, exercises to try, and how to choose the style that best serves your goals.

Outcome first: by the end of this post you’ll know which sketching style will move your work forward fastest - and you’ll walk away with concrete tips and exercises to test that choice immediately.
Drawing is a decision as much as it is a practice. You’re going to learn how each medium shapes your process, what each one makes easy or hard, and how to mix them into a workflow that actually fits your life. Read on and, in under an hour, you can pick a path and take a first confident step.
Quick overview: the short answer
- If you want speed, fixability, and easy sharing - digital often wins. Short turnaround. Non-destructive edits. Instant duplication.
- If you want tactile feedback, low-tech simplicity, and direct sensory learning - traditional often wins. You get texture, resistance, and the physical artifact.
- The real winner is whatever keeps you sketching consistently. Practice beats tool arguments.
Why this debate matters
Artists argue because tools change what we can do and how quickly we do it. Tools also change what we notice and learn. Choosing a medium is not neutral - it steers your habits. So this isn’t just about gear. It’s about the habits and the outcomes you want to build.
Pros of traditional sketching
- Tactile feedback and subtle resistance from paper that helps train hand control. It makes pressure and gesture lessons immediate.
- Simple setup and low barrier to entry. A pencil and scrap paper are all you need.
- Unique, physical artifacts you can frame, sell, or pass to someone - a kind of authenticity collectors and many artists value.
- No distractions from software, notifications, or file saves. Your attention is on mark-making.
Drawbacks to be aware of
- Mistakes are harder to reverse. Erasing changes the paper’s surface.
- Reproducing or editing a piece requires scanning or photographing and then working digitally.
- Ongoing costs (pads, pencils, papers, fixatives) and physical storage over time.
Tips to get more from traditional sketching
- Use a limited, consistent kit - one mechanical pencil (0.5–0.9mm), a soft graphite (2B–6B), a kneaded eraser, and a sketchbook. Keep it simple.
- Practice short gesture sketches (30–90 seconds) to strengthen observation and line confidence.
- Embrace the artifact - scan at high resolution (300–600 DPI) and take a clean photo under diffuse light for sharing.
- Try different papers to understand tooth and drag - they change your marks more than you expect.
- Protect and store your work flat and dry; archival sleeves extend longevity.
Pros of digital sketching
- Non-destructive workflow. Layers, masks, and undo let you experiment without fear.
- Speed of iteration. Copy, transform, and test variations in seconds.
- Easy sharing, versioning, and collaboration. Export as PNG, PSD, or shareable links.
- Infinite palettes and brushes that mimic traditional media or create wholly new textures.
- Assistive tools - symmetry, perspective guides, selection transforms, and reference overlays.
Drawbacks to be aware of
- Learning curve for software and hardware ergonomics (tilt, pressure curves, shortcuts).
- Can feel slippery or less satisfying without quality hardware (good stylus, high-refresh display, textured screen protector).
- Dependence on power, updates, and file formats. Older files may need migration.
Tips to get more from digital sketching
- Invest in a pressure-sensitive stylus and a tablet/screen with good parallax and responsiveness (brands like Wacom provide entry and pro options). See Wacom for hardware models: https://www.wacom.com
- Calibrate pen pressure and enable a textured screen protector (like Paperlike on iPad) if you want resistance similar to paper.
- Learn and use layers intentionally - separate construction, line, and value layers to speed editing.
- Create a pared-down brush set you love. Too many brushes is decision friction.
- Practice the same gesture drills you would on paper to translate muscle memory across mediums.
- Keep backups and version your files. Cloud sync prevents lost sessions.
Hybrid workflows: use the strengths of both
You don’t need to pick a side. Many artists sketch ideas on paper and then scan to finish digitally. Others print digital underlays and refine by hand. Hybrids let you keep the physicality of pencil and the flexibility of pixels.
Popular hybrid patterns
- Paper to pixel - Gesture and thumbnails on paper → scan → refine and color in software.
- Pixel to paper - Rough digital composition and perspective → print faintly → ink/finish by hand.
- Parallel practice - Do the same exercise both ways to develop transferable skills (e.g., one-week challenge: daily 5‑minute gestures, alternated between digital and traditional).
How to decide: a practical rubric
Ask honest questions and rank them:
- What do I want to learn fastest? (Observation, line control, color, compositing?)
- Do I need shareable/exportable files frequently? (Digital advantage.)
- Do I want physical originals? (Traditional advantage.)
- How much budget and workspace do I have? (Traditional can be cheaper; good digital tools can be costly.)
- Do I prefer fewer distractions or lots of creative tools? (Traditional = fewer distractions.)
Score two columns. Choose whichever scores higher for your current goal. Re-evaluate every 6–12 months.
Exercises to test both styles (do each for one week)
- Gesture sprint - 20 gesture drawings in 20 minutes. Fast. No looking back.
- Value study - 15–30 minute monochrome blocks focusing on light and shadow.
- Line economy - Draw the same object using only continuous line (no lifting pen) for five minutes.
- Iteration race - Create three variations of the same thumbnail in 15 minutes.
Compare outcomes: time spent, satisfaction, and what you learned physically and mentally.
Gear checklist (starter & focused)
Traditional starter kit
- Sketchbook (80–150 gsm), mechanical pencil (0.5mm), graphite sticks (2B–6B), kneaded eraser, sharpener.
Digital starter kit
- Tablet or iPad with stylus (or pen display and PC). Recommended vendors - Wacom (
Both
- A routine. Set a small daily habit (10–30 minutes). Consistency trumps perfect tools.
Common myths debunked
- “Digital makes you lazy” - False. It can enable more iterations and faster learning if used deliberately.
- “Traditional builds better fundamentals” - It builds tactile control, yes - but fundamentals like proportion, perspective, and value transfer across media when trained properly.
- “You must pick one forever” - Not true. Many successful artists move between or combine methods depending on the project.
Final verdict
There is no universal champion. Each side wins particular battles - digital for flexibility and speed, traditional for tactile training and intentional focus. But here is the most important point: the best medium is the one that gets you to draw more, consistently and honestly.
Pick a style to practice with deliberate goals. Do focused exercises. Reassess. Switch when your goals change. The real supremacy lies not in pixels or graphite, but in the habit of making marks every day.
References
- Wacom - Hardware and tablet guides: https://www.wacom.com
- Procreate - App used by many sketching professionals and hobbyists: https://procreate.art
- Adobe Fresco - Vector & raster drawing and painting: https://www.adobe.com/products/fresco.html
- Drawabox - Fundamental drawing exercises and curriculum: https://drawabox.com