· productivity · 8 min read
Automate Your Workflow: 5 Smartsheet Integrations You Need to Try
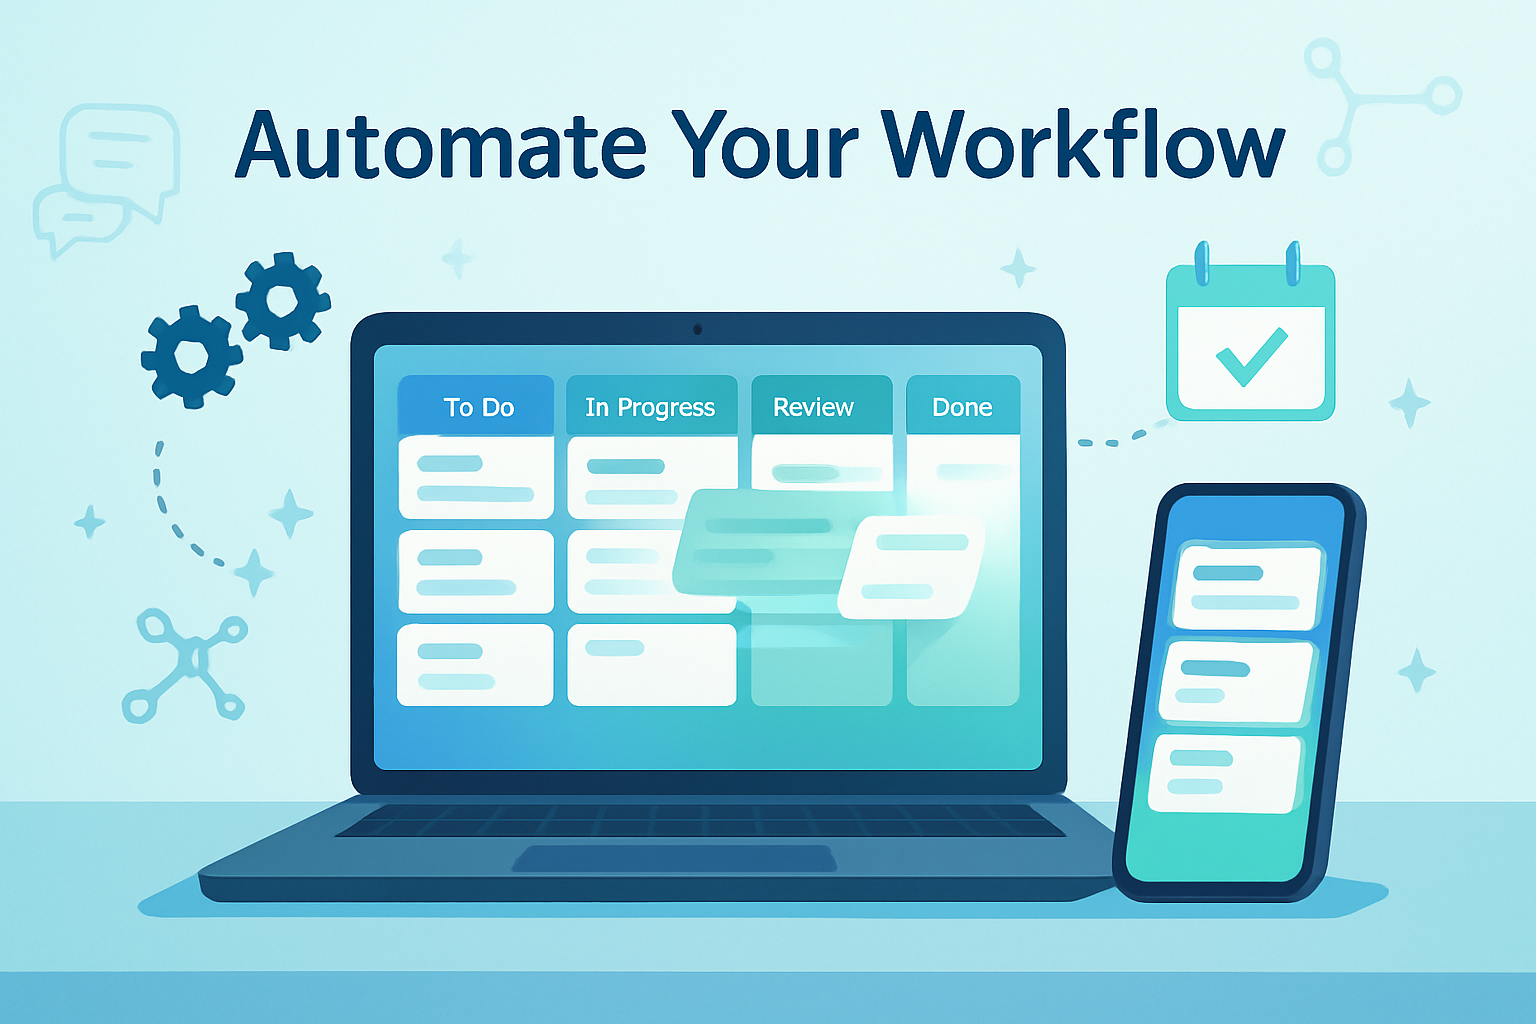
Discover five powerful Smartsheet integrations - Slack, Microsoft Power Automate, Zapier, Jira, and DocuSign - with concrete recipes, setup tips, and best practices to automate repetitive tasks and ensure you never miss a deadline.

Outcome first: by the time you finish this post you’ll have five practical Smartsheet integrations you can implement today to cut manual work, tighten project visibility, and make sure deadlines actually happen. Read one integration or implement them all. Either way: expect fewer last‑minute scrambles and more predictable delivery.
Why integrations matter for Smartsheet users
Smartsheet is great for tracking projects, but the real productivity gains come when Smartsheet talks to the other tools your team already uses. Integrations let you:
- Trigger updates automatically (no manual copying between apps).
- Push real‑time alerts to people where they work.
- Keep development, sales, legal, and operations in sync without meetings.
The five integrations below were chosen because they solve common pain points - missed approvals, out‑of‑date status, disjointed dev workflows, calendar conflicts, and contract delays.
Quick references
- Smartsheet integrations overview: https://www.smartsheet.com/integrations
- Smartsheet help center (approvals and connectors): https://help.smartsheet.com
1) Slack - instant alerts, approvals, and standups
Outcome: Get the right update to the right person the moment a row changes, and let people approve or escalate without leaving Slack.
Why it helps: Slack is where many teams live. Pinging a channel is faster than email and keeps momentum high.
Practical recipes
- Send a channel update when a high‑priority row’s Due Date is within 48 hours.
- DM a project owner when a row’s Status flips to “Blocked” with a link to the row.
- Post a daily digest of rows marked “At Risk” at 9:00 AM for your team standup.
Setup highlights
- Install the Smartsheet app for Slack (or use Zapier/Power Automate if you prefer). See Smartsheet’s Slack integration page: https://www.smartsheet.com/slack
- In Smartsheet, create an Automation Rule - trigger = “When a date is within 2 days” or “When a row changes”; action = “Send notification” via Slack.
- Map useful columns into the message - project name, row link, owner, and recommended next step.
Best practices
- Use concise messages with a direct link to the row.
- Use channels for broadcast items and DMs for action items.
- Rate‑limit notifications (group low‑priority changes into a digest) to avoid notification fatigue.
Pitfalls to avoid
- Over‑notifying. If you post every tiny change, people will mute the integration.
- Sending sensitive contract details via public channels - respect privacy settings and use private channels where needed.
2) Microsoft Power Automate (and Outlook/Teams) - calendar sync, approvals, and complex logic
Outcome: Automatically create calendar events, start approval flows, and tie Smartsheet rows to Microsoft 365 actions.
Why it helps: Power Automate gives enterprise‑grade connectors and conditional logic to handle nuanced workflows without custom code.
Practical recipes
- When a Smartsheet task is assigned, create an Outlook calendar event and invite the assignee.
- When an Approvals column is set to “Needs Approval”, start a Power Automate approval flow routed to the approver group.
- When a milestone is complete, post a summary to a Teams channel and archive the related files to SharePoint.
Setup highlights
- Open Power Automate and add the Smartsheet connector (you’ll be prompted to authenticate). Documentation: https://learn.microsoft.com/en-us/connectors/smartsheet/
- Choose a trigger such as “When a row is added or changed.” Add conditions to filter only the events you want.
- Add actions - “Create event (V2)” for Outlook, “Start and wait for an approval,” or “Post a message” to Teams.
Best practices
- Build in retries and error handling (Power Automate flows let you add scopes with failure paths).
- Use environment variables for connection details so flows can be moved between dev and prod.
- Test flows with a small pilot group first.
Pitfalls to avoid
- Forgetting timezone handling when creating calendar events.
- Leaving approval flows unattended - add a timeout and escalation path.
3) Zapier - connect hundreds of apps quickly (no‑code)
Outcome: Create simple, cross‑app automations that move data into or out of Smartsheet: CRMs, forms, time trackers, and more.
Why it helps: Zapier turns ad‑hoc ideas into working automations fast. It’s ideal for teams that want integrations without developer time.
Practical recipes
- When a Typeform response submits, create a Smartsheet row and assign an owner.
- When a new Salesforce opportunity closes, update the corresponding Smartsheet project row to “Won”.
- When a time‑tracking entry is submitted, append it to a Smartsheet timesheet and update totals.
Setup highlights
- Create a Zap that uses the Smartsheet app: https://zapier.com/apps/smartsheet/integrations
- Pick a trigger app and event (e.g., new form response), then map fields from the trigger into Smartsheet columns.
- Add a filter step if you only want certain responses to create rows.
Best practices
- Keep Zaps focused (one or two actions) so they’re easier to troubleshoot.
- Name Zaps clearly and document the field mappings.
- Monitor the task usage and clean up Zaps you no longer need.
Pitfalls to avoid
- Mapping fields incorrectly - always test with real sample data.
- Relying on a single Zap for many disparate functions - modular Zaps are more maintainable.
4) Jira - align engineering work with project plans
Outcome: Automatically sync tasks and status between Smartsheet (project plan) and Jira (development work) so PMs and engineers stay aligned.
Why it helps: It eliminates manual updates and keeps timelines accurate when engineering shifts sprint priorities.
Practical recipes
- Create a ticket in Jira when a Smartsheet row enters “Ready for Dev.”
- Update Smartsheet row status when the linked Jira issue transitions to “In Progress” or “Done.”
- Aggregate Jira sprint burndown into Smartsheet dashboards for stakeholders.
Setup highlights
- Use Smartsheet for Jira (official solution) or middleware like Zapier for custom mappings. Smartsheet help: https://help.smartsheet.com/articles/2476193-smartsheet-for-jira
- Map a stable ID between a Smartsheet row and the Jira issue key so updates stay linked.
- Decide on a single source of truth for status fields (usually Jira for dev status, Smartsheet for cross‑team milestones).
Best practices
- Sync only the fields you need (summary, status, assignee, due date) to minimize conflicts.
- Use a distinct column for the Jira issue key and keep it read‑only for non‑dev users.
- Rate limit syncs to avoid overwhelming either system during bulk edits.
Pitfalls to avoid
- Two systems trying to be the authoritative source for the same field.
- Syncing comments and attachments without a clear mapping strategy.
5) DocuSign (or Adobe Sign) - speed approvals and close contracts
Outcome: Auto‑send documents for signature when a Smartsheet row hits a trigger (e.g., “Contract Ready”), and write back signature status and dates.
Why it helps: Reduces bottlenecks in legal and sales processes and keeps contract status visible in your project tracker.
Practical recipes
- When a sales row flips to “Ready to Send”, attach the contract and submit it to DocuSign; update Smartsheet with signature status automatically.
- For procurement - when a purchase order row is approved, send PO to vendor for signature and capture the signed PDF link back in Smartsheet.
Setup highlights
- Many organizations use either the native DocuSign for Smartsheet connector or Power Automate / Zapier to bridge them. DocuSign app info: https://www.docusign.com/partners/apps/smartsheet
- Create a template in DocuSign with role placeholders. In your connector, pass the recipient emails and document link.
- Map DocuSign envelope status back to a Smartsheet column so the project owner can see whether the contract is Sent / Signed / Declined.
Best practices
- Use DocuSign templates to standardize signature placement and reduce errors.
- Capture signed PDF links into Smartsheet attachments for auditability.
- Add an escalation rule if the envelope isn’t signed within X days.
Pitfalls to avoid
- Sending incomplete or wrong templates; test each flow before using it in production.
- Not accounting for different signer time zones and business days.
Cross‑integration workflows: combine these tools for bigger wins
The real power is combining integrations. Example:
- A Smartsheet row moves to “Ready for Contract” → Power Automate creates an Outlook event for the closing call and triggers a DocuSign envelope → DocuSign sends signature status back to Smartsheet → when signed, Zapier notifies Slack #contracts and a Jira ticket is created to trigger engineering handoff.
This kind of multi‑step chain reduces human handoffs and keeps stakeholders informed in their preferred tools.
Security, governance, and monitoring - don’t treat automation like magic
Before you ramp up automations, put guardrails in place:
- Permissions - ensure connectors use service accounts with least privilege and that personal connections are minimized.
- Audit trails - log automation runs and decisions (Power Automate and Smartsheet both provide run histories).
- Error handling - build alerts for failed runs (e.g., send an email to admins when a flow errors).
- Rate limits & quotas - be aware of API limits for Smartsheet and third‑party services.
Governance checklist
- Document every automation (what it does, owner, last test date).
- Schedule periodic audits to prune obsolete automations.
- Train teams on how and when to use integrations.
Measure success - what to track
To prove value, measure:
- Time saved (hours automated per week).
- Reduction in late tasks or missed approvals.
- Number of manual updates eliminated.
- Error rate before vs after automation.
Start small: pick a pilot workflow, measure baseline time and errors, implement automation, then compare after 2–4 weeks.
Quick rollout plan (90 days)
- Weeks 1–2 - Identify 2–3 high‑value automations (low effort, high impact).
- Weeks 3–4 - Build and test in a sandbox or with a small team.
- Weeks 5–8 - Roll out to one business unit, monitor, and tweak.
- Weeks 9–12 - Scale the patterns across teams and layer more integrations.
Final thoughts
Automations are not a one‑time project - they’re an operational discipline. Start with the five integrations above and treat each as an experiment: measure, iterate, and expand. Small automations remove friction every day. Over time they compound into more reliable delivery, fewer late nights, and predictable deadlines.
Take action: pick one recipe from this post, implement it this week, and measure the difference before you add more.