· creativity · 7 min read
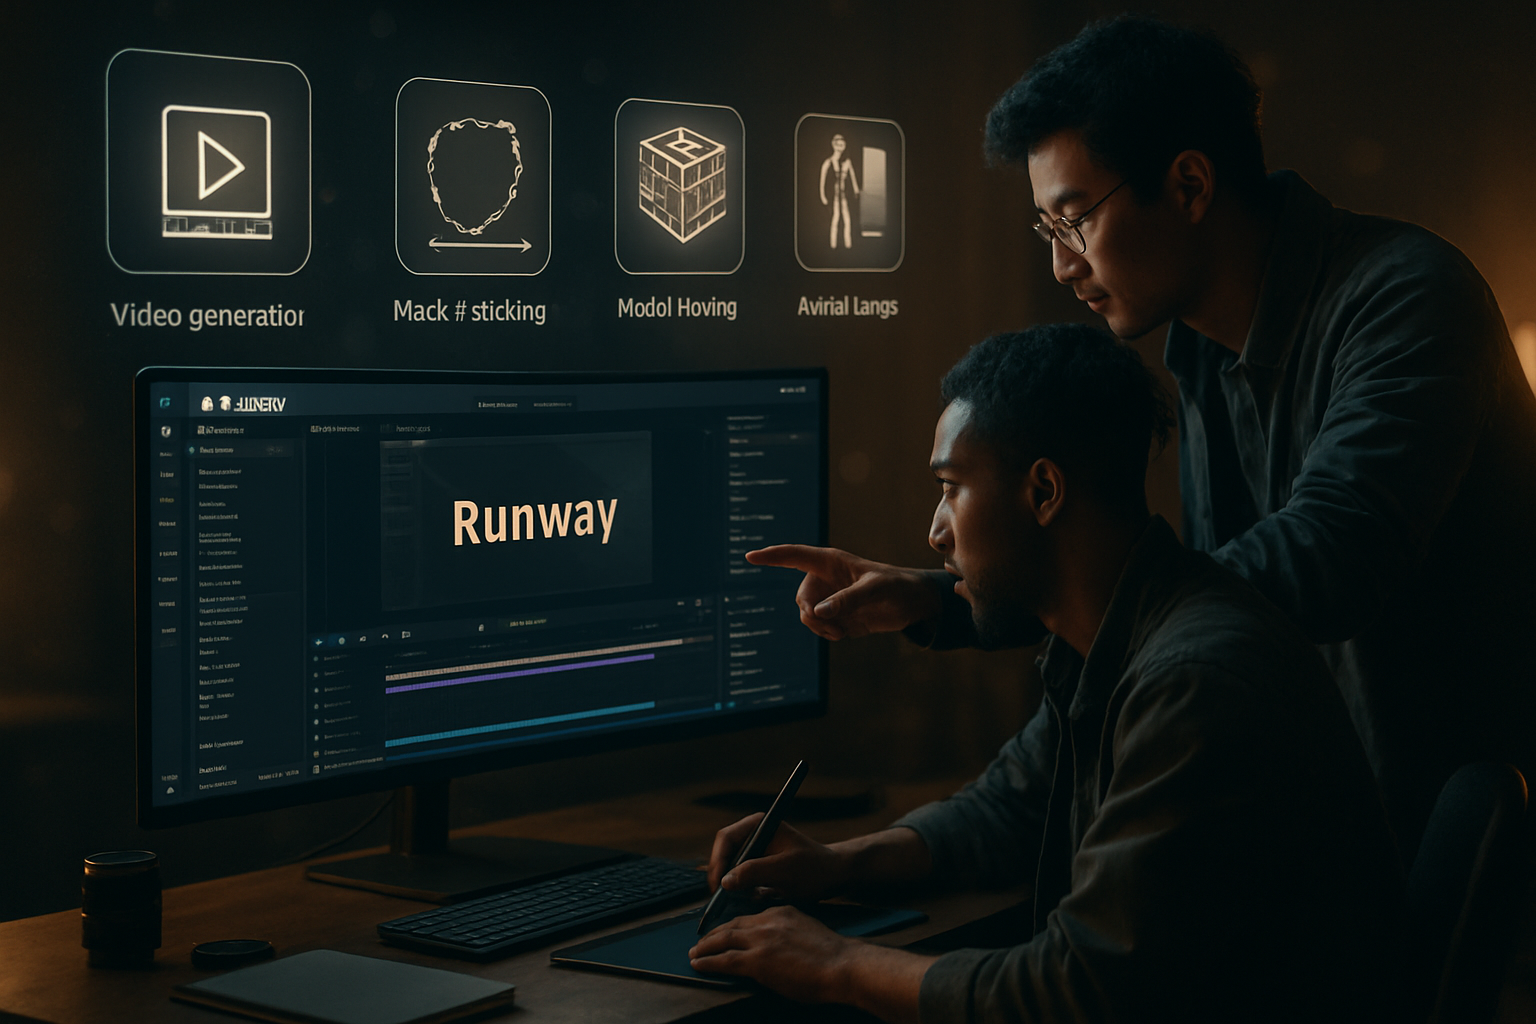
5 Game-Changing Runway ML Features You Probably Aren't Using
Unlock advanced, underused Runway ML capabilities - from chained Gen-2 transforms to precision mask tracking, custom model fine-tuning, multi-channel conditioning, and collaborative versioning - with practical workflows and pro tips to level up your creative projects.
Outcome first: use Runway ML to produce cleaner, more controllable generative video, speed up targeted frame-by-frame edits, and build small custom models that reflect your aesthetic - all while collaborating in real time. Read on and you’ll walk away with five concrete, underused features and fast workflows you can apply today.
Why these five matter - quick
These features turn Runway from a “toy” for quick proofs into a professional creative toolkit. Use them and you’ll: compress production time, avoid noisy re-renders, gain repeatable control over style and motion, and make video-grade outputs that fit into VFX or editorial pipelines.
Now the meat: five specific features, why they’re powerful, and how to use each like a pro.
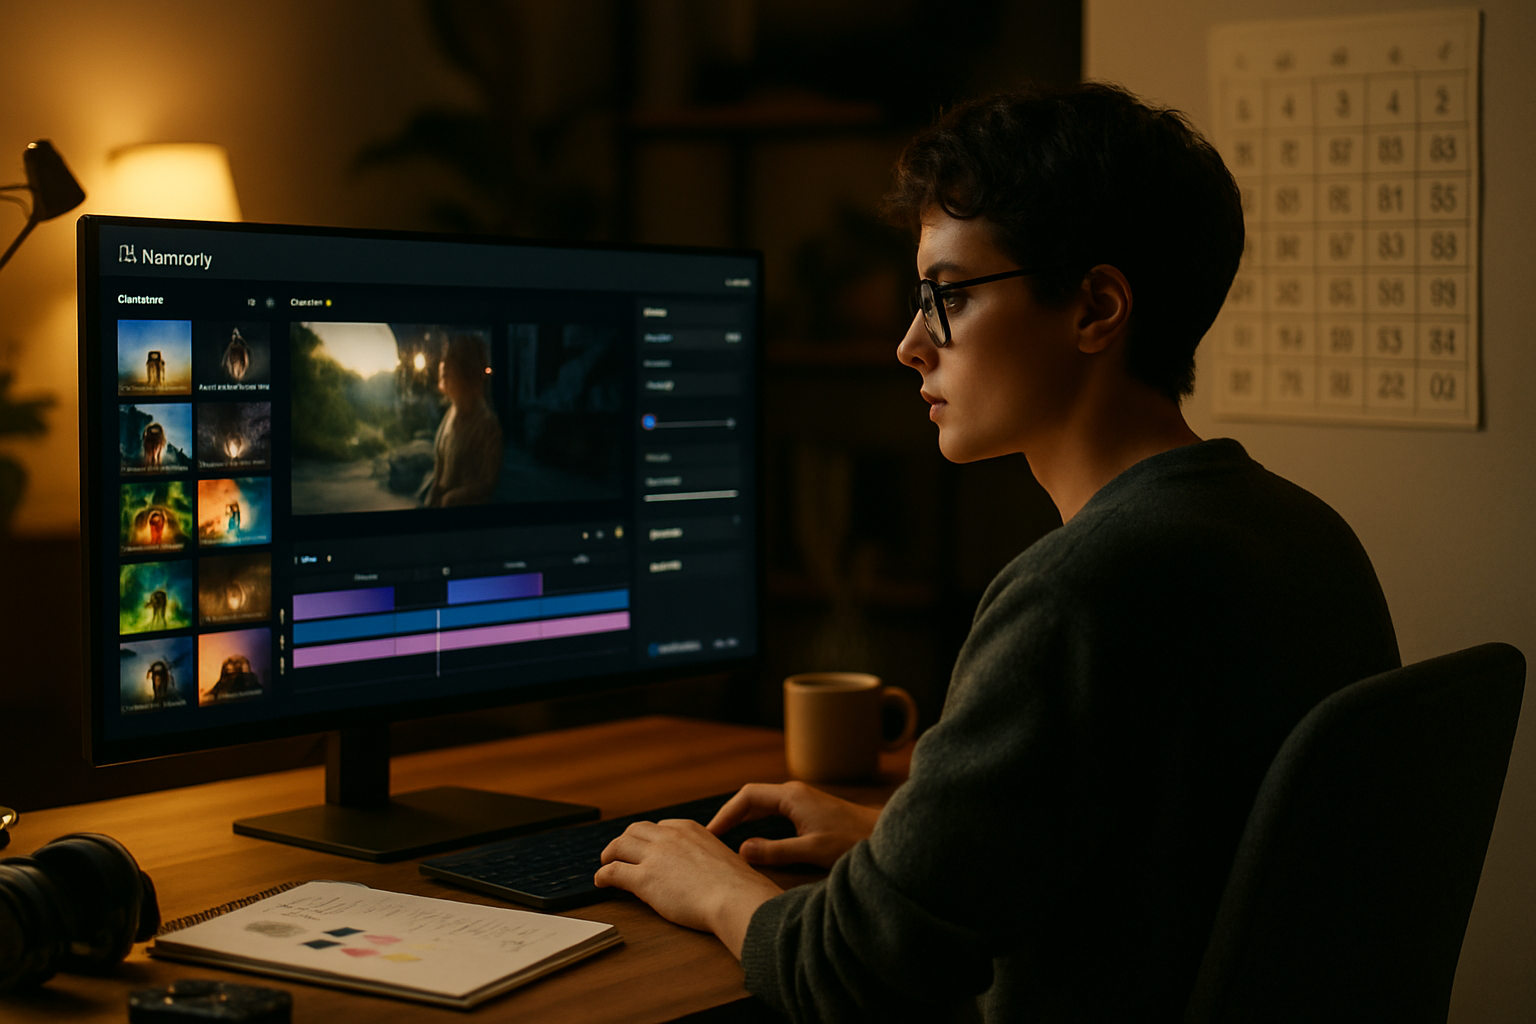
1) Chained Gen transforms: evolve a clip, don’t remake it
What it is
Runway’s Gen family (Gen-1 image->video workflows and Gen-2 text+image->video generation) are often used to generate single takes. Fewer people use the process as a chaining tool: run incremental transformations on the same clip to refine motion, composition, and style.
Why it matters
Chaining keeps temporal continuity while letting you iteratively refine outcomes. You avoid starting from scratch every time and preserve desirable motion cues.
How to use it - practical workflow
- Start with a short reference clip (3–6 seconds). Export it from your editor at final frame-size and frame-rate.
- Run a conservative Gen-1 (image→video) or Gen-2 pass with a simple text prompt focusing on motion and composition only; keep guidance and strength low so the original motion remains.
- Take the output and run a second Gen pass with stronger stylistic prompts (lighting, film stock, color palette) – now the motion is consistent but the look changes.
- Optionally apply a final inpainting pass to fix small artifacts or to insert elements.
Pro tips
- Use consistent seeds or reference frames to increase frame-to-frame coherence. If the interface exposes a random seed, lock it across passes.
- Lower the ‘strength’ or ‘denoise’ equivalent on early passes; treat the pass as a “motion keeper” and the later passes as the “style layer.”
Example use-case
Generate a short, stylized product demo where the camera moves around an object: keep the movement in pass 1, introduce stylized lighting and film grain in pass 2, then inpaint logos and text in pass 3.
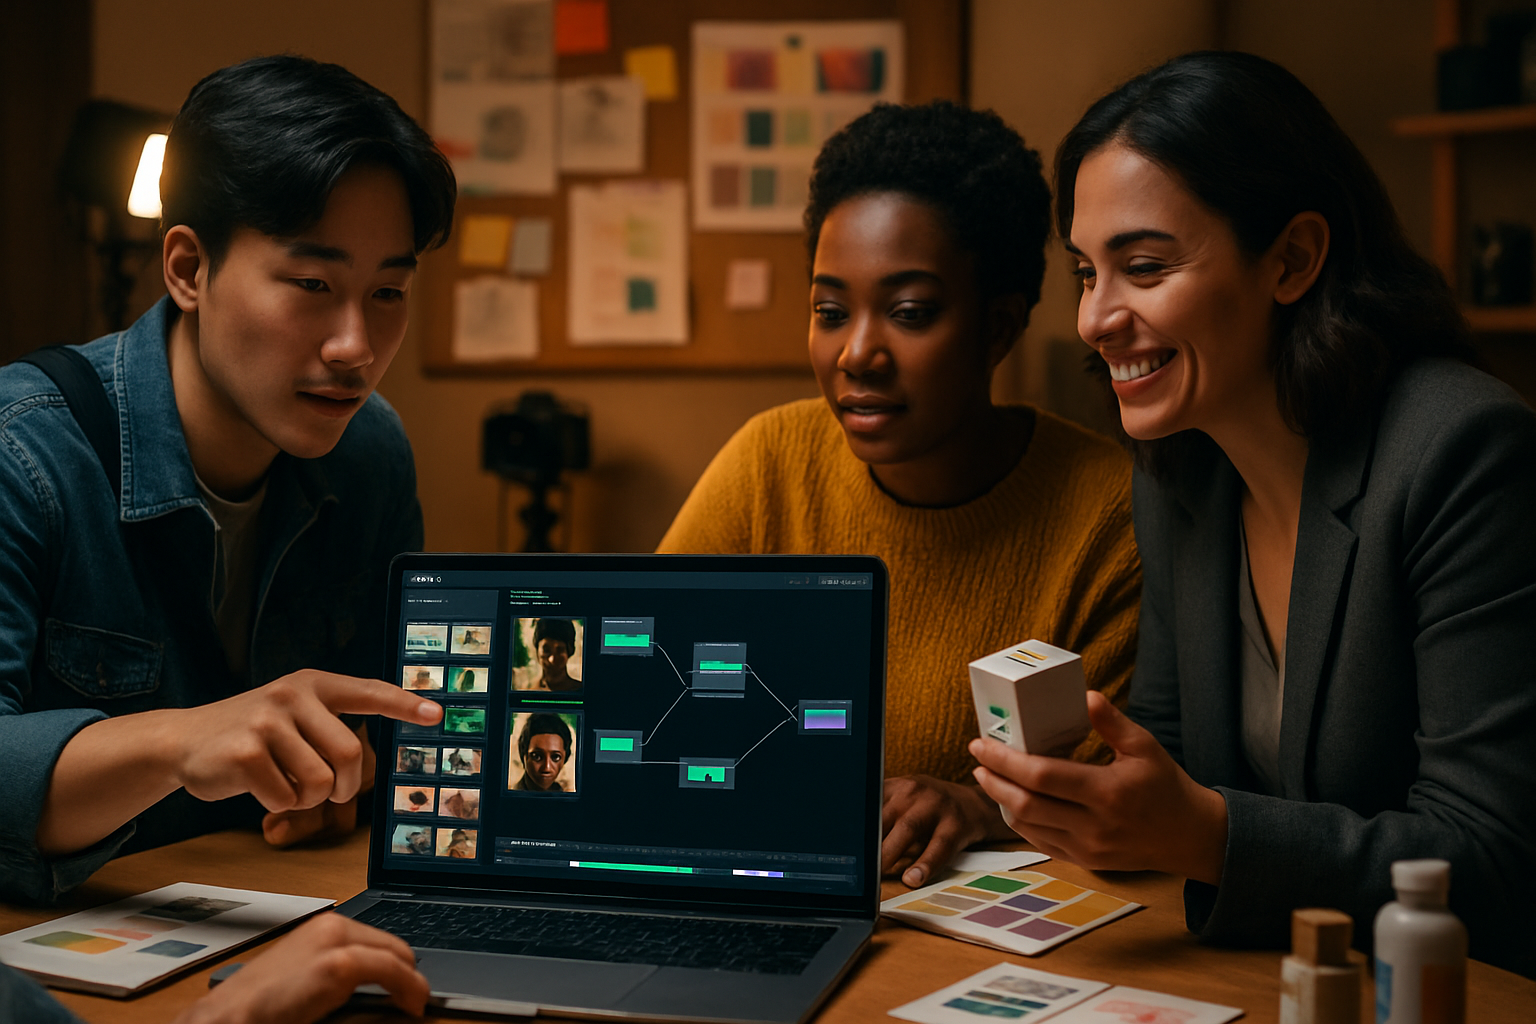
2) Precision masking + object tracking for surgical edits
What it is
Runway’s mask and matting tools can be combined with their tracking to isolate an object across frames, letting you apply edits to a subject without disturbing the background - and vice versa.
Why it matters
Manual frame-by-frame rotoscoping is slow. A tracked mask that you refine once can be reused for multiple operations: color grade, replace clothing, remove objects, or anchor generative fills.
How to use it - practical workflow
- Create a mask on the first frame using the brush, magic select, or automatic segmentation.
- Use the object tracker to propagate the mask across the clip. Scrub the timeline and fix obvious drift with a few keyframes.
- Once the object track is stable, duplicate the track if you need different operations (e.g., one version for inpainting, another for color grade).
- Apply your effect (inpaint, color transform, generative fill) to the masked layer only.
Pro tips
- Feather the mask slightly to blend edits.
- Use a matte choke (contract/expand) to avoid halo artifacts when you color grade.
- For fast cleanup, export the mask as an alpha clip and refine in dedicated rotoscoping tools if needed.
Example use-case
Replace a T‑shirt design on a moving actor: track a T‑shirt mask, run a generative inpaint pass constrained to that mask, and fine-tune color to match cloth folds.
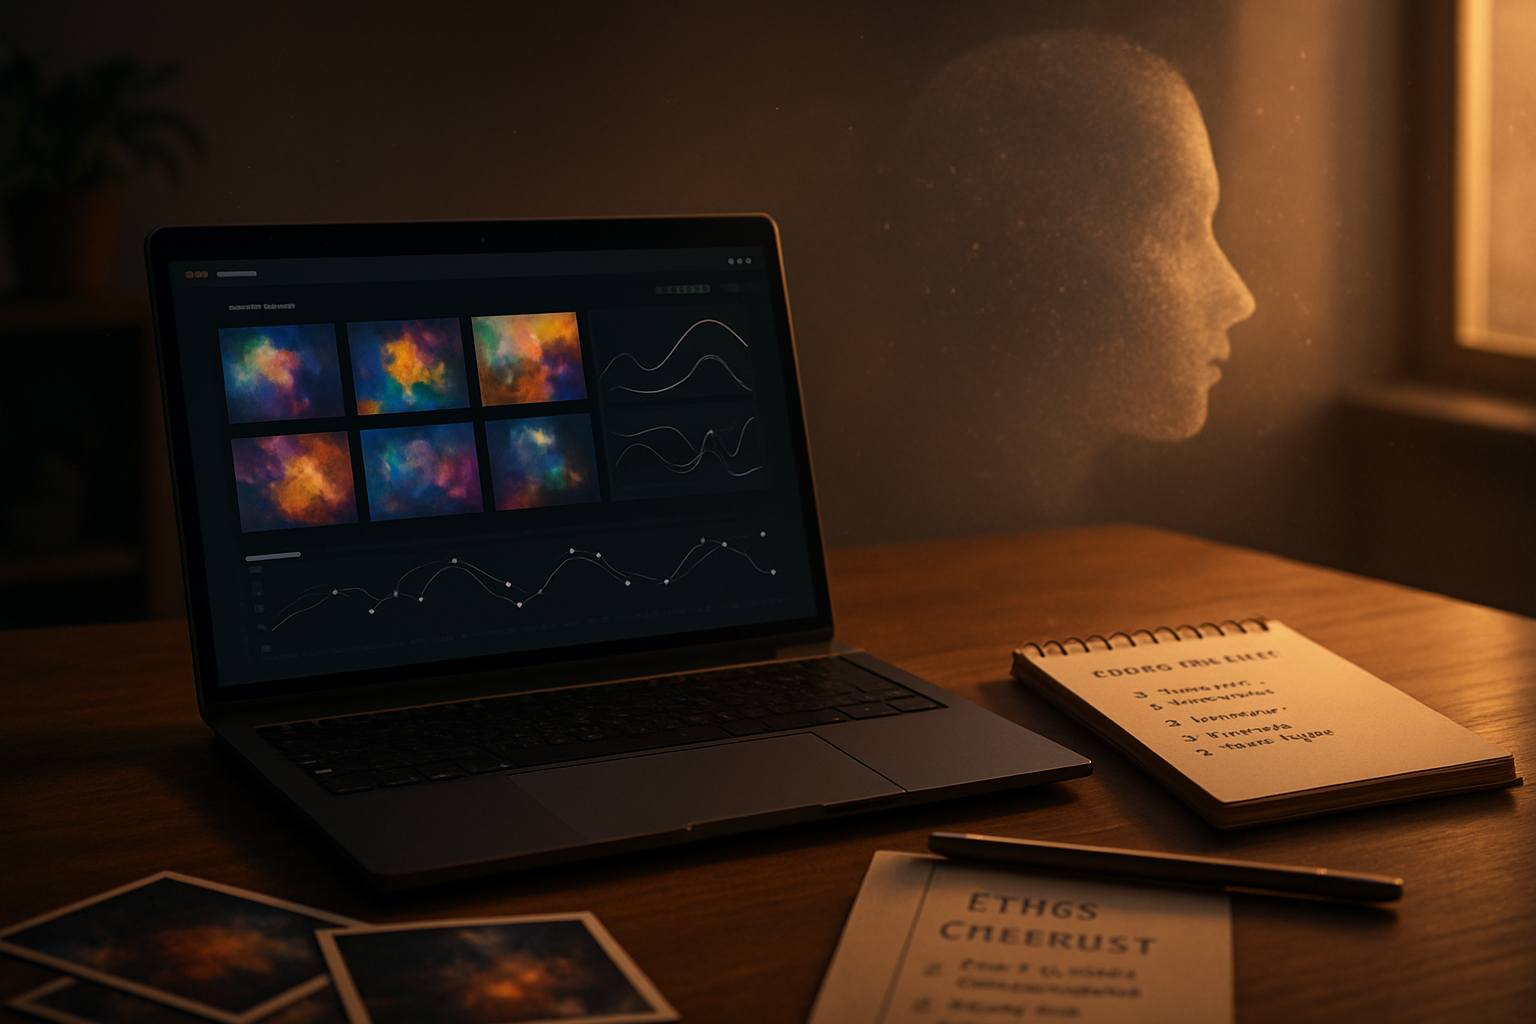
3) Train and fine-tune small custom models for consistent aesthetics
What it is
Beyond vanilla text prompts, Runway supports training/fine-tuning workflows where you teach a model your look (a character, a color grade, or an object style) using a curated dataset.
Why it matters
A small fine-tuned model gives you a repeatable, controllable aesthetic that prompts alone struggle to maintain. It’s how professionals get a brand- or project-specific visual identity from generative tools.
How to use it - practical workflow
- Curate 30–200 high-quality reference images showing the subject/ style from multiple angles and lighting conditions.
- Split into training/validation sets and label carefully (pose, lighting, variant tags).
- Start with a low-epoch fine-tune; evaluate outputs on the validation set and iterate. Aim for conservative overfitting - you want the model to generalize to new compositions.
- Use the fine-tuned model as a primary generator, and still combine with masks and chained Gen passes for final control.
Pro tips
- Normalize your dataset (same color space, similar resolutions) to reduce training noise.
- If you see mode collapse (outputs too similar), add diversity to the dataset or increase regularization.
- Keep a small, private validation deck to ensure the model doesn’t memorize a single iconic pose.
Example use-case
Create a bespoke “album-cover” generator trained on 80 photographs in a specific lighting and makeup style, then batch-generate variations for a campaign.
Reference: Runway’s documentation on custom models and training workflows is a helpful place to start - see Runway’s Help Center for the latest training guides: https://help.runwayml.com/
4) Multi-channel conditioning: use edge, depth, and pose maps to control outputs
What it is
Control channels (edge maps, depth maps, pose skeletons, segmentation) let you constrain generative models so they follow a structure you provide. Instead of giving only a text prompt, you feed a guide image that the model must respect.
Why it matters
Control channels turn wishful prompting into exacting outcomes. You get desired composition and motion while still letting the generator handle texture, color and style.
How to use it - practical workflow
- Create or export the control layer you need - an edge map from an artist sketch, a depth pass from 3D, or a pose skeleton from a motion capture clip.
- Choose the generator that accepts auxiliary input (look for image- or control-enabled Gen models). Upload the guide alongside your prompt.
- Tweak the conditioning strength - stronger conditioning means the output adheres more strictly.
- Combine with masks for local control - e.g., use a pose skeleton to drive body motion, a mask to restrict a generative fill to the torso.
Pro tips
- Use a coarse depth map to preserve camera parallax but let the model interpret textures.
- For character animation, export a pose sequence as PNG skeleton overlays and run a chained Gen pipeline so motion remains consistent.
Example use-case
Turn a storyboard sketch into a moving shot: feed the sketch as an edge map, specify camera motion in the prompt, and let the generator render the scene at final resolution.
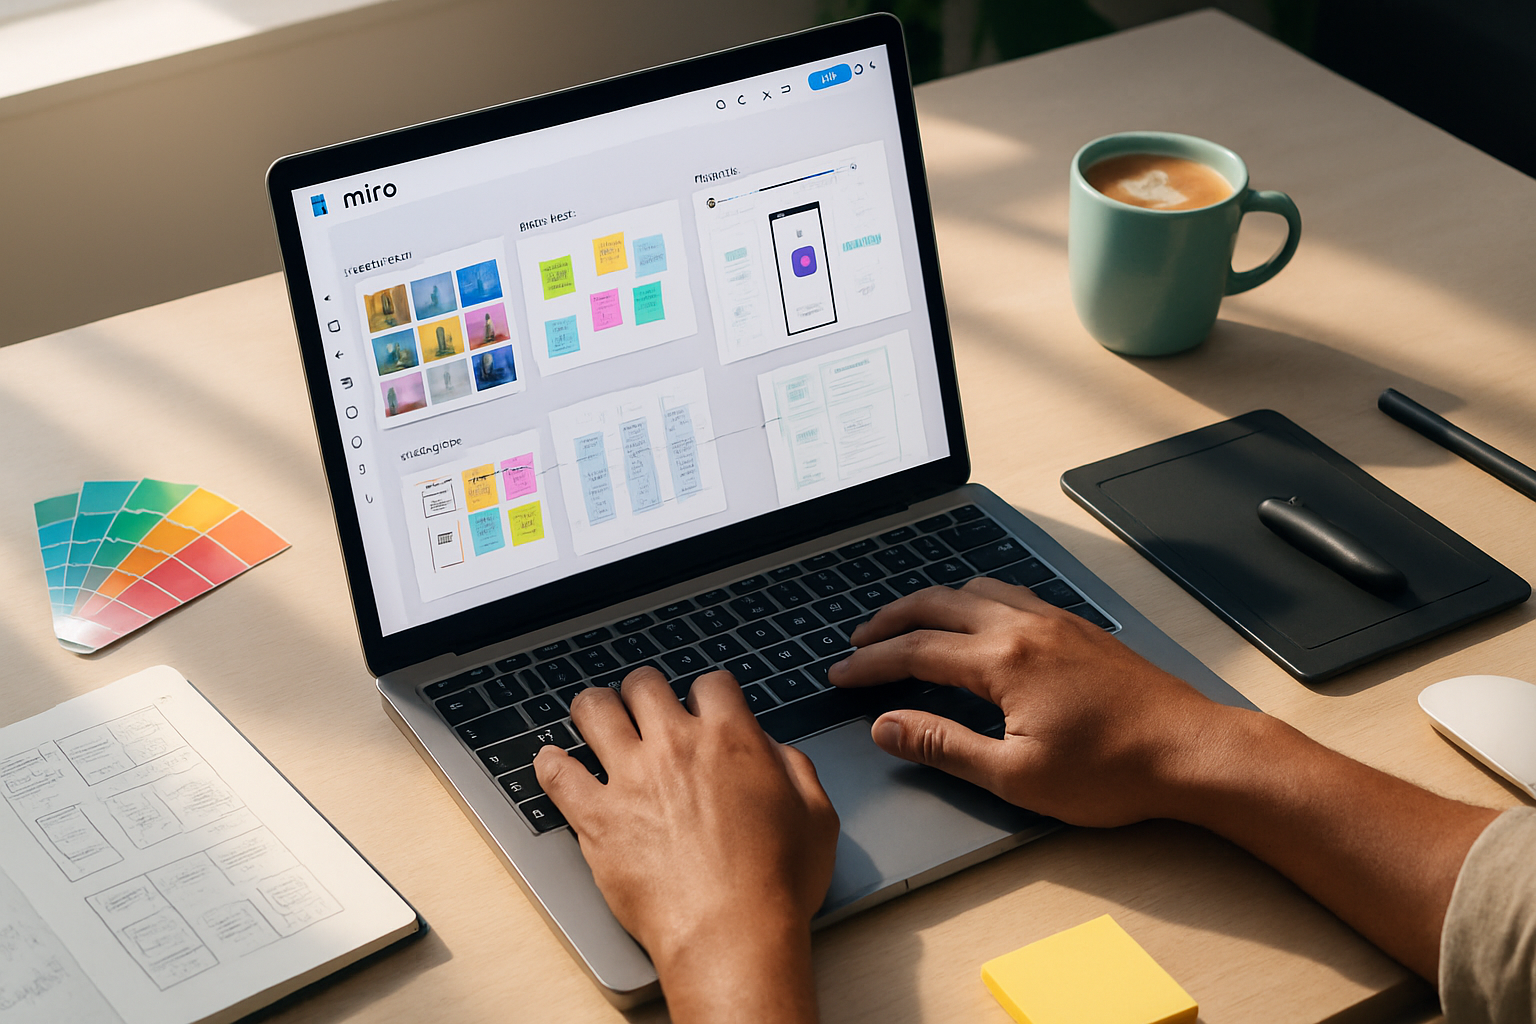
5) Project-level collaboration, live previews and versioning (use more than just exports)
What it is
Runway offers collaborative workspaces where multiple creators can edit, comment, and version projects. Beyond “export when done,” you can stream iterations, compare branches, and keep a robust version history.
Why it matters
Collaboration speeds review cycles and prevents “re-do” waste: a director can comment while an artist tweaks masks, the editor can pull a preview, and a producer can approve a version - all without continual re-exports.
How to use it - practical workflow
- Put source assets and intermediate renders in a shared project workspace.
- Use named versions when you reach milestones (e.g., “MotionPass_v01”, “StylePass_v01”).
- Invite stakeholders to preview via the platform’s live or shared preview features; use comments to pin feedback to specific frames.
- When a version is approved, export a reference-quality master copy and archive the rest.
Pro tips
- Use version tags to connect specific model parameters (seed, strength, model name) to a saved version so you can reproduce results exactly.
- Keep a short changelog in each version so the team knows what changed between passes.
Quick checklist to apply this today
- Pick one short clip (3–8s) and run a two-pass Gen chain - motion first, style second.
- Practice a masked object replace - make a mask, track it, apply a generative inpaint.
- Assemble 30–80 images and test a small fine-tune to lock in an aesthetic.
- Export or create an edge/depth/pose pass and feed it as a control layer to constrain generations.
- Move a current side-project into a shared workspace, create named versions, and invite one reviewer.
Further reading and official docs
- Runway Gen-2 announcement and overview: https://blog.runwayml.com/introducing-gen-2
- Runway Help Center (training, masks, model docs): https://help.runwayml.com/
Closing thought
These five techniques are about control: keep motion when you want it, confine edits where you need them, teach the model your look, and share versions for faster feedback. Use them together and your generative outputs stop being random experiments and start being repeatable, production-ready tools.