· creativity · 6 min read
10 Hidden Features of VistaCreate You Didn’t Know Existed
Unlock time-saving, productivity-boosting features in VistaCreate that many users miss - from one-click background removal to hidden keyboard shortcuts and advanced animation controls.
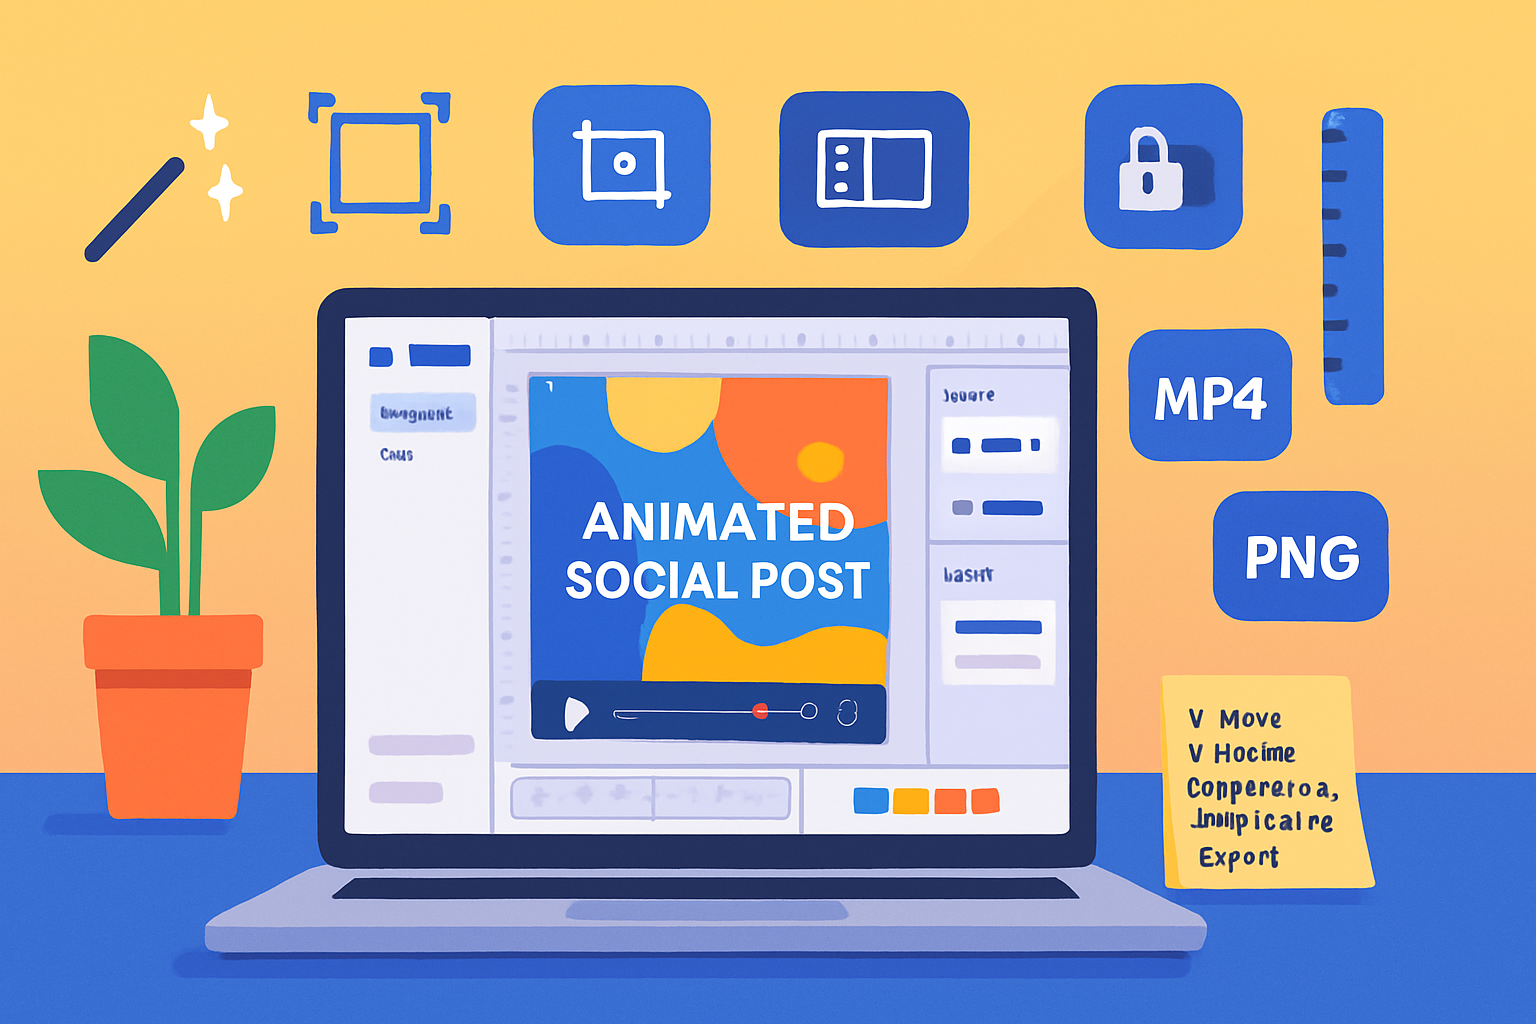
Why dig for hidden features?
VistaCreate (formerly Crello) packs a lot under its clean interface. Many users jump straight to templates and text boxes and never explore the smaller tools that save time and dramatically improve results. Below are 10 lesser-known features - with step-by-step tips and real-world use cases - so you can design faster and more polished assets.
1) One‑click Background Remover (and refine edges)
What it does: Instantly isolates a subject from its background so you can place it into any scene.
How to use it:
- Select an image on the canvas.
- Choose the “Remove background” option in the toolbar (or the Properties/Adjust panel).
- If the automatic cutout needs refinement, use the eraser/refine brush if available, or apply a slight feather via the Blur/Feather control.
Why it matters: Faster than manual masking - great for product photos, social posts, or creating stickers from images.
Pro tip: After removing the background, right away place the subject into a frame or scene to check edges against different colors.
2) Magic Resize - Duplicate to Multiple Format Sizes Instantly
What it does: Converts your design into several formats (Instagram post, story, Facebook cover, Twitter header) without rebuilding from scratch.
How to use it:
- With your design open, click the “Resize” (or “Copy to size”) button.
- Select target formats or custom dimensions.
- Let VistaCreate reflow elements - then tweak layers where auto-placement needs adjustment.
Why it matters: Saves huge amounts of time when repurposing campaigns across platforms.
Quick workflow: Create the desktop/main version first, then resize into mobile/story formats and fix positioning for each.
3) Object‑Level Animations & Timeline Controls
What it does: Animate individual elements (text, icons, photos) with presets or custom motion, and control timing with a timeline for multi-frame animations.
How to use it:
- Select an element and open the “Animate” panel.
- Choose a preset (fade, pan, rise, float) or set a custom motion path.
- For multi-object choreography, open the animation timeline to stagger start/end times.
Why it matters: Produces professional animated posts, intros, and short videos without separate video software.
Pro tip: Keep animations subtle for CTAs - too many simultaneous movements dilute impact.
4) Brand Kit & Saved Styles (colors, fonts, logos)
What it does: Store your brand colors, fonts, and logos to instantly apply consistent styling across projects.
How to use it:
- Open “My Brand” or Brand Kit from the left menu.
- Upload logo files, add color swatches, set default fonts.
- Apply saved palettes and fonts from the quick-access panel when editing.
Why it matters: Speeds up production and ensures on-brand consistency across team members and templates.
Pro tip: Create 2–3 palette variations (primary, accent, muted) for campaign flexibility.
5) Frames & Scene Creator (masking made easy)
What it does: Drop images into pre-made frames and multi-photo scenes that auto-crop or mask to shapes.
How to use it:
- Browse the “Frames” or “Scenes” section.
- Drag the frame onto the canvas, then drag your photo into the frame.
- Resize or reposition the image within the mask by double-clicking and dragging.
Why it matters: Fast way to create collages, product mockups, or magazine-style layouts.
Pro tip: Combine frames with the background remover to create layered, cutout looks.
6) Eyedropper & Palette Extraction (pull colors from any image)
What it does: Sample colors directly from an image and create a matching color palette.
How to use it:
- Select a color control (text, shape fill) and choose the eyedropper tool.
- Click anywhere on the canvas image to sample the color.
- Some editors let you auto-extract a palette from a selected image to save as swatches.
Why it matters: Ensures harmonious color choices based on photography or brand assets.
Pro tip: Extract palettes from customer photos or campaign imagery to keep collaterals cohesive.
7) Layers: Lock, Hide, Group & Arrange for Cleaner Editing
What it does: Manage complex designs by locking elements, hiding layers temporarily, grouping related items, and changing stacking order.
How to use it:
- Use the Layers panel to select, hide (eye icon), lock (padlock), or group elements.
- Right-click an object to bring it forward/backward or use “Arrange” controls.
Why it matters: Essential for multi-element layouts, especially when fine-tuning positioning or applying edits to one subset of items.
Pro tip: Group repeated element sets (e.g., header + logo + CTA) so you can move or resize them together.
8) Snap Guides, Rulers & Distribute Spacing (pixel-perfect layouts)
What it does: Snap objects to guides, show rulers for precise measurement, and evenly distribute multiple objects along an axis.
How to use it:
- Enable rulers and guides from the View menu.
- Drag guides from the ruler edges onto the canvas.
- Select multiple objects and use “Distribute horizontally/vertically” to space them evenly.
Why it matters: Clean, balanced compositions improve readability and perceived professionalism.
Pro tip: Create guide presets for common formats (e.g., 24px margins for social posts).
9) Time‑Saving Keyboard Shortcuts & Quick Actions
What it does: Perform common tasks instantly - duplicate elements, group, nudge, align - without a single menu click.
Essential shortcuts (most editors follow these conventions):
Ctrl/Cmd + D  -> Duplicate selected item
Ctrl/Cmd + G  -> Group items
Ctrl/Cmd + Shift + G -> Ungroup
Arrow keys     -> Nudge object (hold Shift for larger increments)
Ctrl/Cmd + ]  -> Bring forward
Ctrl/Cmd + [  -> Send backward
Ctrl/Cmd + Z  -> Undo
Why it matters: Learning a handful of shortcuts shaves minutes off repetitive tasks.
Pro tip: Keep a sticky note with 6–8 shortcuts near your desk until they become muscle memory.
10) Export Options & Presets (transparent PNGs, animated GIF/MP4)
What it does: Choose the right export format for your end use - static with transparency, animated GIFs for short loops, or MP4 for video placements.
How to use it:
- Click “Download/Export”.
- Choose format - PNG (transparent option), JPG, GIF, MP4.
- For animated content, set frame limits and choose loop behavior if available.
Why it matters: Delivering the correct file type avoids re-exporting and maintains image/video quality across channels.
Pro tip: Export static assets as PNG with transparency for overlays; export animations as MP4 for higher quality and smaller file size when supported by the platform.
Quick workflows that combine these features
Social campaign batch - Start with one hero design → use Magic Resize to produce platform variations → apply Brand Kit colors/fonts → export optimized PNGs/MP4s.
Product launch image - Remove background → place product into a Scene frame → add subtle object animation → export both static (PNG) and animated (MP4) versions.
Team template creation - Build a template, lock layout guides, save styles to Brand Kit, and share via team folders so every teammate starts on-brand.
Final tips to uncover more hidden gems
- Explore the View and Help menus for toggles (rulers, guides, snap settings).
- Right-click objects - many context menus hide power tools.
- Search the help center or keyboard shortcuts reference inside VistaCreate for app-specific commands.
For official docs and the latest features, see VistaCreate’s website and support center:
Unlocking these lesser-known tools will speed up your workflow and make your outputs look more polished - often with just a few clicks.
