· marketing · 6 min read
10 Hidden Canva Features You Didn't Know Existed
Discover 10 lesser-known Canva features - keyboard shortcuts, advanced typography, Bulk Create, rulers & guides, version history, background remover tips, and more - to speed up your workflow and unlock pro-level design tricks.
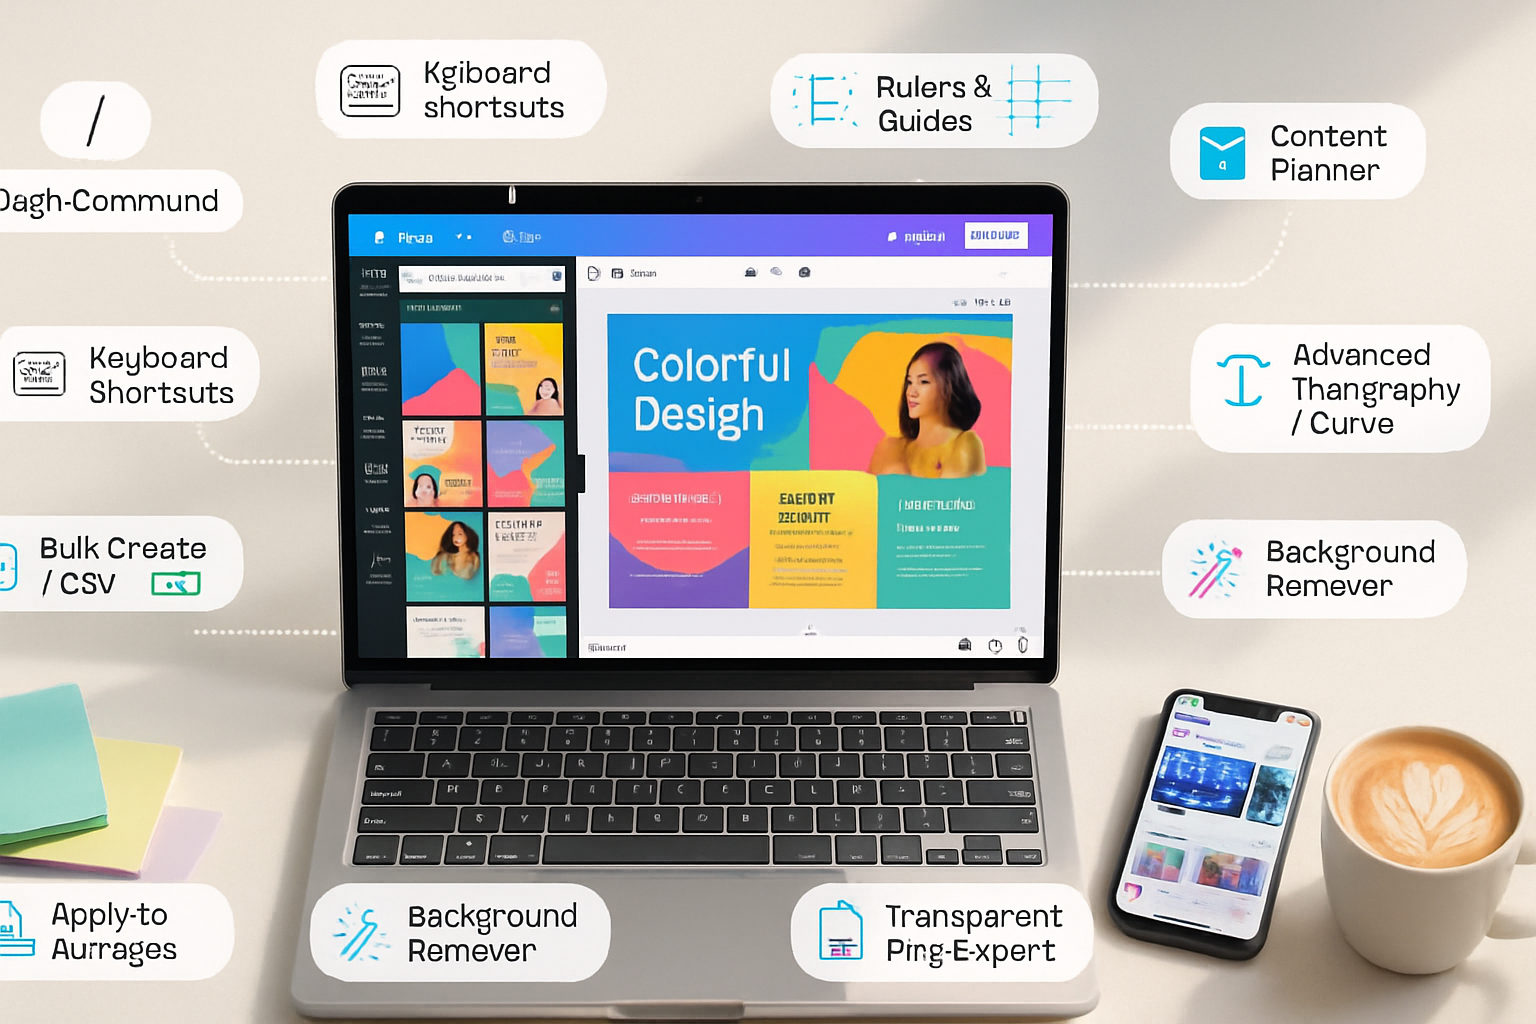
Canva is full of obvious, user-friendly tools - but like any mature app it also hides powerful features that can seriously speed up your workflow and unlock design possibilities you might never have guessed. Here are 10 lesser-known Canva capabilities (with clear steps and pro tips) to help you design faster and look sharper.
1) Slash (/) Command: Fast insert and actions
Want to add an element, change a setting, or run an action without hunting through menus? Hit the forward slash (/) inside the editor and start typing.
How to use
- Click on the canvas or select an element, then press
/. - Type what you want - “text”, “photo”, “frame”, “animate”, or even colors and templates.
Pro tips
- Use
/tthen Enter to add a new text box fast. - Combine
/with object selection to quickly find transform actions.
Why it matters: saves mouse travel and keeps you focused on the design.
2) Hidden keyboard shortcuts that speed every workflow
Canva has a wealth of keyboard shortcuts beyond the obvious ones (T for text). A few high-value ones:
- T - add text box
- R - rectangle
- C - circle
- Ctrl/Cmd + D - duplicate
- Alt/Option + drag - duplicate while dragging
- Arrow keys - nudge selected object by 1 px
- Shift + arrow - nudge by 10 px
- Ctrl/Cmd + ] or [ - bring forward/send backward
- Ctrl/Cmd + G / Ctrl/Cmd + Shift + G - group/ungroup
Pro tip: learn 5 shortcuts you’ll use every day - duplication, nudge, group, T, and / - and you’ll gain back minutes each design.
3) Rulers, guides, and perfect nudging
Want pixel-precise layouts? Turn on rulers and create custom guides.
How to use
- View > Show rulers and Show guides (or look for the View menu in the editor).
- Click and drag from the ruler edge to drop a guide onto the canvas.
- Use arrow keys to nudge elements; Shift + arrow to move in larger increments.
Pro tips
- Hold Alt/Option while dragging to temporarily disable snapping for tiny adjustments.
- Use guides on multiple pages for consistent layouts across a multi-page document.
Why it matters: precise alignment equals a polished, professional look.
4) Bulk Create (CSV-driven content variations)
Bulk Create lets you generate dozens - or hundreds - of personalized designs from a CSV or spreadsheet (perfect for invitations, certificates, or social posts with unique names/data).
How to use
- Go to the side panel ➜ Apps ➜ Bulk Create (or look for “Bulk Create” under the More/Apps menu).
- Upload a CSV with columns for every variable (e.g., Name, Date, Location).
- Map the CSV columns to text fields and image placeholders in your template. Canva will generate a page for each row.
Pro tips
- Use consistent placeholder names (like {{Name}}) in your template so mapping is predictable.
- Preview before generating all pages to make sure fields align and typography holds up.
Why it matters: enormous time-saver for mass-personalized designs.
5) Version history (recover and compare edits)
Made changes you regret? Version history lets you restore or copy elements from previous saves.
How to use
- File ➜ Version history (or look for “Version history” in the File menu).
- Browse timestamped versions, open an older version, and restore or copy elements.
Pro tips
- Use descriptive save points for big iterative designs; this makes it faster to jump back.
- You can copy elements from old versions into the current document without fully restoring.
Why it matters: peace of mind and non-destructive experimentation.
6) Magic Resize alternative: Apply to all pages & replace across pages
Instead of resizing every page manually, use Apply to All Pages and multi-page replace features.
How to use
- For backgrounds - select the background, then choose “Apply to all pages” from the top bar.
- To replace an image on all pages - right-click an image and look for “Replace all” (useful in repeated-layout templates).
Pro tips
- Combine with Content Planner exports when resizing for multiple platforms - update one master and apply changes quickly.
Why it matters: keeps long documents consistent and reduces repetitive work.
7) Background remover + manual eraser/restore (fine control)
Canva’s one-click Background Remover is great, but the real power is in the manual Erase and Restore brushes for fine control.
How to use
- Select your image and click Effects ➜ Background Remover.
- After the automatic pass, open the Edit tools and use Erase or Restore brushes.
- Adjust brush size and zoom to work on edges.
Pro tips
- Use a large brush to erase big areas quickly, then a small brush for edge refinement.
- Apply a subtle shadow or outline to the cutout so it reads better on variable backgrounds.
Why it matters: produces polished cutouts without switching to another app.
8) Create transparent PNGs and export variants quickly
Design elements that need to overlay other content? Export transparent PNGs or multiple file types in a single go.
How to use
- File ➜ Download ➜ select PNG and check “Transparent background”.
- For multiple formats - use the “Download with options” or use the Share menu to export a JPG, PNG, PDF, or MP4 as needed.
Pro tips
- Use transparent PNGs for logos and overlays. Export at 2x scale (e.g., select 2x) for crispness on high-DPI displays.
- Use “Compress file” carefully - it reduces size but may harm fine details.
Why it matters: perfect for web, video overlays, and branded assets.
9) Advanced typography: effects, spacing, and text to curve
Canva hides sophisticated text controls that instantly upgrade your layouts.
How to use
- Select text and use the top bar to open Effects, Spacing, and Curve.
- Effects include Shadow, Lift, Hollow, Glitch, and more. Spacing lets you set line height and letter spacing numerically.
- Curve text - use Effects ➜ Curve and adjust intensity.
Pro tips
- Use letter spacing (tracking) to create airy headlines or compact subheads.
- Combine Curve with Shadow for attractive badges and logos.
Why it matters: typography is where good designs become great designs.
10) Content Planner, scheduling & publishing: Canva as a social hub
Canva includes a Content Planner so you can schedule posts directly to social platforms - handy when you want to design and publish from the same place.
How to use
- Open the Content Planner from the left sidebar.
- Create a scheduled post - pick date/time, link the social account, and publish.
Pro tips
- Use multiple queues for different platforms and preview how the post will look on each channel.
- Combine Bulk Create with Content Planner to generate and schedule many personalized posts at once.
Why it matters: reduces the handoff between design and social management.
Quick Cheatsheet: 10 Fast Ways to Use These Features
- / (Slash) - quick commands
- T, R, C - add text/rect/circle
- Alt + drag - duplicate while dragging
- Shift + arrow - 10px nudge
- View -> Rulers & Guides - precise alignment
- Bulk Create - CSV-driven personalization
- Version History - restore prior states
- Apply to All Pages / Replace All - global edits
- Background Remover with Erase/Restore - refined cutouts
- Content Planner - schedule & publish
Final thoughts
Spend an hour experimenting with even three of these features - shortcuts, rulers/guides, and Bulk Create - and you’ll likely shave hours from recurring tasks while producing cleaner, more consistent designs. Canva’s strength is how simple features layer together: once you combine keyboard shortcuts, precise guides, and bulk automation, routine design work becomes fast and repeatable.
Happy designing!
