· creativity · 6 min read
No Code, No Problem: How to Create a Professional Portfolio Website
A practical, step-by-step guide for creatives and freelancers to build a stunning portfolio website without writing code - platform choices, design tips, SEO, and launch checklist.
Why a portfolio matters
As a creative or freelancer, your portfolio is your primary salesperson. It tells clients who you are, what you do, and why they should hire you - all in seconds. The good news: you don’t need to learn HTML, CSS or JavaScript to build a professional, high-converting portfolio. Today’s no-code platforms give you polished templates, responsive layouts, and built-in SEO and analytics.
This guide walks you through choosing a platform, planning content, designing memorable pages, launching, and maintaining your portfolio - step by step.
Why choose no-code?
- Fast - launch in hours or days instead of weeks.
- Affordable - most platforms include hosting and security in one price.
- Design control - visual editors let you customize templates without code.
- Iterative - update works-in-progress and add projects anytime.
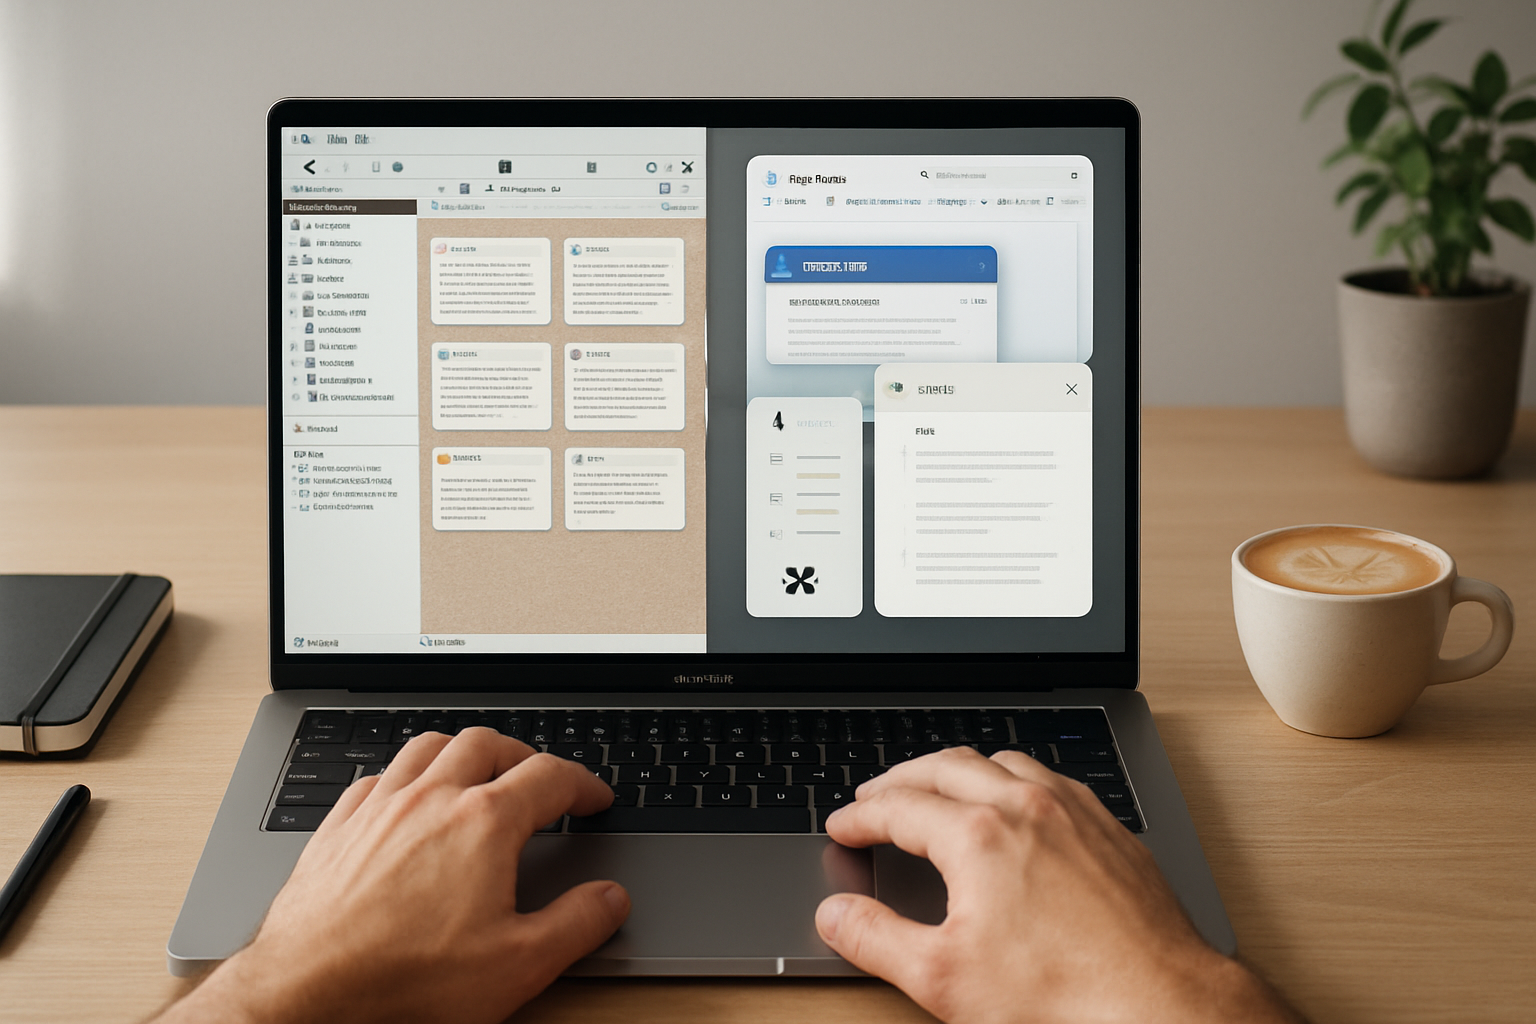
Top no-code platforms to consider
- Squarespace - polished templates and an all-in-one experience: https://www.squarespace.com
- Wix - flexible drag-and-drop editor and lots of app integrations: https://www.wix.com
- Webflow - visual design with more advanced layout/publishing capabilities: https://www.webflow.com
- Format - portfolio-focused templates and client proofing tools: https://www.format.com
- Adobe Portfolio - great if you already use Adobe Creative Cloud; integrates with Behance: https://portfolio.adobe.com and https://www.behance.net
- Cargo - creative-first aesthetic templates: https://cargo.site
- Showit - designers-friendly, pixel-perfect visual builder: https://showit.co
- WordPress.com + builder themes - flexible when paired with block or page builders: https://wordpress.com
Each platform has tradeoffs. Squarespace and Format excel for turnkey portfolios. Webflow gives more design freedom but has a slightly steeper learning curve. Pick one that matches your comfort level and long-term needs (blogging, e-commerce, client proofing).
Plan your portfolio: structure and content
Before you open a template, plan what you’ll include. Treat your site like a curated gallery, not a digital warehouse.
Essential pages and elements
- Home / Landing - a clear, punchy headline, a single high-impact image or video, and primary CTA (Hire me / View work).
- Portfolio / Work - curated selection of 8–15 strong pieces - quality over quantity.
- Project case studies - 3–7 in-depth projects showing process and impact (see template below).
- About - short bio, a photo, specialties, and a value proposition. Add a downloadable resume if relevant.
- Services / Pricing - optional but helpful - list services, typical deliverables, or starting rates.
- Contact - form, email, phone (if comfortable), availability, and social links.
- Testimonials / Clients - logos and quotes to build trust.
- Blog or Resources - optional, great for SEO and demonstrating expertise.
Project case study structure (template)
- Title + hero image
- The challenge - what the client wanted
- Your role & timeline - designer, developer, copywriter, etc.
- Process - sketches, research, iterations, tools used
- Outcome & results - metrics where possible (conversion lift, sales, time saved)
- Gallery - screenshots, mockups, responsive previews
- CTA - invite the reader to contact you for similar work
Design fundamentals (no-code friendly)
- Visual hierarchy - give a clear reading path. Headline -> subhead -> CTA.
- White space - breathing room increases perceived quality.
- Typography - 2–3 fonts max. Use a readable body size (16px+ on desktop) and larger headings.
- Color - pick a primary color and 1–2 supporting hues. Use neutral backgrounds for creative work.
- Imagery - show real work at high quality. Prefer full-screen hero images for impact.
- Consistency - align padding, button styles, and image treatments site-wide.
- Mobile-first - test every page on mobile and tablet. Most templates are responsive but you must verify.
Accessibility basics
Design for everyone: use meaningful headings, provide alt text for images, ensure color contrast, and make interactive elements keyboard-accessible. Refer to the W3C Web Content Accessibility Guidelines for specifics: https://www.w3.org/WAI/standards-guidelines/wcag/
Step-by-step build process (practical)
- Choose your domain
Buy a custom domain (yourname.com or yourbrand.com). Many platforms include a free domain for the first year when you pay for an annual plan.
- Pick a platform and template
Select a platform above. Pick a template with the layout you want - focus on gallery and project pages rather than homepage effects you can’t replicate.
- Gather assets
- High-quality images of your work (optimize for web - see next section)
- Short bios and elevator pitches
- Client logos and testimonials (get permission)
- Project files and process screenshots
- Contact and social links
- Create core pages
Use your platform’s editor to populate the Home, About, Portfolio, Project pages, and Contact. Keep copy concise and benefits-focused: tell potential clients how you help them.
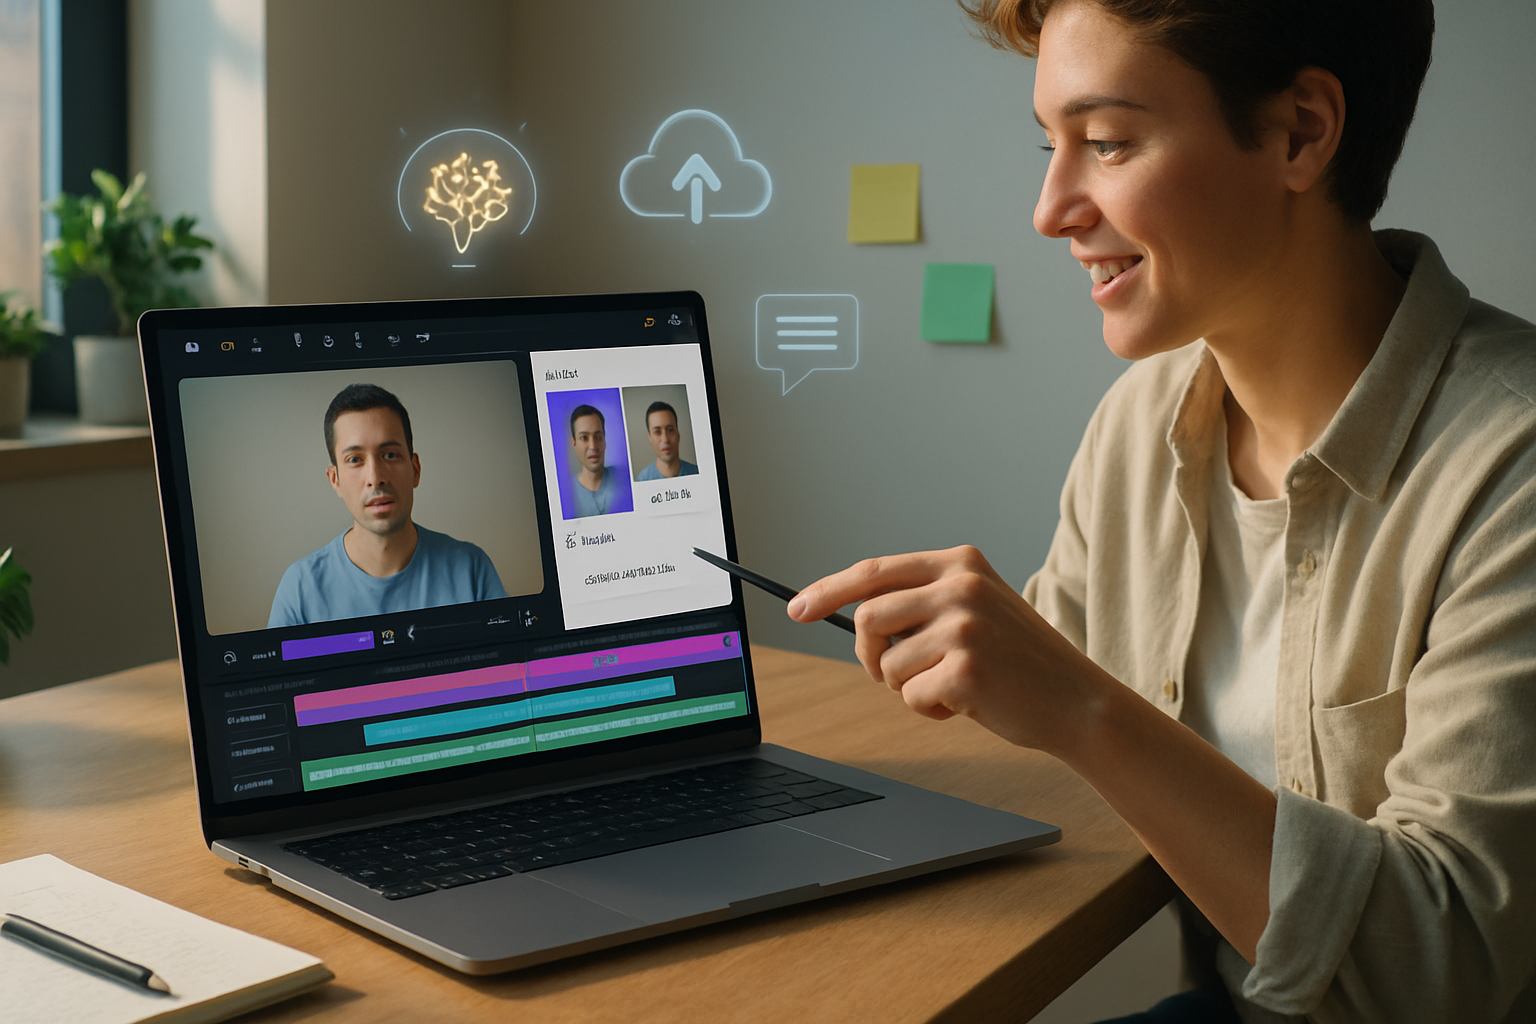
- Optimize images and media
Compress images (JPEG/PNG/WebP) before upload. Tools like TinyPNG can reduce file size without visible loss: https://tinypng.com. Use appropriately sized images (don’t upload a 6000px photo if it shows at 1200px). Consider lazy loading for long pages.
- Add SEO basics and analytics
- Set meta title and description for each page.
- Use descriptive alt text for images.
- Submit a sitemap to Google Search Console: https://search.google.com/search-console
- Install analytics (Google Analytics: https://analytics.google.com) to track visitors and behavior.
- Test and fine-tune
- Use Google PageSpeed Insights to spot performance issues: https://developers.google.com/speed/pagespeed/insights
- Test layout on multiple devices and browsers.
- Ensure contact forms work and spam controls are active.
- Launch and promote
Announce on social, email your network, update profiles (LinkedIn, Behance), and consider a launch post with behind-the-scenes images.
Design tips specifically for creatives
- Lead with your best project. Make the hero image your strongest piece.
- Show process. Clients hire creators who can solve problems; process builds trust.
- Curate ruthlessly. A smaller, stronger portfolio converts better than a large, inconsistent one.
- Use mockups sparingly. Real screenshots or photos of deliverables feel more authentic.
- Include client outcomes. Numbers (e.g., +30% engagement) prove impact.
Conversion-focused elements
- Primary CTA on every page (Contact, Book a Call, Hire Me).
- Short contact form - name, email, project type, budget range, timeline.
- “Available for hire” indicator on the site or in the hero.
- Lead magnet - offer a free resource (brief guide, checklist) in exchange for an email.
Pricing and plans: what to buy
Free plans are useful for testing but limit custom domains and may show platform branding. For a professional presence, consider a paid plan that includes:
- Custom domain
- No platform ads/branding
- Increased bandwidth and storage
- Form and email features
- Basic SEO tools
- E-commerce (if selling prints or services)
Compare platform specifics on their pricing pages (links above) and pick the plan that covers your must-haves.
SEO, discoverability and content strategy
- Blog 1–2x/month to target search terms related to your services (case studies, process posts, client stories).
- Optimize project pages for keywords (e.g., “brand identity designer for tech startups”).
- Use structured data (schema) for organization, person, and portfolio items if your platform supports it.
- Build authority by getting featured - guest posts, podcasts, directories, and Behance galleries.
Maintenance and iteration
- Refresh your portfolio every 6–12 months. Remove old, weaker work.
- Monitor analytics and note which projects attract contact submissions.
- A/B test headlines, hero images, and CTAs to improve conversions.
- Keep plugins, integrations, and billing information up to date.
Legal and privacy
If you collect contact info or use analytics, include a privacy policy and cookie notice. Many platforms offer basic cookie consent tools.
Quick launch checklist
- Domain registered and connected
- Responsive template chosen and customized
- 8–15 curated works uploaded
- 3–7 detailed case studies
- About page and contact form live
- Testimonials and client logos added
- Meta titles/descriptions set
- Analytics and Search Console connected
- Accessibility checks and image alt text added
- Legal pages (privacy) published
Resources and tools
- Image compression - TinyPNG -
- Mockups and design - Figma -
- Free images - Unsplash -
- Performance testing - Google PageSpeed Insights -
- Search console - Google Search Console -
- Accessibility standards - W3C WCAG -
Final thoughts
A compelling portfolio is a blend of strong work, clear storytelling, and thoughtful design. No-code platforms let you focus on the parts that matter - selecting, composing, and communicating your work - instead of wrestling with code. Launch lean, iterate often, and keep the site a living showcase of your best thinking and outcomes.
Further reading
- Webflow University (visual design and interactions): https://webflow.com/university
- Squarespace help & templates: https://www.squarespace.com/templates
- How to write a case study (format and structure inspiration): https://www.format.com/magazine/resources/photography/how-to-write-a-case-study