· creativity · 5 min read
Narrative Artistry: Crafting Compelling Stories with Animoto-A Guide for Marketers
Learn how to leverage Animoto's tools and storytelling principles to craft marketing videos that engage viewers, communicate your brand message, and drive conversions.

Outcome-first introduction
Start with the result: you’ll leave this guide able to plan, produce, and publish marketing videos in Animoto that capture attention, build emotional connection, and convert viewers into customers. Read on and you’ll get a clear, repeatable workflow, ready-to-use script templates, editing tactics specific to Animoto, and distribution strategies that amplify reach.
Why storytelling matters for marketers - fast
Video grabs attention. Stories hold it. Short attention spans mean a strong hook matters more than ever. But a hook without meaning is forgettable. A well-constructed narrative turns a moment of attention into memory and motivates action. Consider these facts: people recall stories far better than raw facts, and video consistently outperforms other content formats for conversion and engagement (Wyzowl; HubSpot).
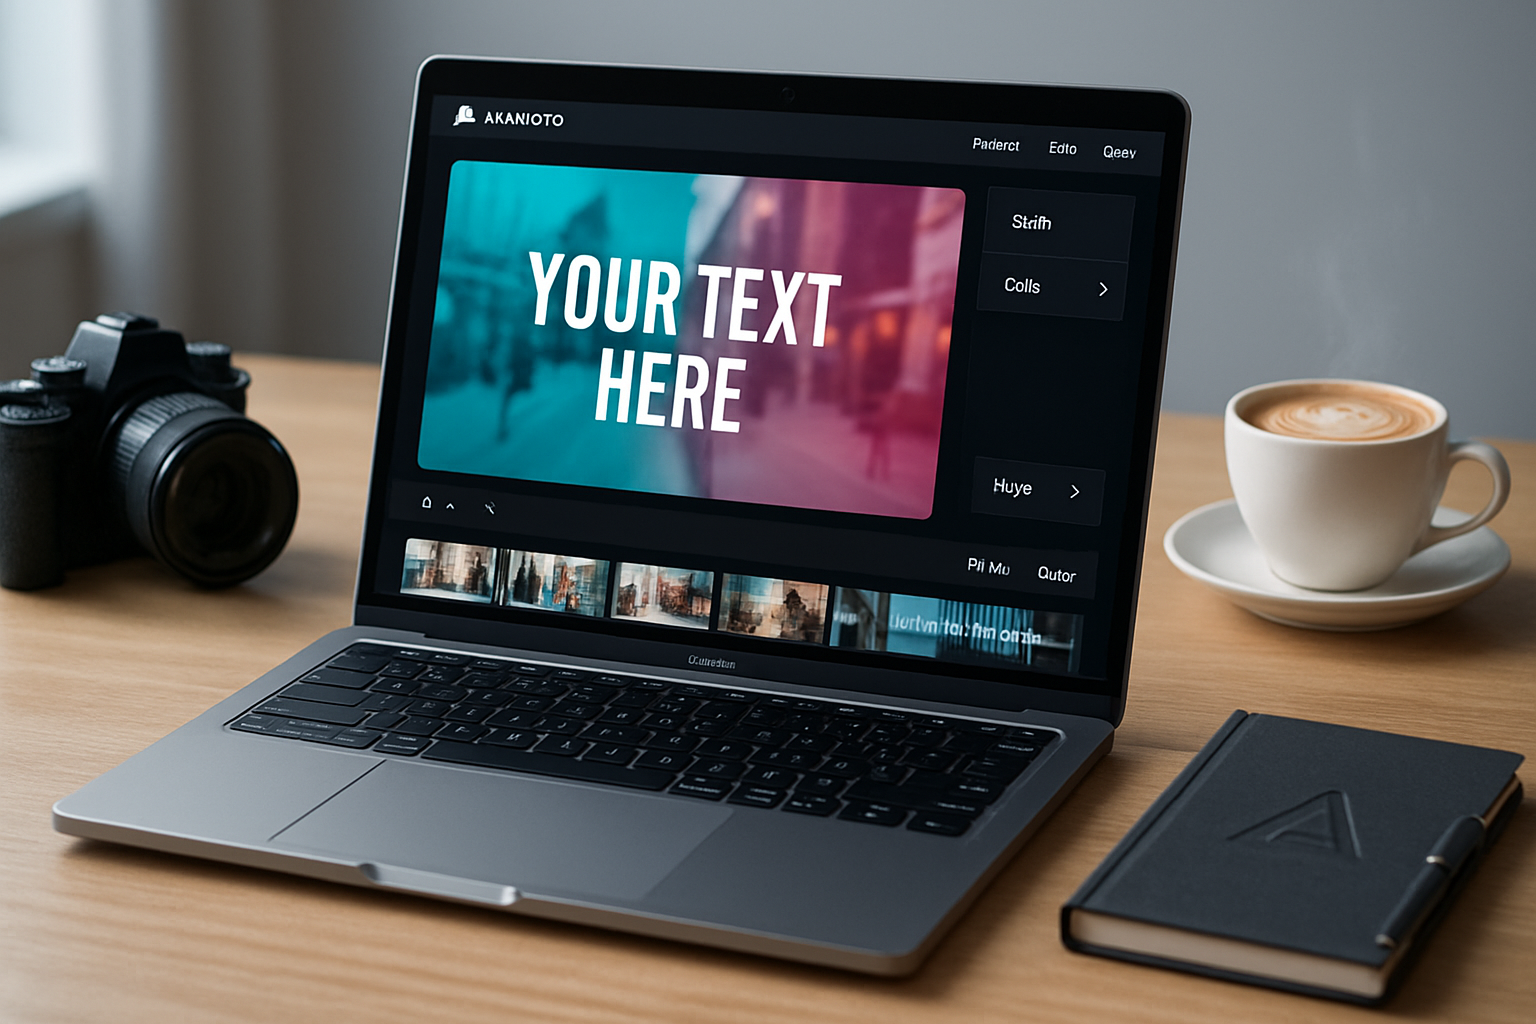
Animoto: the practical toolkit for busy marketers
Animoto is built for speed and polish. It blends templates, drag-and-drop editing, music, text animations, a stock library, and brand controls into a single, web-based environment. Use it when you need professional-looking results without a dedicated production team. Key capabilities to use:
- Templates and storyboards that give you structure fast.
- Built-in stock photos and video clips to fill visual gaps.
- Text overlays, animated headlines, and timing controls for pacing.
- Brand kit (logos, fonts, colors) for on-brand consistency.
- Aspect ratio presets for social platforms (square, vertical, landscape).
- Mobile-friendly workflow for editing on the go.
(Explore features at Animoto’s official site: https://animoto.com/features.)
A step-by-step storytelling workflow in Animoto
- Start with audience and outcome
- Who are you talking to? Be specific.
- What single action do you want them to take? Buy, sign up, learn more, or share?
Define the conversion first. The rest supports that target.
- Choose the narrative structure
Use one of three reliable arcs depending on your goal:
- The Problem→Solution (product/offer demos and launches).
- The Journey/Testimonial (customer success stories and case studies).
- The How-To/Explainer (education that builds trust and leads to conversion).
- Script a tight micro-narrative (15–60 seconds)
Keep it short. Hold attention. Here’s a simple script structure you can paste into Animoto’s storyboard:
- Hook (0–3 sec) - a visual or line that stops scroll.
- Setup (3–10 sec) - quick context and the pain point.
- Value (10–35 sec) - your solution in motion, benefits over features.
- Social proof (35–50 sec) - quick clip or quote from a customer (optional).
- CTA (50–60 sec) - clear next step; visually and verbally reinforced.
Script template (copy and adapt):
Hook: [One-line hook - bold claim or emotional snapshot]
Problem: [1–2 lines - the pain or gap]
Solution: [2–3 lines - what you offer and why it matters]
Proof: [Optional - short quote or metric]
CTA: [One action with link or button text]- Build a visual storyboard in Animoto
- Pick a template that matches your structure and target platform (Instagram Reels needs vertical; LinkedIn prefers landscape).
- Drag your script lines into caption frames. Use one idea per frame.
- Substitute footage with your brand shots first, then fill gaps with Animoto stock clips or images.
- Vary shot types - close-ups, product-in-use, lifestyle b-roll. Mix stills with motion.
- Pace, timing, and text treatment
- Short clips create urgency. Longer clips give breathing room.
- Match sentence rhythm to visual timing. If you read the line aloud, align the card duration.
- Use Animoto’s text animations sparingly. Big, branded headlines. Small supporting captions.
- Sound and music for emotional lift
- Music sets tone quickly. Use Animoto’s music library to test moods.
- Lower volume under voice or testimonials. Increase for endings and CTAs.
- Consider a short sonic logo or sound cue to reinforce brand recognition.
- Brand kit and final polish
- Apply your logo, brand colors, and font choices using Animoto’s Brand Kit.
- Ensure visual consistency across frames - consistent color overlays, corner treatments, or lower-thirds.
- Export sample drafts and test them on devices to catch framing issues and subtitle visibility.
Accessibility and captions
Auto-play without sound is the default for many social viewers. Captions are no longer optional.
- Add clear, readable captions for every spoken line.
- Keep caption lines short and time them to match the visual flow.
- Provide an aggressive first-frame hook for viewers who only see the thumbnail.
A/B testing and metrics
Treat your videos as experiments. Small changes can create meaningful lifts. Test variations of:
- Hook (first 3 seconds) - two different hooks for the same video.
- CTA placement - end-screen CTA vs. mid-roll CTA.
- Thumbnail/first-frame still.
Track metrics tied to the outcome: view rate, watch-through rate, click-through rate, and conversion rate. Use platform analytics (Facebook/Instagram/LinkedIn/YouTube) plus your landing page tracking.
Distribution playbook
- Customize the version for each platform (length, aspect, caption style).
- Lead with the hook in both the video and the social caption.
- Use captions and time-limited offers to increase urgency.
- Retarget viewers who watched 25–75% with a follow-up message or offer.
Examples and quick concepts for marketers
- Product Launch (Problem→Solution) - 30–45s; hook with the pain point. Show the product solving it in 20s. CTA: pre-order or learn more.
- Testimonial Mini-Doc (Journey) - 45–60s; real customers, B-roll of product usage, metric overlay, CTA to demo.
- Explainer (How-To) - 60–90s; clear steps, motion graphics for complex ideas, CTA to download a guide or sign up.
- Seasonal Promo (Timed Offer) - 15–30s; bold visual, countdown overlay, CTA to buy now.
Best practices checklist before publish
- Hook in first 3 seconds.
- Clear single outcome/CTA.
- Captions enabled and readable.
- Brand kit applied (logo, colors, fonts).
- Music level balanced for voiceover.
- Platform aspect ratio optimized.
- A/B test plan and tracking parameters set.
Tips and quick wins inside Animoto
- Use a template as a scaffolding, not a script - tweak timing and replace stock with brand assets.
- Keep text concise. Social viewers skim. One headline per frame.
- Favor contrast - light text on dark overlays or vice versa.
- Export a vertical and a square version for social ads and stories.
Measuring success - the right KPIs
Match KPIs to the objective. Awareness: views and view-through rate. Engagement: watch time, shares, comments. Conversion: click-through rate and landing page conversion. Tie your UTM parameters to each video variant to measure real impact.
Conclusion - tell better stories, faster
You don’t need a Hollywood budget to move people. You need a clear outcome, a tight narrative, and the right tools. Animoto gives you speed and polish at scale. Combine that with disciplined scripting, attention to the first three seconds, and platform-specific tweaks, and your videos will stop scrolls, build trust, and drive conversions. Start with the outcome, craft a short narrative that respects your audience’s time, and let your CTA be the natural next chapter of the story.
References
- Animoto features: https://animoto.com/features
- Wyzowl, Video Marketing Statistics: https://www.wyzowl.com/video-marketing-statistics/
- HubSpot, Video Marketing Statistics: https://blog.hubspot.com/marketing/video-marketing-statistics