· creativity · 7 min read
Beyond Basics: Advanced Animoto Tips to Elevate Your Video Creations
Unlock lesser-known Animoto features and pro workflows-timeline tricks, brand kits, layering, audio control, stock asset strategies and export best practices-that help you produce polished, professional videos faster.
What you’ll be able to do after reading this
Make videos that look and feel intentionally cinematic - without leaving Animoto. You’ll learn how to use Animoto’s advanced controls, brand tools and timing techniques to shape rhythm, emphasize story beats, and produce consistently branded content that stands out.
Short-term wins first. Then deeper craft.
Why go beyond templates?
Templates are great to start fast. But they can make videos feel generic. The difference between ‘good’ and ‘great’ isn’t extra effects. It’s intentional choices: pacing, typography, layering, and audio that support a story. That’s what we’ll cover.
Quick checklist (read this first)
- Start with a clear script or storyboard. Know the emotional arc.
- Pick a musical bed and set the pace before assembling visuals.
- Apply your Brand Kit (colors, logo, fonts) early for consistency.
- Use trims, split clips and varied shot durations to control rhythm.
- Export with the right resolution and aspect ratio for the platform.
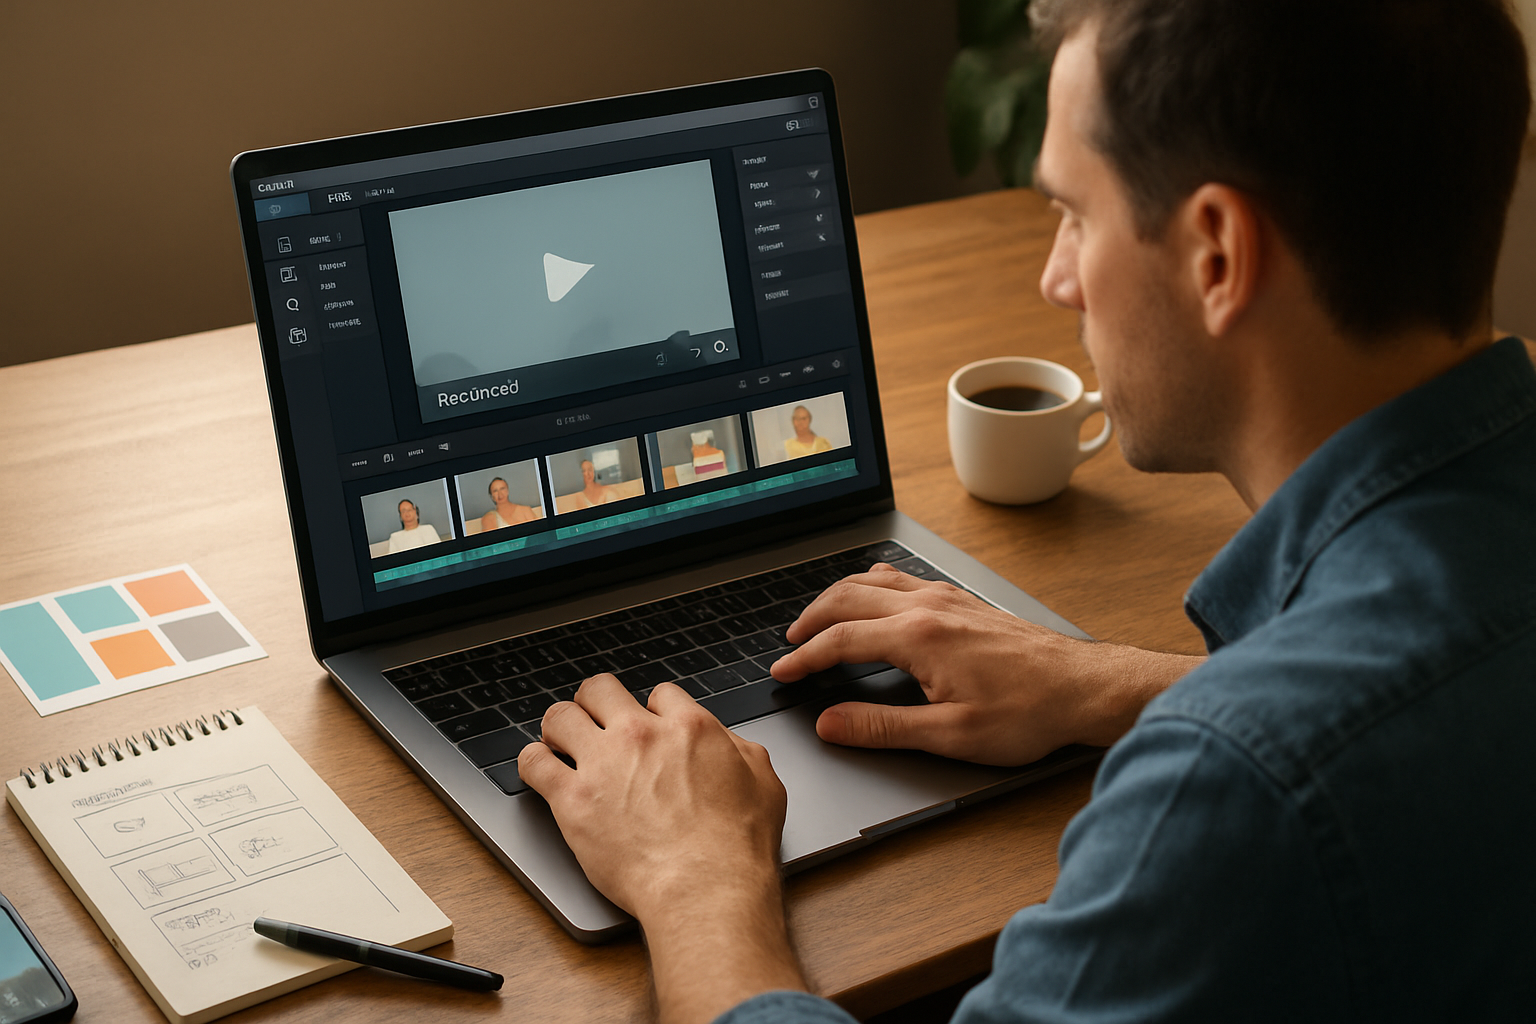
1) Supercharge your storyboard: blocks, pacing and tempo
Animoto’s storyboard (block) approach is fast. But advanced users treat each block like a film beat.
- Plan beats on paper. Map your script into 3–6 second beats for mobile-first content; 6–12 seconds for longer form.
- Choose a song first. Animoto’s music and beat-match features are good at syncing clips to the rhythm. Build your visual beats around strong musical accents instead of trying to fit music to pre-cut visuals.
- Use split/trimming liberally. Breaking a single clip into two blocks and changing the crop can create motion where there was none. It’s cheap, but effective.
Why this matters: pacing shapes emotion. Tight cuts build energy. Long holds invite reflection.
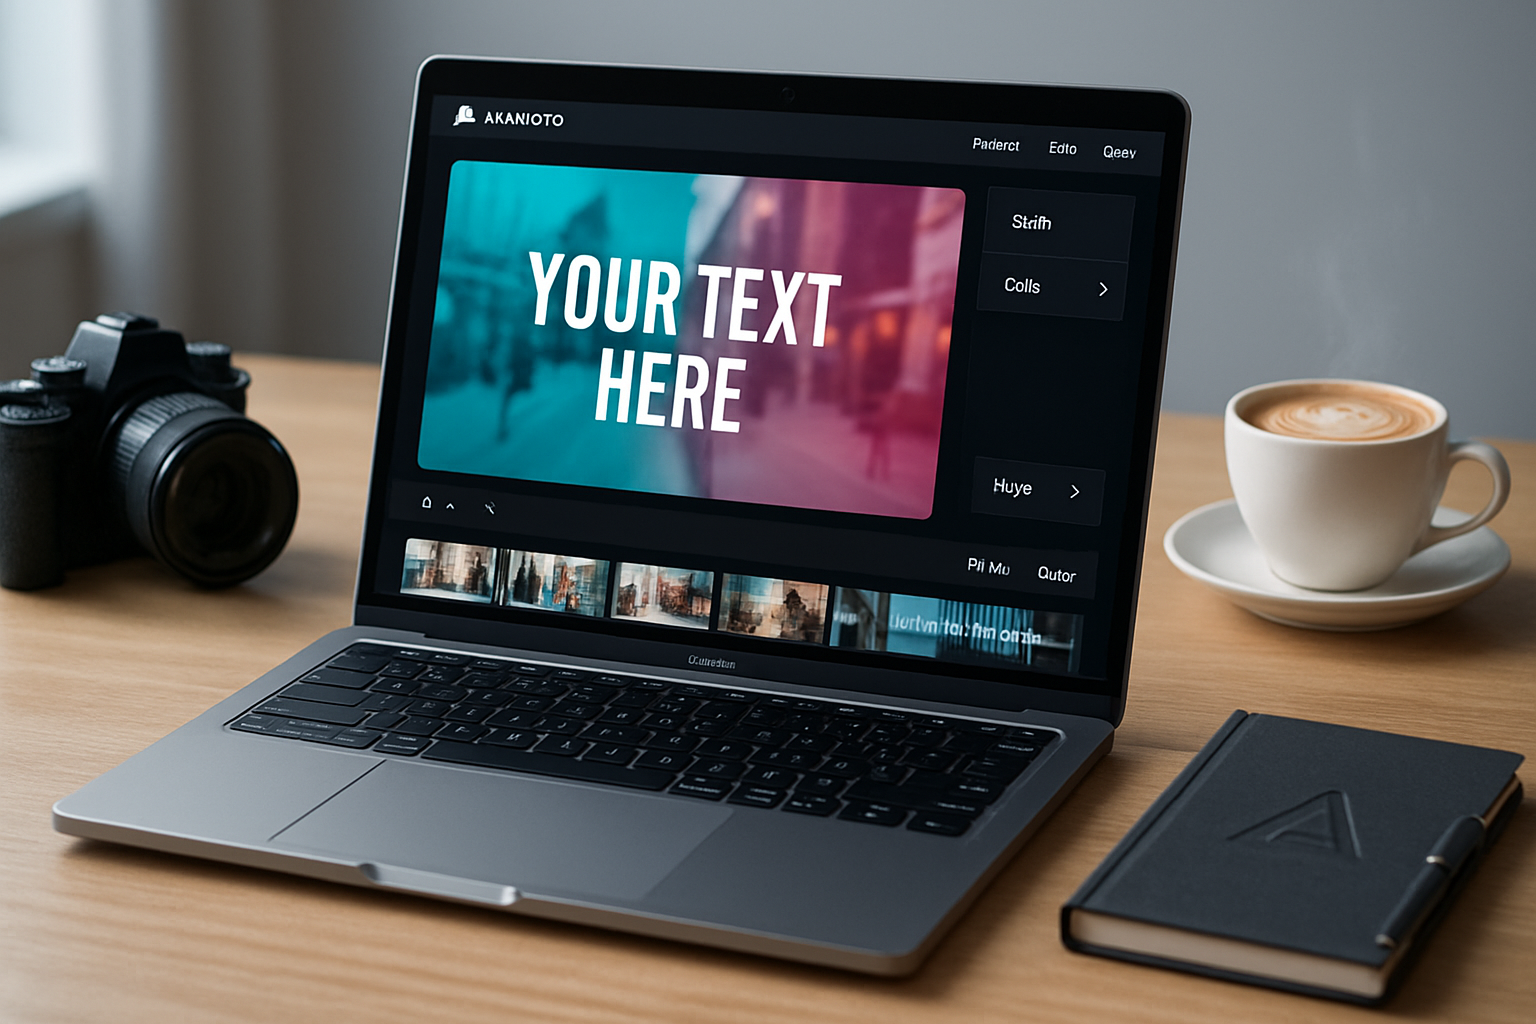
2) Brand Kit & typography: make every video unmistakably yours
If you have a paid plan, the Brand Kit is a force-multiplier. Set it up and then forget it - and your videos will still look professional.
- Upload logos in PNG with transparent backgrounds. Use versions sized for corners and for center-stage overlays.
- Add your brand fonts. Animoto supports custom fonts on paid plans; use a display face for headlines and a legible sans/serif for body text.
- Create text hierarchy with styles - title, subhead, caption. Reuse those styles across projects for consistency.
- Pair brand colors with semi-transparent overlays to keep white text readable over busy footage.
Pro tip: Use a narrow, high-contrast outline on text when placing it over complex backgrounds to improve legibility across devices.
3) Advanced motion: simulated camera moves, overlays and depth
Animoto doesn’t replace a full NLE, but you can fake complexity with a few tricks.
- Use varied crop & zoom across consecutive stills to imply camera movement. Start wide, then subtly zoom in to increase intensity.
- Add transparent PNG overlays (light leaks, film grain, cut frames) to create depth. Place overlays on a separate slide above the clip when possible.
- Layer logos with low opacity to create watermarks without distracting from the shot.
- Try soft color overlays to unify shots from different cameras - pick a color that complements your brand and apply 10–20% opacity.
4) Color and looks: consistent tone without LUTs
Animoto’s filters are limited compared to desktop suites, but you can still achieve consistent color.
- Use a single filter across the whole project or across sections to keep tone unified.
- If you need stronger correction, do a lightweight pre-grade in a free editor (e.g., DaVinci Resolve or a mobile app) and then import the corrected clips.
- For product videos, stick to neutral whites and subtle contrast boosts; heavy grading can shift product color and reduce trust.
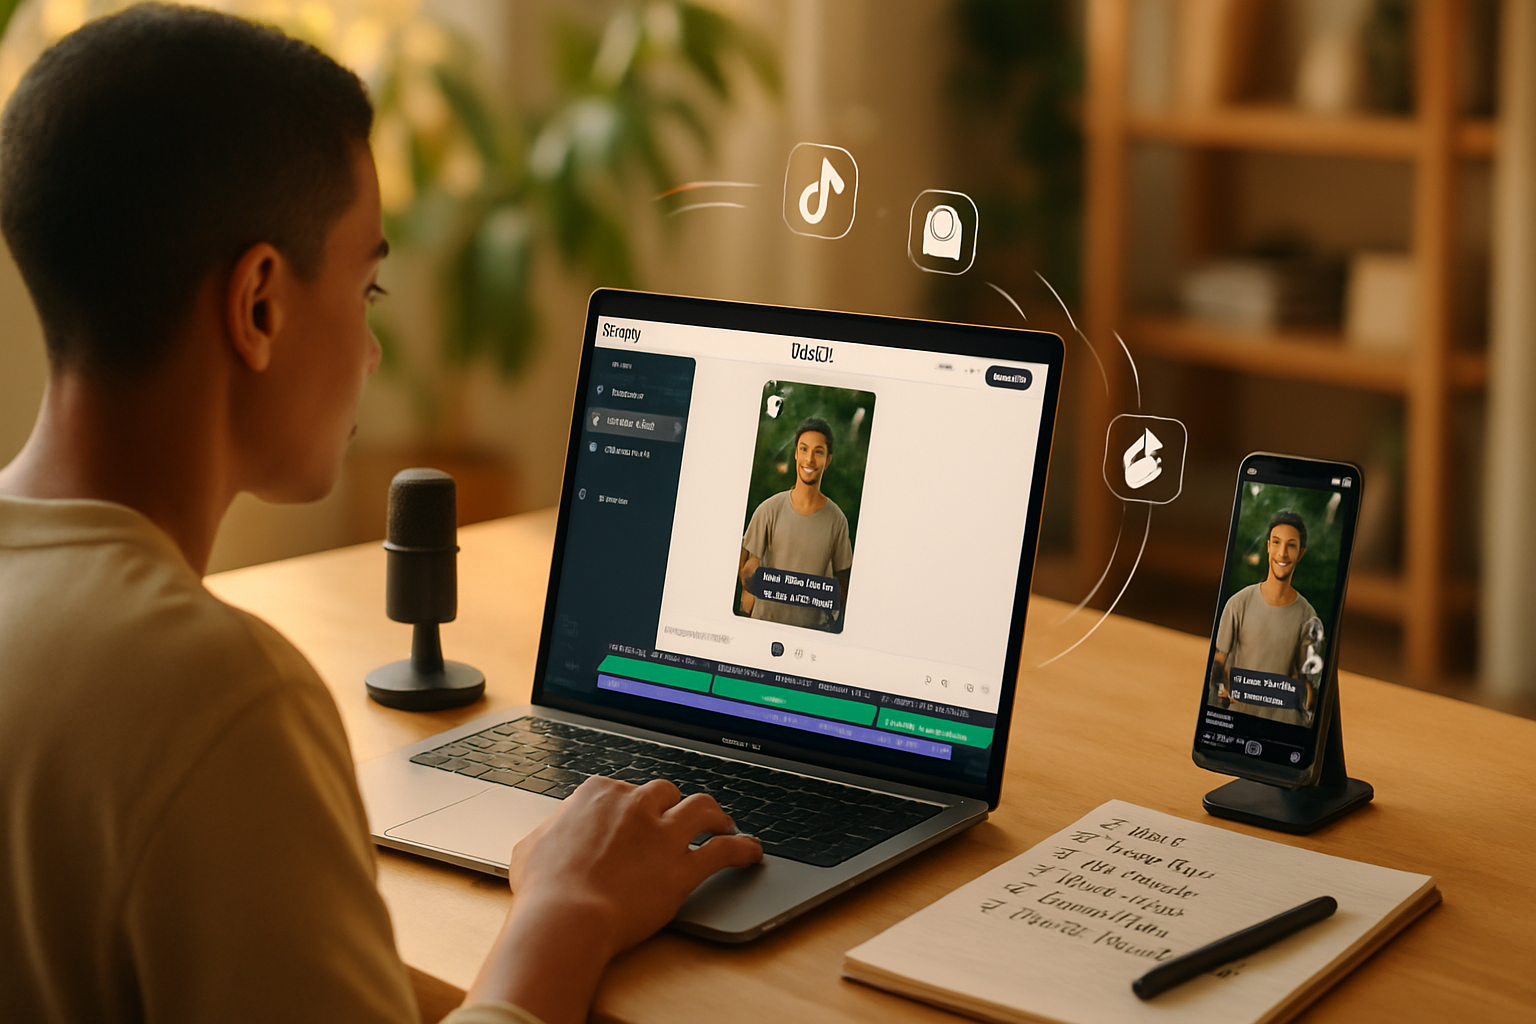
5) Audio mastery: music selection, voiceover technique and ducking
Sound is half the experience. Neglect it and your visuals will feel flat.
- Pick music before you cut. Animoto’s library offers commercial licenses; choose a track with clear beat markers.
- Record voiceovers in a quiet room with a USB mic. Normalize volume and lightly compress in Audacity or any DAW before uploading.
- Use Animoto’s audio controls to lower music during VO and raise it during montage. If the auto-ducking isn’t precise enough, split the timeline where the VO starts and reduce the music on that specific block.
- Add subtle ambient sound FX (city hum, keyboard clicks, nature beds) to sell environments. Keep them <5 dB under the music so they don’t compete.
Reference: Animoto music and licensing details are available on their site and help center: https://animoto.com and https://support.animoto.com/
6) Make stock feel bespoke: mix, crop and reframe
Animoto gives you easy access to stock clips and photos. Use them, but bend them to your story.
- Crop and zoom to focus. A wide stock shot can become an intimate moment by tight cropping.
- Combine two different stock clips with the same color overlay and filter to make them feel like parts of the same scene.
- Add short text micro-stories on top of stock to reframe the viewer’s context - e.g., “How we source” placed over a production shot.
7) Use text timing as a storytelling device
Text shouldn’t be an afterthought. Think of it as part of the rhythm.
- Stagger text lines across consecutive blocks to create reveal pacing.
- Use short lines - no more than 6–8 words on screen at once for mobile readability.
- For captions, match text reveal to the VO cadence. If the speaker says a phrase in two seconds, reveal matching text in that two-second block.
8) Workflow: draft > refine > finalize
Adopt a repeatable workflow so you spend less time fiddling and more time making creative decisions.
- Script - write a tight script or shot-list.
- Temp audio selection - pick music and record VO rough takes.
- Rough edit - assemble visuals to the music; focus on story flow only.
- Refine - fix pacing, apply Brand Kit, adjust text and overlays.
- Polish - check color consistency, audio levels, and platform aspect ratios.
- Export and upload.
Pro tip: Keep a project template with your Brand Kit and common text styles. Clone it for every new video.
9) Export settings & platform optimization
Export right the first time.
- For social - square (1:1) or vertical (9:16) for reels/stories; landscape (16:9) for YouTube.
- Use the highest resolution Animoto allows for your plan (usually 1080p).
- When uploading to platforms with compression (Instagram, Facebook, YouTube), export with H.264 MP4 for the best balance of quality and file size.
10) When to bring assets into a dedicated NLE
There are limits. Use Animoto for fast, high-quality deliverables. Move to Premiere, Final Cut or DaVinci when:
- You need multi-track audio mixing with precision ducking.
- You require frame-accurate cuts, advanced masking, or complex color grading with LUTs.
- You need motion-tracked VFX or sophisticated typography animation.
Export your sequences from Animoto as draft assets and finish them in your NLE when projects demand it.
Small details that make a big difference
- Use 24–30 fps source footage for a cinematic look; avoid mixing wildly different frame rates.
- Keep titles on screen for at least 1.5–2× the time it takes to read them aloud.
- Preview on a phone. Most viewers will watch on mobile; what looks great on desktop may be cramped on a small screen.
Advanced recipe examples (quick templates)
- Social Teaser (15 sec)
- Hook (2–3s) - bold text + close-up product clip
- Benefit punch (6s) - 2–3 quick clips synced to beat
- CTA (3–4s) - logo + URL/handle, muted background track
- Testimonial Short (30s)
- Intro (3s) - name + role over cropped interview clip
- Story (18s) - alternating interview bites + B-roll, duck music
- Close (6–9s) - product shot, CTA, logo
Case study: turning stock into a branded launch video
Start with a 60-second product launch template. Replace hero footage with brand-shot product images. Add a single color overlay and your logo watermark. Replace the music with a high-energy track that matches your launch message. Trim clips to the beat and sync headline reveals to musical accents. Result: a bespoke-looking launch that took under two hours.
Measurement and iteration
Track performance per platform. If audience retention drops at the 7–10 second mark, your mid-section needs shorter clips or a stronger hook. Use platform analytics to iterate: change pacing, image density, or CTA placement and re-run.
Final - the most important advanced tip
All the polish in the world won’t save a weak story. Use Animoto’s tools to serve your story, not as a distraction from it. Set your pace with music, lock in readable typography, and let the narrative determine the cuts. Do that, and even simple edits will feel professional.
Resources
- Animoto home and product information: https://animoto.com
- Animoto Help Center: https://support.animoto.com/