· creativity · 6 min read
Unlocking the Secrets of Animoto: 10 Tips Every Beginner Should Know
A comprehensive, beginner-friendly guide to Animoto with 10 practical tips and step-by-step shortcuts that help you make better videos faster - covering templates, aspect ratios, music, branding, timing, captions, export settings and more.

Intro
Animoto is a popular, web-based video maker that helps beginners create polished videos without learning complex editing software. Whether you’re producing a short social clip, a product demo, or a slideshow for a client, knowing a few platform-specific tricks can save time and improve results.
Below are 10 high-impact tips - each with clear “why it matters” and “how to do it” guidance - to help you go from first project to confident creator faster.
Why this guide
These tips focus on practical, repeatable actions you can apply immediately in Animoto: choosing templates, working with aspect ratios, leveraging the music and stock libraries, speeding up editing, and ensuring your videos look and sound professional on any platform.
Sources: Animoto’s official docs and blog provide great step-by-step walkthroughs and policy details - see the Resources section at the end for direct links.
Tip 1 - Start with the right template and aspect ratio
Why it matters
Templates and aspect ratios determine the initial structure and where content appears on screen. Starting with the correct format prevents awkward cropping and saves hours of rework.
How to do it
- Choose a template that matches your goal (social promo, slideshow, product highlight). Templates give you pre-set scene durations and layouts.
- Set the aspect ratio before you add media - 16:9 for YouTube, 1:1 for Instagram feed, 9:16 for Reels/Stories/TikTok.
Quick action
- On new project creation, pick the template closest to your purpose.
- Use the project settings to set aspect ratio first, then import media.
Tip 2 - Build a clear storyboard before importing everything
Why it matters
A simple storyboard (3–7 scenes) clarifies your message and avoids flinging every clip into the timeline. Videos with a clear narrative convert better and edit faster.
How to do it
- Sketch a 3–5 step flow - Hook → Value → Proof → CTA.
- Create one Animoto scene per storyboard step; drag the most important media into the first frames.
Quick action
Write one sentence per scene, then assemble your media in that order before trimming.
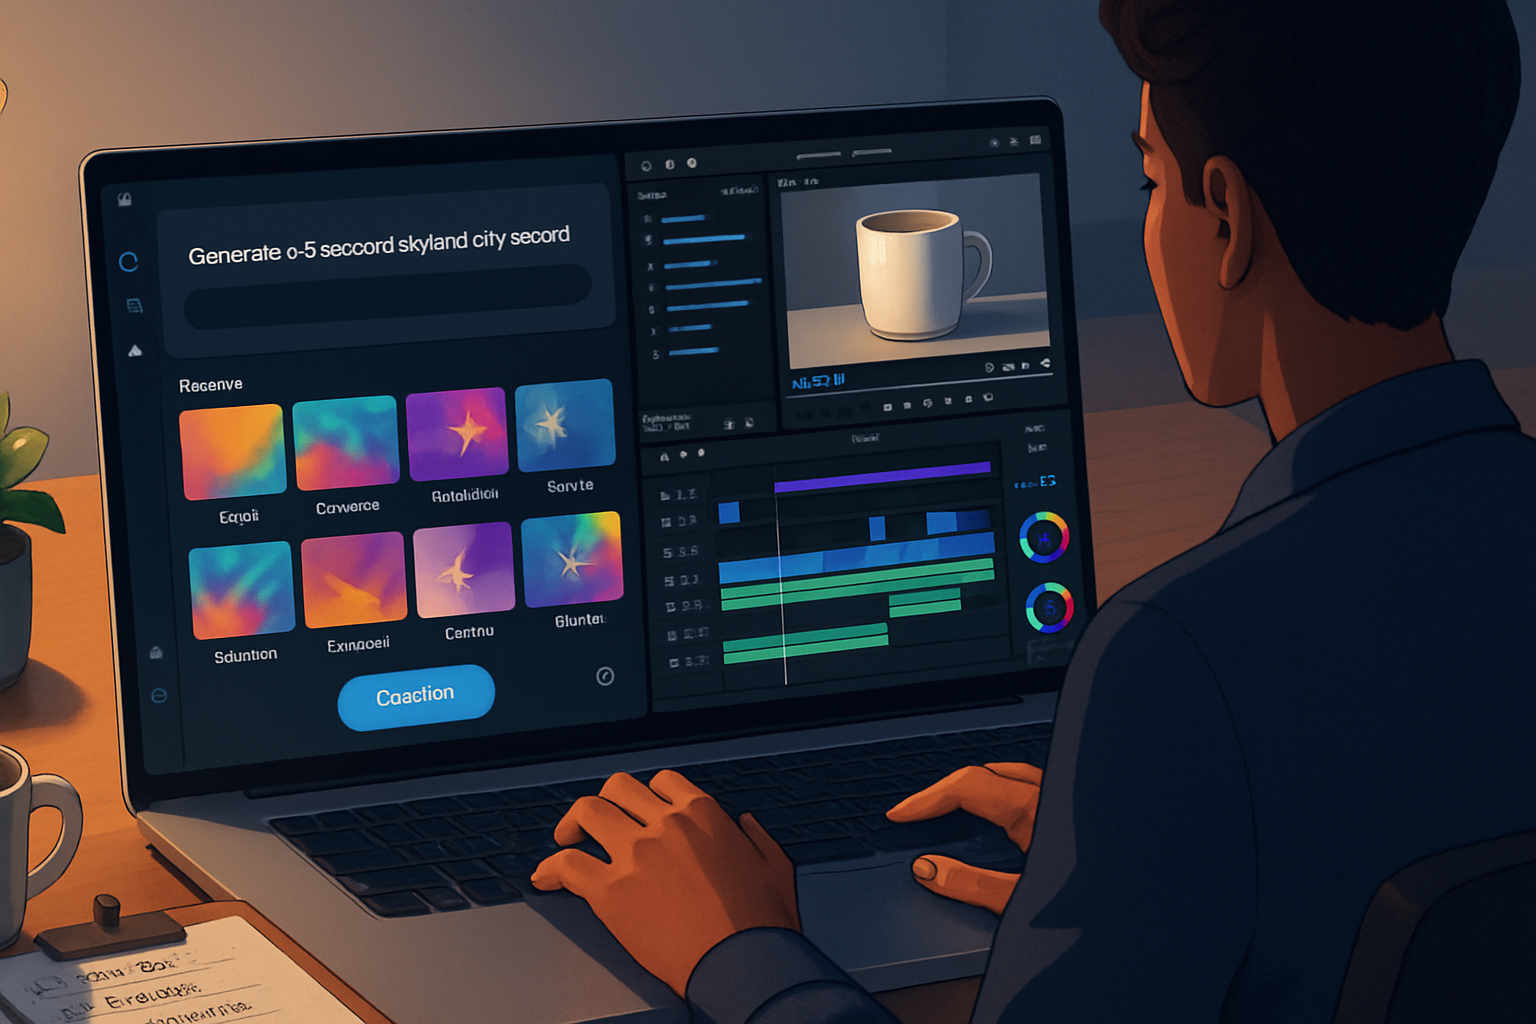
Tip 3 - Use the stock library and licensed music smartly
Why it matters
Animoto provides licensed photos, video clips, and music. Using these frees you from copyright worries and speeds production.
How to do it
- Search the stock library for short, high-impact B-roll that supports your message.
- Pick background music that matches the mood - upbeat for promos, calm for testimonials.
Pro tip
Match music tempo to scene pacing: faster tracks for quick cuts, slower for emotional storytelling.
Reference: See Animoto’s resources for music usage and licensing in their help center: https://animoto.com/help
Tip 4 - Control timing: don’t over- or under-expose frames
Why it matters
Timing shapes viewer comprehension. Too-fast cuts can confuse; too-slow makes viewers scroll away.
How to do it
- Set scene durations thoughtfully - 1–3 seconds for quick highlights, 3–6 seconds for important messages or text blocks.
- Use Animoto’s timing controls to extend or shorten scenes, and preview after each change.
Quick action
After placing text on a scene, play it back and adjust until the text is readable at a casual pace.
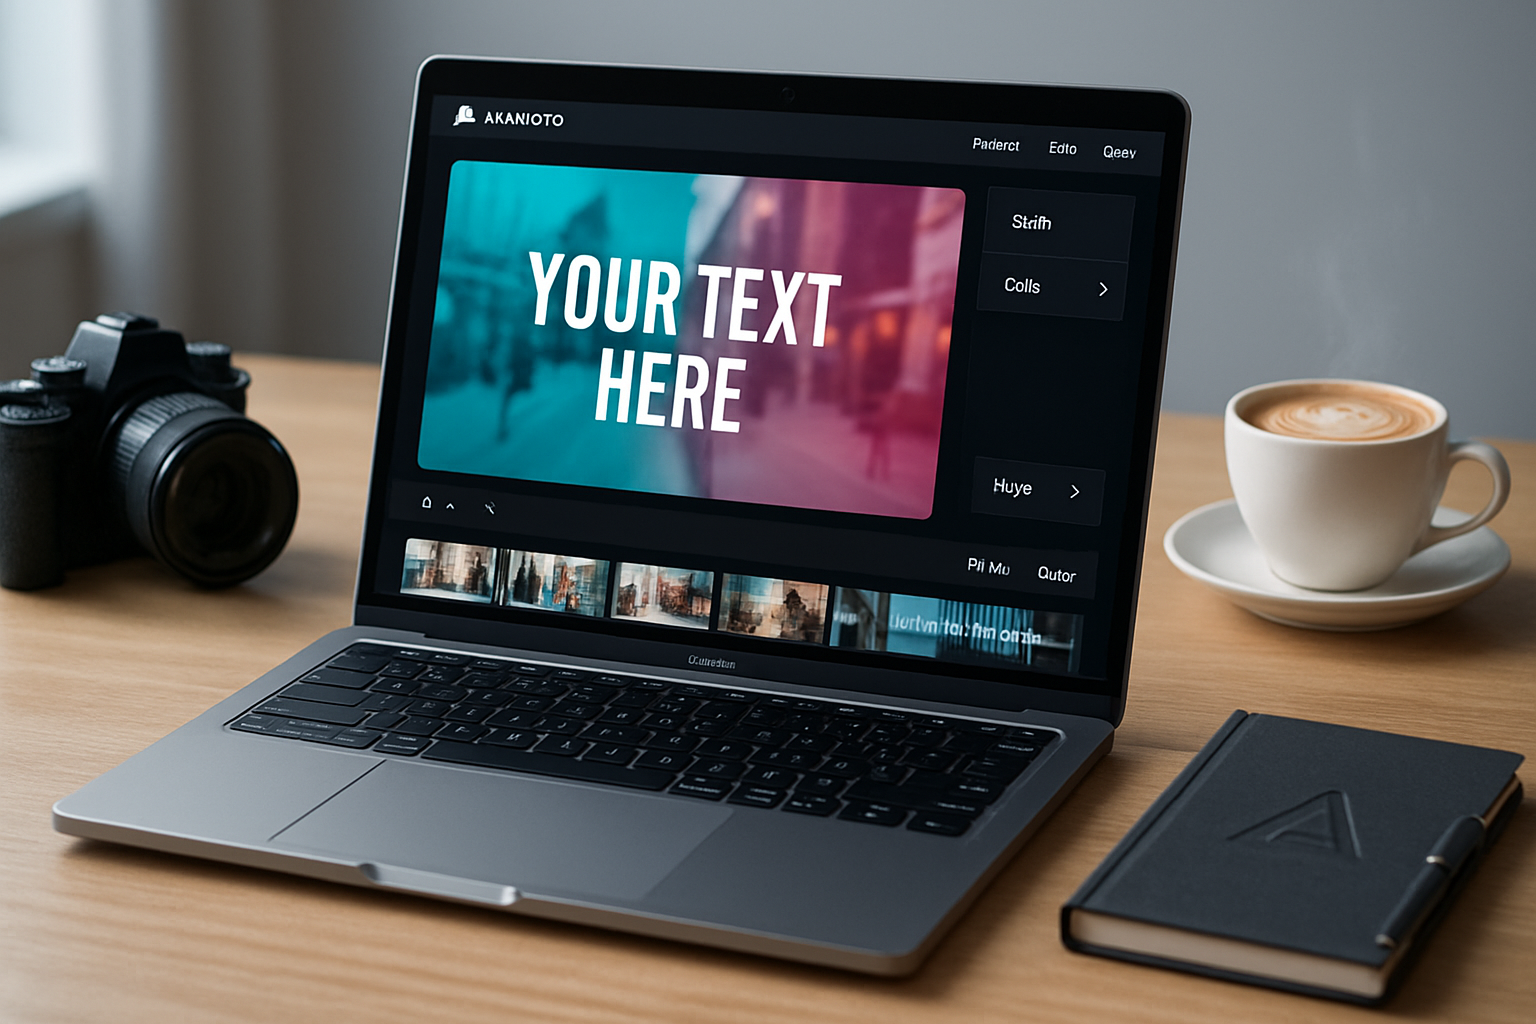
Tip 5 - Make text overlays work: hierarchy, contrast, and brevity
Why it matters
Most viewers skim video text, especially on mobile. Clear hierarchy and contrast increase readability.
How to do it
- Keep text short (headline < 6 words; body < 15 words per scene).
- Use a high-contrast color or text background to ensure legibility over video.
- Use larger fonts for the main point and smaller for secondary copy.
Quick action
Read text at arm’s length on your phone; if it’s hard to read, increase contrast or shorten the copy.
Tip 6 - Brand consistently: fonts, colors, and logo placement
Why it matters
Consistent branding builds recognition and trust. Animoto’s brand kit features (available on higher plans) let you save fonts, colors, and logos.
How to do it
- Save your brand colors and fonts in the project or brand kit if available.
- Place your logo in the same corner for every video (avoid center placement over important action).
Quick action
Create a reusable project template with your brand elements already applied.
Reference: For brand kit details, see Animoto’s help pages: https://animoto.com/help
Tip 7 - Use voiceover and captions for accessibility and clarity
Why it matters
Many people watch videos without sound. Voiceover and on-screen captions increase reach and comprehension.
How to do it
- Record a short voiceover directly in Animoto (or upload an audio file) for narration-heavy videos.
- Add captions or text overlays for the most important lines; ensure they’re synchronized with the visuals.
Quick action
Export an MP4 with captions embedded for social platforms that autoplay muted.
Tip 8 - Preview across devices and optimize export settings
Why it matters
A video that looks great on desktop might fail on mobile. Previewing ensures text, pace, and framing work on the intended devices.
How to do it
- Use Animoto’s preview function and then view the downloaded video on your phone.
- Choose export quality based on platform - higher bitrate for YouTube, optimized MP4 for social uploads.
Quick action
Download a short draft and check it on phone, tablet, and desktop before final export.
Tip 9 - Save time with templates, project duplication, and reusable scenes
Why it matters
Once you refine a style that works (media layout, timing, color grading), reuse it. It’s the fastest way to scale content production.
How to do it
- Duplicate completed projects to keep structure and swap media.
- Save frequently used scenes as templates within your workspace if the feature exists on your plan.
Quick action
Create a folder for brand templates and copy from it rather than starting from scratch each time.
Tip 10 - Keep edits non-destructive and use incremental saves
Why it matters
Mistakes happen. Non-destructive workflows and incremental saves let you revert or branch without losing progress.
How to do it
- Duplicate the project before making major changes.
- Export intermediate drafts so you can compare versions.
Quick action
Name versions clearly (example: “ProductAd_v1”, “ProductAd_v2_trimmed”) and keep the original safe.
Quick-start checklist (copy + paste)
- Choose template and set aspect ratio
- Draft a 3–5 scene storyboard
- Import hero media and stock B-roll
- Add music and match tempo to pacing
- Insert short, high-contrast text overlays
- Add voiceover and captions if needed
- Preview on phone and desktop
- Export using platform-appropriate settings
- Duplicate final project as a reusable template
Common pitfalls to avoid
- Relying on long text blocks - keep copy short.
- Ignoring the aspect ratio - leads to bad cropping.
- Using music that drowns out voiceover - balance audio tracks.
- Forgetting to preview on mobile - leads to unreadable text.
Resources
- Animoto Help Center: https://animoto.com/help
- Animoto Blog (tips & use cases): https://animoto.com/blog
Start simple, iterate often, and build a small library of branded templates. With these ten tips you’ll reduce friction, speed production, and produce clearer, more effective videos in Animoto.