· productivity · 8 min read
Controversial Notability Hacks: What the Experts Won't Tell You
Break free of linear notes. Learn practical, unconventional Notability workflows - spatial mind maps, audio-timestamped multimedia maps, automated flashcard pipelines and indexing tricks - that turn passive notes into active knowledge.
What you’ll be able to do after reading this
You’ll stop making linear page after page of passive notes. Instead you’ll create spatial, multimedia maps that anchor ideas to moments in recordings, produce export-ready flashcard packs, and build an index system that makes retrieval instant. Bold claim? Maybe. But these hacks work when applied thoughtfully.
Why these tricks are controversial
Most note-taking advice treats notes as text: outline, highlight, repeat. These hacks treat notes as living artifacts - spatial, audiovisual, networked. That breaks the rules people learned in school. It also forces deeper engagement with material, which is why many experts quietly use parts of these methods but rarely teach them in full: they look messy at first. They are messy because they are human.
Short sentence. Big payoff.
Hack 1 - Build mind maps inside Notability (no extra app required)
Notability doesn’t have a built-in mind-map tool like MindNode. So you improvise. The payoff: one unified workspace that holds your lecture audio, PDFs, images and the map itself.
Step-by-step
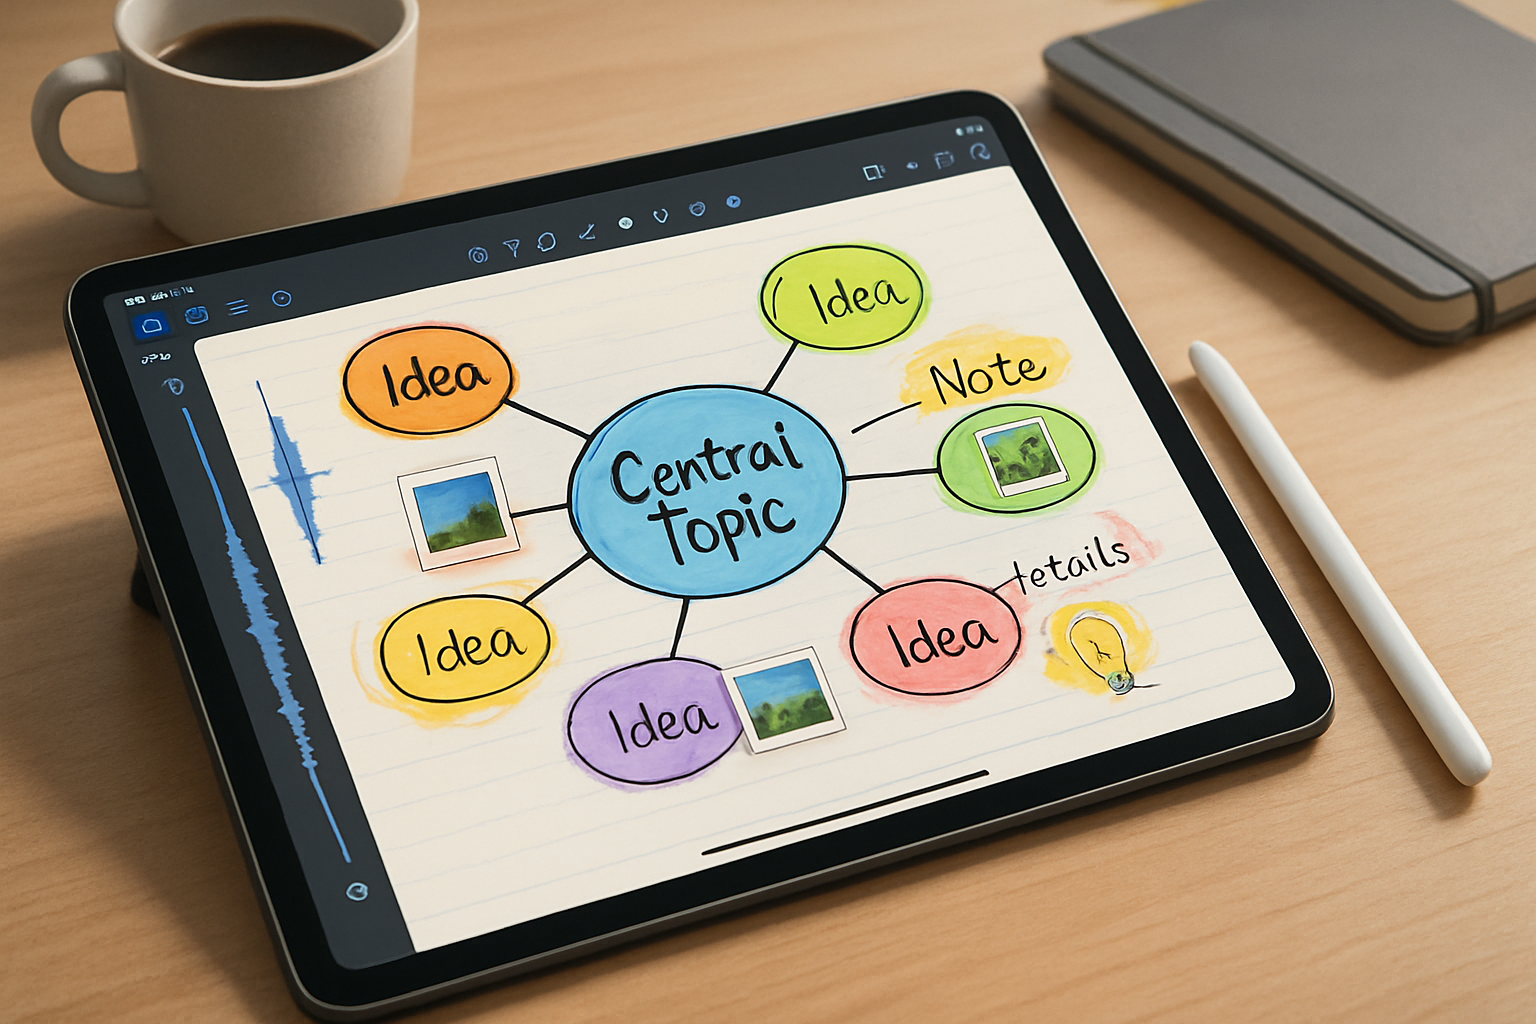
- Create a new blank note and place a central node - a title written large with the Apple Pencil. Make it a circle by drawing and then using the shape tool to perfect it.
- Add branch labels as short strokes, words, or tiny text boxes radiating out. Use different pen colors for levels (primary branch = blue, secondary = green, details = gray).
- Use the lasso tool to select a group of nodes and move them as a unit. This is how you rearrange branches without redrawing.
- For complex branches, drop an image or small PDF snippet as a node and annotate it directly. Images act as high-bandwidth nodes - they carry diagrams, photos, or screenshots.
- When a node grows too big, convert that node into a new note - export the selection as a PDF (or duplicate the note and crop) and link back via a visual breadcrumb (see “Indexing” later).
Pro tips
- Use the highlighter to create semi-transparent backgrounds for node groups so branches read as clusters.
- If you want cleaner curvature, sketch with light pencil first, then trace with a darker pen on a new layer (Notability allows image overlays and rearranging elements; treat a traced path as a separate object).
- Export a finished map as PNG for sharing or import into a dedicated mind-map app when you need hierarchical reflow.
Why this beats a linear outline
Spatial layout leverages visual memory. It forces you to decide relationships visually, not in nested bullets. That decision-making is cognitive work: you encode more deeply.
Hack 2 - Audio-timestamped multimedia maps (the controversial powerhouse)
This one makes people uncomfortable because it changes the habit of passive recording. Instead of recording and later reading, you place notes on a spatial canvas keyed to the audio timeline.
Why it matters
You get three anchors for every idea: visual (node), textual (labels), and temporal (audio). Retrieval becomes context-rich: you can replay exactly what was said when that branch was created.
How to implement
- Start an audio recording in Notability when your lecture or meeting begins.
- While listening, insert a node and write or sketch the idea at the moment it’s introduced. Try to place it near a timestamp marker (you can approximate by noting the minute in tiny text if you want precision).
- When reviewing, tap the audio waveform (Notability’s audio playback syncs to handwriting in many versions) to jump to the exact point in the recording - then glance at nearby nodes.
- For videos or demonstrations, take a screenshot and place it near the node, then annotate directly. Link the screenshot to the time in the audio by writing a tiny timestamp.
Advanced twist: create a “time gutter”
Reserve a thin column on the left where you jot minute markers (00:05, 00:12, 00:47). Anchor nodes to those markers visually - a line or arrow - so each node has a clean temporal tag.
Controversial point: don’t transcribe everything.
The temptation is to transcribe the whole lecture into neat paragraphs. That’s shallow processing. Instead, capture gestures, questions, and the moment an insight landed. Use the recording for raw detail.
Hack 3 - Turn Notability notes into study-ready flashcards and spaced-repetition decks
The secret: convert spatial clusters into Q/A pairs and export them into Anki or your SRS tool of choice. You’ll trade a bit of manual work for a huge retention boost.
Workflow
- During review, open your mind-map note. For each dense node, write a short question directly on the map (use a color that stands out - e.g., red). Keep answers concise and separate.
- Export the node selections as images or copy the text into a plain text note. Use a simple delimiter (tab or pipe) to mark Q and A when creating a CSV.
- Use a lightweight conversion script (or a clipboard-to-Anki shortcut) to turn your CSV into an importable deck. If you don’t script, export a CSV and import via Anki’s import function - question in column one, answer in column two.
- Add the original node image as an optional card media file so the card shows the map context while you recall.
Automation ideas
- Use Shortcuts on iOS to capture the selection’s text, add a delimiter, and send it to the Files app as CSV. Then upload to AnkiWeb.
- Use OCR in Notability (or via export) to pull typed or handwritten questions into text automatically.
Why experts keep this quiet
It requires discipline to convert spatial notes into linear Q/A pairs. Most learners prefer the illusion of depth (a beautiful map) to the effortful work of generation (writing questions). The latter produces memory.
Hack 4 - An index note that acts like a living table of contents
Create a single “Index” note that has visual thumbnails, tags, short summaries, and jump cues. Treat it like the homepage of your personal zettelkasten inside Notability.
How to build it
- Reserve the first page of your Notability subject or create a dedicated Index note.
- For each new map or lecture note, paste a thumbnail image of the page (export page as PNG then insert). Add 2–3 bullet points summarizing key outcomes.
- Add manual tags (e.g., #thermodynamics #exam1 #case-study) and keep them consistent.
- If you need to jump directly to a note from the Index, place a tiny visual breadcrumb (like “See note 12”) and keep a short numeric key. Alternatively, maintain a mirrored copy of the note’s filename so Spotlight search finds it instantly.
Why this matters
Notability’s search is decent, but a curated Index beats raw search for complex, multimodal archives. The Index gives you serendipity: you’ll rediscover old nodes through visual thumbnails.
Hack 5 - Hybrid templates and the invisible scaffolding trick
Use templates not just for clean pages but for invisible cognitive scaffolds.
Examples
- Mind-map template - light radial grid with concentric rings for levels of detail.
- Lecture template - left time gutter, center map area, right margin for action items and flashcard Qs.
Invisible scaffolding trick
Create a template page where structural cues are extremely faint (low opacity). They won’t distract you but will force the right kind of placement: timestamps, node areas, and action columns. When you’re done, export the page and reuse it as a template.
Integrations that make life easier
- MindNode / iThoughts - export finished maps as PNG if you need reflowable hierarchies.
- Anki - for spaced repetition.
- LiquidText or PDF Expert - when you need deep PDF folding and cross-document highlighting
- Shortcuts (iOS) - automate exports and CSV assembly
- Cloud auto-backup - set up Notability cloud backup to avoid losing media-heavy notes - large audio and image files can be fragile if not backed up.
Problems you’ll hit and how to fix them
- Storage bloat - audio + images = big notes. Trim by exporting audio clips you don’t need, compressing images, or archiving older notebooks to cloud storage.
- Search friction - multimodal nodes are harder for text search. Use the Index + short typed summaries to keep search effective.
- Messy maps - if your map becomes unreadable, split it into a parent node and child notes. That preserves readability and keeps the cognitive map intact.
Ethics and boundaries
- Recording consent - always get permission before recording. Laws vary and so does basic decency.
- Copyright - if you annotate PDFs or slides, be careful when sharing public exports.
Putting it all together - a 60-minute practice to adopt these hacks
- Create a mind-map template with a left time gutter and right action column.
- During a 45-minute lecture, record audio and drop 6–8 nodes keyed to moments.
- Spend 10 minutes after the lecture converting 3 of those nodes into Q/A pairs and adding them to your SRS queue.
- Add a thumbnail and 2-line summary to your Index note.
Do this for two weeks. The maps will look messy at first. The retention gains will show up by week three.
Final provocative point
Most people treat notes as storage. The truly powerful habit is to treat notes as interfaces - interactive maps, living timelines, and action queues. When your notes are interfaces, they stop being archives and start being tools. That shift is controversial because it replaces tidy outputs with ongoing work. But if your goal is learning, not decoration, this is where the leverage lives.
References and further reading
- Notability - official site: https://notability.com
- MindNode - visual mind mapping: https://www.mindnode.com
- Anki - spaced repetition software: https://apps.ankiweb.net