· marketing · 7 min read
The Buffer Hack: Unlocking the Hidden Features to Boost Engagement
Discover lesser-known Buffer features and practical tactics to customize posts, find optimal posting times, run simple A/B tests, and use Buffer’s analytics to boost engagement across networks.

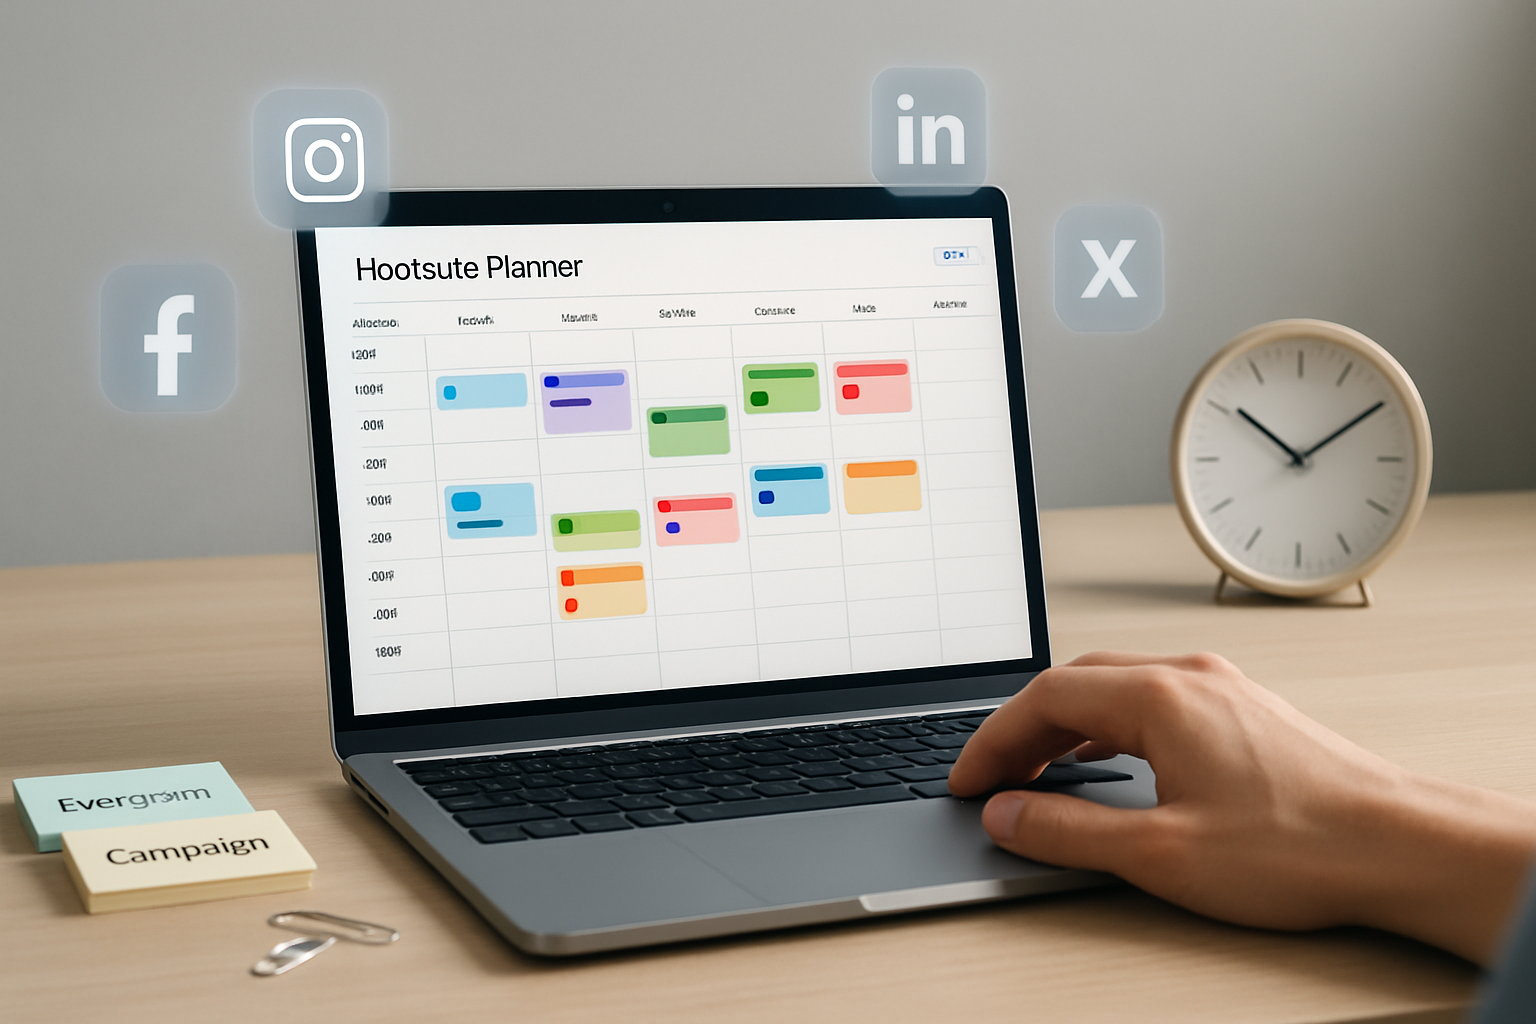
Why Buffer is more than a scheduler
Most people think of Buffer as a simple post scheduler. That’s true - but Buffer also bundles several underused features and workflows that, when combined, can produce a noticeable lift in reach and engagement. This post digs into those lesser-known capabilities and translates them into actionable tactics you can implement this week.
Note: For official product details, check Buffer Publish and Buffer Analyze: https://buffer.com/publish and https://buffer.com/analyze.
Quick roadmap: what you’ll learn
- How to tailor one post for multiple networks (without duplicating work)
- Scheduling hacks and a simple cadence to test
- Using Buffer’s analytics to find what actually works
- Lightweight A/B tests and tracking with UTM/shorteners
- A 30-day experiment plan to increase engagement
1) Tailor posts per network - the small edits that drive big engagement
Cross-posting identical copy across networks is convenient but costs engagement. Buffer’s composer and per-account customization let you adapt a single post to each platform with small but high-impact changes.
Tactics:
- Use the composer’s per-account edit boxes to change tone and CTA. For Twitter/X - shorten copy and add a clear CTA plus hashtags. For LinkedIn: expand the context and add an insight. For Instagram: prioritize caption hooks and emoji spacing.
- Swap images per network. Use a square or portrait for Instagram, horizontal images for LinkedIn/Twitter/X and Facebook. Buffer lets you attach different visuals per account when composing.
- Schedule the first comment for Instagram when you want the caption to remain clean but still include hashtags (if your plan supports it).
- Turn off link previews on networks where a cleaner image + CTA performs better; let the platform display the image you want.
Why it works: Audiences expect different content formats and tone depending on the network. Small, targeted edits increase content relevance and engagement.
2) Composer + browser extension: build a frictionless content pipeline
The Buffer browser extension is the easiest way to capture shareable content while browsing. Combine it with these composer features:
- Save drafts in the composer when you want to rework messaging later.
- Use saved caption templates or a short library of opening hooks to speed up composition and keep your tone consistent.
- Use image editing inside the composer for quick crop/overlay adjustments.
Workflow example:
- Find an article → click Buffer extension → select accounts → open composer.
- Use a saved hook template, tweak copy per network, attach network-specific images, then add to queue.
- Tag the post in your caption (or add it to a spreadsheet) so similar topics are easy to batch later.
This eliminates the “I have an idea but no time” friction.
3) Scheduling hacks: fewer posts, better timing
Posting more often is not always the same as posting smarter. Use Buffer’s scheduling features plus an experimental approach to discover your ideal cadence.
Tactics:
- Start with a baseline schedule - 3 posts/week for LinkedIn, 4–6 posts/week for Facebook, 1–2/day for Twitter/X, 4–6 posts/week for Instagram (adjust by audience size).
- Use Buffer’s Suggested Times or Best Time to Post (available in analytics) as a starting point, then run experiments (see section below).
- Use the queue for recurring content slots (e.g., Monday morning product post, Wednesday long-form insight).
- Bulk-upload to fill a month of content, then leave 20% open for reactive posts and trending moments.
Why batching works: Consistency improves algorithmic reach and helps build audience expectation while freeing time for creative work.
4) Analytics: go beyond vanity metrics
Buffer Analyze gives you post-by-post performance and summary reports. But the secret is using the analytics to create repeatable decisions, not just to admire numbers.
What to focus on:
- Engagement rate (engagement divided by impressions) - more useful than raw likes or follows.
- Top performing post types and topics - tag posts in your editor or a spreadsheet so you can filter analytics by topic later.
- Click-through performance by link shortener (if you integrate Bitly or use UTM parameters).
- Best days and times - use Buffer’s best time suggestions and cross-check them against your actual post performance.
Tactical uses:
- Pull the top 10 posts from the last 90 days, identify common elements (format, CTA, length) and create a template bank.
- Export reports to share with stakeholders or to track month-over-month improvements.
Reference: Buffer Analyze overview - https://buffer.com/analyze
5) Simple A/B tests you can run in Buffer
Buffer doesn’t have a built-in A/B testing “one-click” experiment for social posts, but you can create reliable tests with scheduling + analytics.
Two low-friction tests:
- Headline/Hook test - Create two posts with identical images and CTAs but different opening lines. Post at the same general time on different days or the same day to similar audience windows. Compare engagement rate and clicks.
- Image vs. Video test - Post the same message once as an image, once as a short video. Compare reach and engagement.
How to run and measure:
- Create variation A and B in Buffer, label them clearly in the caption (e.g., [A] or [B]).
- Post them at comparable times (Buffer’s suggested slots ensure similar audience activity).
- After 48–72 hours, compare engagement rate, clicks, and saves. Repeat each test 3–5 times to reduce noise.
Pro tip: Use UTM parameters (see below) when testing links so you can attribute traffic and conversions precisely in Google Analytics.
6) Use link shorteners and UTM tags to measure real impact
If your goal is traffic or conversions, in-platform engagement is only half the story. Buffer integrates with shorteners like Bitly and lets you add tracking parameters.
How to set it up:
- Connect Bitly in your Buffer account to shorten links and track clicks.
- Add UTM parameters to your campaign links (utm_source=buffer, utm_medium=social, utm_campaign=name).
- Track clicks and conversions in Google Analytics by campaign.
Why: Likes are useful, but clicks and conversions move the business needle. Short links also look cleaner and often get a higher CTR.
7) A 30-day experiment plan (practical and repeatable)
Week 1 - Baseline & Clean-up
- Export last 90 days of Buffer analytics. Identify top 10 posts.
- Create three templates from those top posts (hook, format, CTA).
- Set baseline schedule across networks (see section 3).
Week 2 - Tailor & Test
- Use composer to create 6 posts (2 per network - LinkedIn, Instagram, Twitter/X). For each pair, implement a different hook.
- Schedule them using Buffer’s best time suggestions.
Week 3 - Measure & Iterate
- After 72 hours, evaluate engagement rate and clicks. Keep the best-performing hooks and discard the worst.
- Run an image vs. video test for one high-performing topic.
Week 4 - Scale & Automate
- Bulk upload 15–20 posts for the next month using templates and top-performing hooks.
- Add Bitly + UTM tags to track conversions.
- Export a short report - engagement rate, top posts, traffic to site.
Repeat monthly, making small changes to hooks and creative, not your entire strategy.
8) Common mistakes to avoid
- Mistake - measuring success only by likes. Measure engagement rate and downstream metrics (clicks, conversions).
- Mistake - changing too many variables in one test. Keep tests focused on a single change.
- Mistake - copying the exact same post across accounts. Always tailor the message for each network.
9) Tools and integrations that play well with Buffer
- Bitly for link shortening and click tracking.
- Google Analytics for UTM-driven conversion tracking.
- Zapier to automate workflows (e.g., new blog post → Buffer queue).
- Canva or your design tool for producing network-optimized visuals.
Official Buffer pages: Publish and Analyze - https://buffer.com/publish and https://buffer.com/analyze
Final checklist (one-page)
- Connect Bitly and set UTM conventions.
- Create 3 caption templates inspired by top posts.
- Use composer to tailor each post per network.
- Schedule posts into your queue and reserve 20% slots for reactive content.
- Run two A/B tests this month (hook and media type).
- Export analytics monthly and update templates based on win-rate.
With a few configuration tweaks, a consistent experimental mindset, and regular use of Buffer’s analytics, you can turn scheduling into a growth engine rather than a time sink. Try the 30-day experiment and report back to see what your audience prefers - you’ll be surprised how quickly small, systematic changes compound.
References
- Buffer Publish: https://buffer.com/publish
- Buffer Analyze: https://buffer.com/analyze
- Buffer Help & Support: https://support.buffer.com