· creativity · 5 min read
10 Hidden Figma Features You Didn't Know Existed
Discover 10 lesser-known Figma features - from vector networks to interactive components and copy/paste properties - that will speed up your workflow and make your designs more scalable.

Outcome: spend less time fighting the tool and more time designing. In this post you’ll learn 10 underused Figma features that reduce repetitive work, make systems more robust, and turn prototypes into living components. Read one. Try one. Save hours.
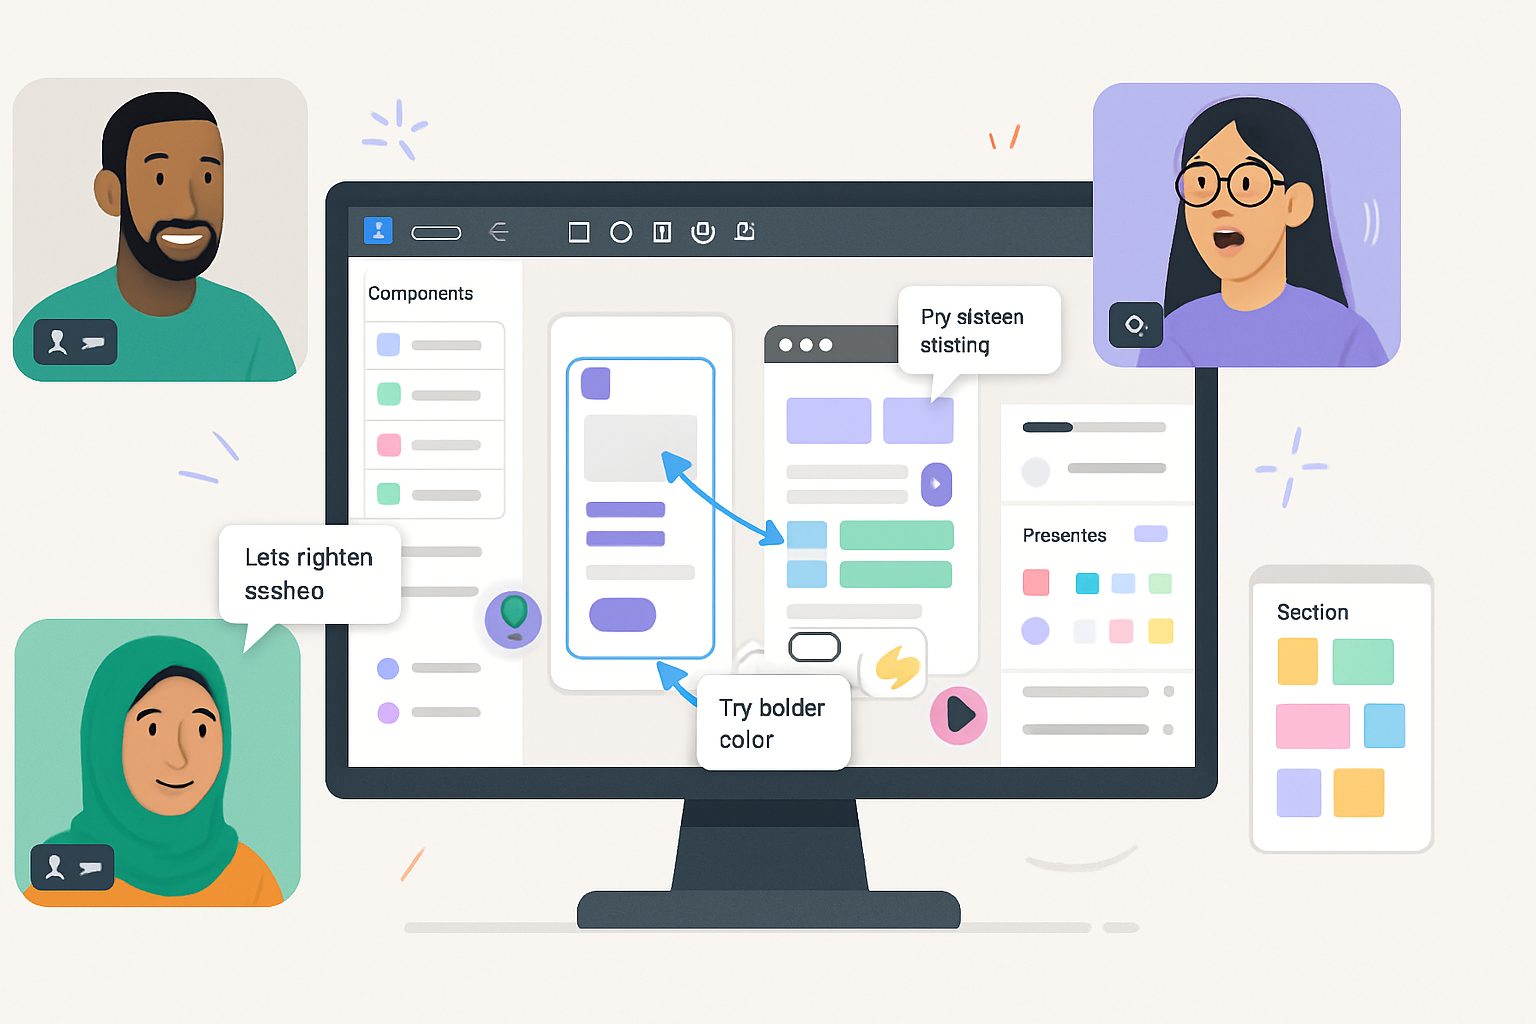
1) Smart Selection: tweak spacing like a pro
Smart Selection appears when you select three or more layers. It shows handles and spacing values so you can nudge multiple items at once. Use it to distribute, align, and change spacing without rebuilding the frame.
- Why it helps - Faster layout adjustments and fewer accidental misalignments.
- How to use it:
- Select several objects. Handles and spacing numbers appear.
- Drag the spacing handle to change even gaps.
- Hold Alt (Option on Mac) and drag to resize the gap interactively.
- Click “Tidy up” in the toolbar to evenly distribute items.
Official reference: https://help.figma.com/hc/en-us/articles/360039238734-Use-smart-selection
2) Auto Layout - the advanced controls (padding per side, Fill/Hug)
Auto Layout is not just about stacks. It’s a responsive layout engine.
Key tips:
- Use independent padding per side (top/right/bottom/left) for tighter control.
- Use “Hug contents” for components that should shrink to fit, and “Fill container” for children that should stretch to available space.
- Switch axis alignment to control spacing and cross-axis resizing.
Why it helps - Build buttons, lists, and complex cards that resize predictably when content changes.
Docs: https://help.figma.com/hc/en-us/articles/360040451373-Auto-layout
3) Vector Networks - shape paths without the pain
Vector Networks let you create branching, non-linear paths (no need to close a single path). It’s cleaner for complex icons or organic illustrations.
- How to use:
- Use the Pen tool and join/unjoin nodes freely.
- Convert strokes to fills later if you need precise control (see Outline Stroke below).
Learn more: https://help.figma.com/hc/en-us/articles/360040450113-Use-vector-networks
4) Copy & Paste Properties - keep styles consistent instantly
You don’t have to manually match fills, effects, or layout settings.
Shortcuts (Mac / Windows):
- Copy properties - Cmd/⌘ + Option/Alt + C (Ctrl + Alt + C)
- Paste properties - Cmd/⌘ + Option/Alt + V (Ctrl + Alt + V)
Why it helps - Apply a style, layout or effect from one layer to many others in seconds, preserving consistency across screens.
Reference: https://help.figma.com/hc/en-us/articles/360040451413-Copy-and-paste-properties
5) Outline Stroke - convert strokes into editable shapes
When a stroke needs bespoke editing or complex boolean work, outline it.
How:
- Select a stroked path and choose Right-click → Outline Stroke (Shift+Cmd+O on Mac).
- The stroke becomes a filled vector shape you can merge, boolean, or edit node-by-node.
Why it helps - Precise control over corners, joins, and boolean interactions.
Docs: https://help.figma.com/hc/en-us/articles/360039956314-Convert-strokes-to-filled-paths
6) Quick Actions (Cmd/Ctrl + /) - the universal command bar
Stop hunting menus.
- Press Cmd/⌘ + / (Ctrl + / on Windows) and type what you want - run a plugin, change export settings, open a file, or run any action.
- Tip - You can also search layers and components from here, which speeds navigation in big files.
Read more: https://help.figma.com/hc/en-us/articles/360039832654-Quick-actions
7) Interactive Components - make real, clickable components
Instead of prototyping state-by-state with separate frames, create component-level interactions (hover, press, toggle) that live in the component itself.
- Why it helps - One source of truth for behavior and visuals. Faster prototyping and fewer duplicate frames.
- How to start:
- Build component variants for each state.
- In the Prototype tab of the component, connect variant states with interactions (e.g., while hovering -> change to hover variant).
Docs: https://help.figma.com/hc/en-us/articles/360060548513-Create-interactive-components
8) Branches - experiment without breaking the main file
Figma Branches let you create a copy of a file to prototype changes, try new patterns, or update a design system safely. Merge when ready.
- Why it helps - Work in isolation, test large changes, and reduce risk to the main file.
- Tip - Leave descriptive merge notes to make reviews faster.
Learn more: https://help.figma.com/hc/en-us/articles/360056439934-Create-branches
9) Batch Export and Multiple Asset Formats at Once
Stop exporting one asset and repeating steps. Set multiple export presets for a layer and export them all in one action.
- How to use it:
- Select a layer (or frame), open the Export section in the right-hand panel.
- Click + to add multiple formats (PNG, JPG, SVG, PDF) and scales (1x, 2x, 3x).
- Click Export - Figma outputs all presets in one pass or export selected frames as a group.
Reference: https://help.figma.com/hc/en-us/articles/360039957594-Export-files
10) Component Properties & Variants - scale your system the smart way (the most powerful one)
This is the final leap: use properties to expose only the controls you want on instances. Text fields, booleans, enums, and instance swaps make components flexible without exposing inner complexity.
What you can do:
- Create a single component with variants for states (size, type, color).
- Add properties (Text, Boolean, Instance) so designers can modify instances directly from the right panel - no detaching required.
- Use instance swap properties to change icons or subcomponents while preserving overrides like text.
Why it’s the powerhouse - It converts a component from a rigid building block into a configurable UI product. Designers spend less time rebuilding variants and more time solving problems.
Docs on variants and properties: https://help.figma.com/hc/en-us/articles/360046225754-Create-and-use-variants and https://help.figma.com/hc/en-us/articles/4404208263947-Component-properties
A few last tips to get the most value quickly:
- Pick one feature and use it on your next screen (copy/paste properties or smart selection are great starters).
- Mix features - Auto Layout + Interactive Components + Component Properties scales systems without manual cloning.
- Keep a short note inside your team file about shortcuts and go-to features - small reminders speed adoption.
Try one now. Change one layer. Save an hour later.