· creativity · 6 min read
10 Hidden Features in Visme You Didn’t Know Existed
Discover 10 lesser-known Visme features that will speed your workflow, improve brand consistency, and make interactive, data-driven visuals easier than ever - with step-by-step tips and real-world use cases.

Outcome first: by the time you finish this article you’ll be able to build on-brand presentations and interactive visuals faster, produce polished assets that look like a pro’s, and unlock features many users miss - without relearning the basics.
Why this matters. Visme has many surface-level tools everyone knows: templates, charts, icons. But a few deep features radically change how fast and well you work. Use them and your next report, pitch deck or social post will feel smarter, lighter and more professional.
Below are 10 hidden or underused Visme features, what they do, how to use them step-by-step, and quick tips for real projects.
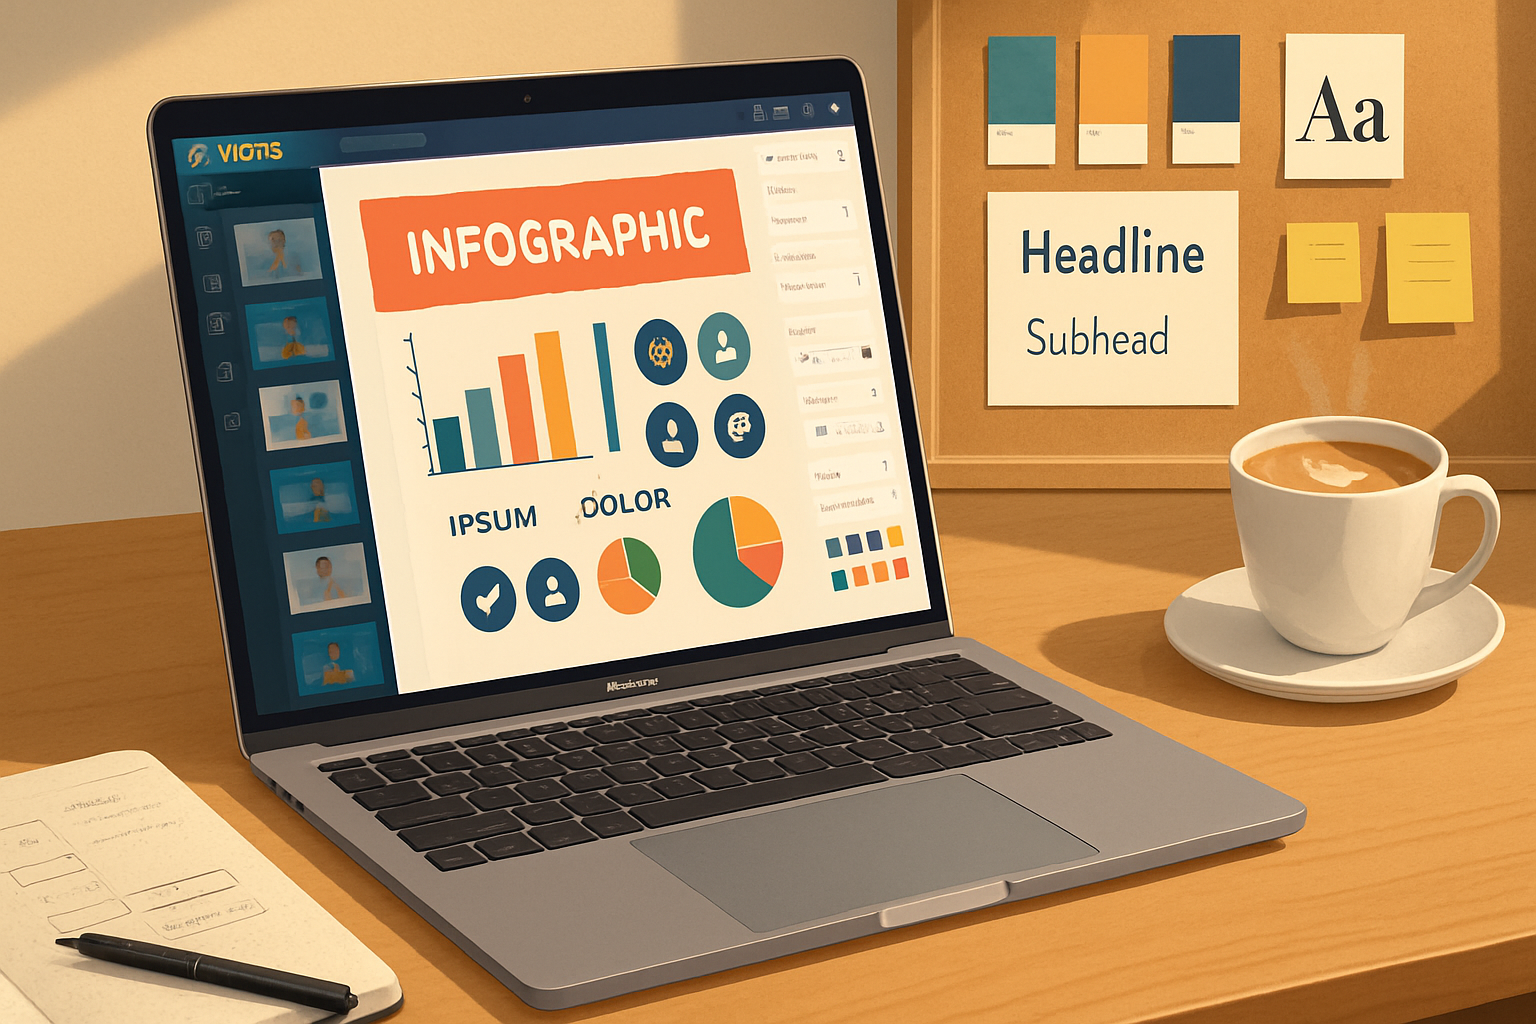
1) Brand Kit: enforce style without micromanaging
What it does
Store brand colors, fonts and logos once and apply them across projects so every asset matches your identity.
How to use it
- Open your Visme dashboard and click Brand Kit (or go to Account/Branding).
- Add your primary/secondary colors, choose or upload brand fonts, and upload logos.
- When designing, use the Brand colors and Saved Fonts dropdowns so any new element pulls from your kit.
Why this helps
No more manual hex hunting. If you update a color in the Brand Kit, templates that reference it will be easier to maintain.
Quick tip
Create a secondary palette for campaign-specific accents (sale colors, event theme) so you can switch moods quickly.
2) Master Slides (Slide Templates): change once, affect all
What it does
Define a master layout for a presentation so headers, footers, and background elements update across slides from one place.
How to use it
- Open a presentation and find the Slide Master or Master Layout option.
- Edit the master slide - add a logo, slide numbering, footer text or placeholders.
- Return to your deck - slides using that master update automatically.
Why this helps
Fix a typo in the footer one time and it’s fixed everywhere. Also, produce consistent layouts faster.
Quick tip
Create multiple masters (title, content, section divider) and assign them as you build.
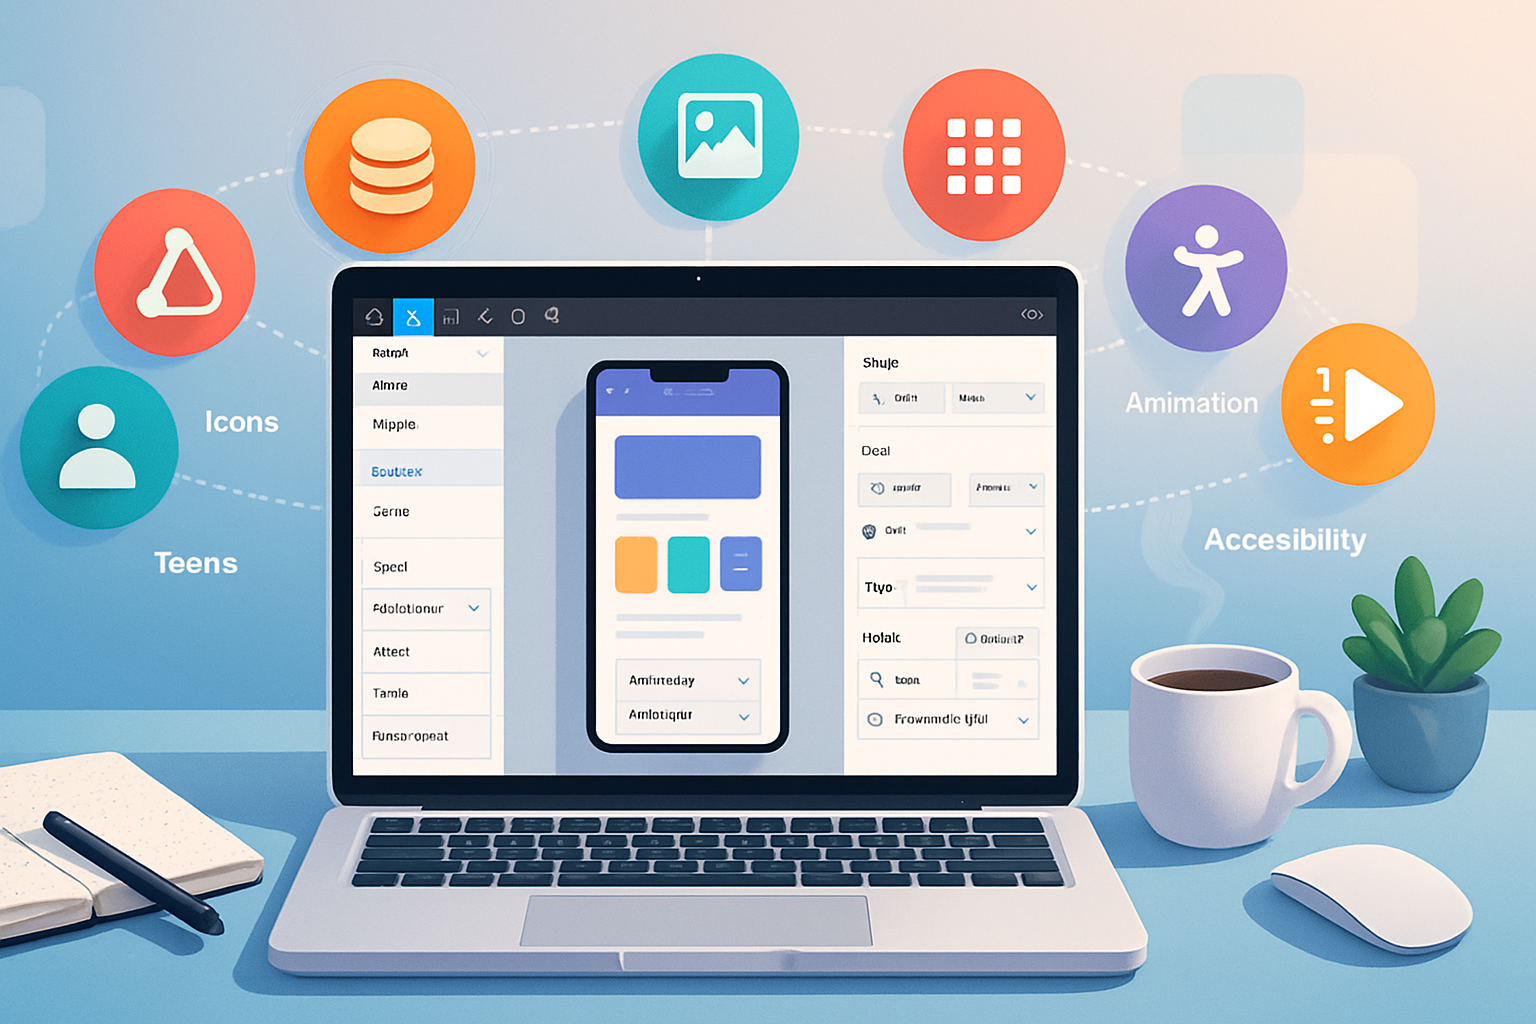
3) Interactive popups, hover actions and clickable areas
What it does
Transform static visuals into interactive experiences with popups, links, and hover-triggered states - perfect for demos, onboarding flows, or interactive reports.
How to use it
- Select any object (shape, image, text) and open the Interactivity panel.
- Add an action - open popup, go to a slide, link to a URL, or show/hide another object.
- For popups, design the popup content (text, images, buttons) and set behavior (click vs hover).
Why this helps
You can pack more information into a single visual without clutter. Viewers explore details on demand.
Quick tip
Use hover states for micro-interactions on dashboards; use click-to-popup for deep-dive content or data explanations.
4) Data widgets & animated charts (with import options)
What it does
Add charts, tables and gauges that animate and can be populated via CSV - ideal for reports that need to look modern and be updated regularly.
How to use it
- Insert a Chart or Data Widget from the left panel.
- Use the Data Editor to paste values, upload a CSV, or manually type data.
- Customize colors, labels and animation sequences in the settings.
Why this helps
Animated charts make numbers easier to absorb. Importing CSVs reduces copy/paste errors for recurring reports.
Quick tip
Design a simple legend and use consistent color rules from your Brand Kit so data reads clearly across slides.
5) Background remover and image masking
What it does
Remove image backgrounds with one click and mask images inside shapes for cleaner compositions and custom silhouettes.
How to use it
- Upload an image and select it.
- Choose Remove Background (automatic) to get a transparent subject.
- To mask - place the image over a shape, right-click and select Mask or use the Clip option.
Why this helps
No need to jump into a separate photo editor. Create product mockups and hero images directly in Visme.
Quick tip
After background removal, add a subtle shadow or outline to ensure the subject pops on any background.
6) Presenter mode + Record & Share (narrated slides)
What it does
Record voiceover or a full presentation right inside Visme, then share an interactive, self‑presenting file.
How to use it
- Open your presentation and choose Present > Record.
- Record per slide or for the entire deck. Add webcam if desired.
- Save and share an interactive link or download a video.
Why this helps
Perfect for asynchronous presentations, online training, and polished pitch decks where you want to control pacing and tone.
Quick tip
Use slide notes as a script outline and record in a quiet room for a professional result.
7) Object States and Advanced Animations
What it does
Give objects different visual states (default, hover, click) and chain entrance/exit animations for storytelling on a single canvas.
How to use it
- Select an object and open the Animations or States panel.
- Define a hover or click state (change color, size, opacity) and add transitions.
- Combine with Interactivity to trigger state changes on user action.
Why this helps
Create micro-interactions without code. These behaviors increase retention and make data explorations feel tactile.
Quick tip
Keep animations purposeful and brief. Slow, subtle entrance animations guide attention; fast or too many effects distract.
8) Locking, Grouping and Layer Controls (work like a pro)
What it does
Lock elements so they don’t move while you edit nearby parts; group objects to manipulate them as a single piece; reorder layers for precise composition.
How to use it
- Select elements and choose Group to combine them.
- Use Lock to pin critical layout pieces (headers, guides).
- Open the Layers panel to rename, reorder, hide or lock layers.
Why this helps
Prevents accidental shifts and accelerates complex edits because you can isolate and protect design scaffolding.
Quick tip
Rename layers (e.g., “Header-Logo”, “CTA Button”) so collaborators instantly understand the canvas structure.
9) Version history & collaboration comments
What it does
Restore previous versions, review edits, and leave in-app comments for teammates - invaluable for iterative projects.
How to use it
- Open a project and find Version History (usually under File or project settings).
- Browse snapshots, preview changes and restore a prior version if needed.
- Use the Comment tool to pin notes to specific objects or slides; tag teammates where applicable.
Why this helps
Skip the guessing game when feedback accumulates. Restore a clean version or accept granular changes quickly.
Quick tip
Make a habit of saving a major milestone (Draft v1, Final for Review) in your version history so rollbacks are simple.
10) Export as interactive HTML5 and embed anywhere
What it does
Export interactive projects as embed-friendly HTML5 or generate embed code that preserves interactivity (popups, animations, links) for websites.
How to use it
- From Export options, choose HTML5 or the Embed option.
- Copy the generated embed code and paste it into your site’s HTML or CMS block.
- Adjust sizing or responsive options in the embed settings.
Why this helps
Share interactive reports, infographics and microsites without converting them to static images. Your web audience gets the full experience.
Quick tip
Use an iframe wrapper with responsive CSS to make interactive embeds behave well on mobile.
Final notes: make these features part of a reproducible workflow
- Start every new project from a brand-aware template (Brand Kit + Master Slides).
- Use groups, locks and layers while composing complex pages and enable Version History before big edits.
- Add interactivity and smart charts last - these are the features that turn a good visual into a memorable experience.
If you apply three of the features above (Brand Kit, Master Slides and Interactivity) on your next project, you’ll notice a meaningful jump in speed, polish and audience engagement.
For more detail on Visme’s features and help articles, see Visme’s main site and help center: https://visme.co/ and https://help.visme.co/