· marketing · 6 min read
Unlocking Mailchimp: 10 Secret Features You Didn't Know About
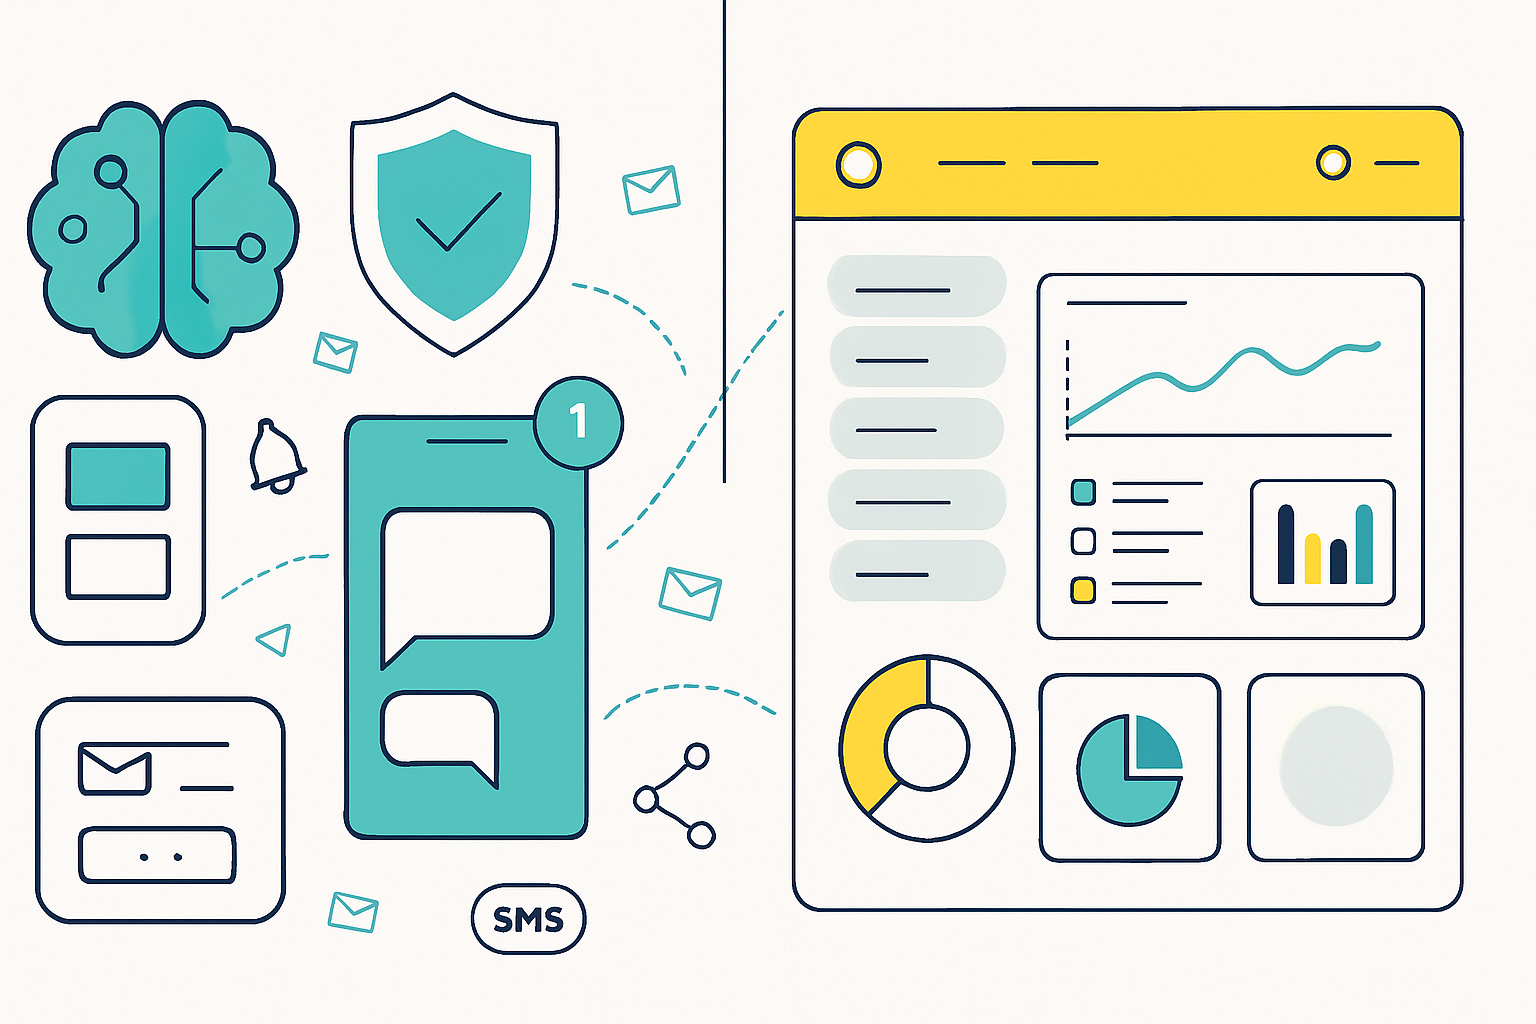
Discover 10 underused Mailchimp features - from deep segmentation and conditional merge tags to Customer Journeys, Send Time Optimization, and Mandrill - with step-by-step tips, examples, and pro workflows to level up your email marketing.

Intro
Email marketing platforms are full of surface-level features most users rely on: templates, contact lists, and basic campaigns. Mailchimp, however, hides powerful - and often overlooked - capabilities that can turn ordinary sends into personalized, data-driven experiences.
Below are 10 underused Mailchimp features, why they matter, and practical how-to steps and examples so you can start using them today.
1) Advanced Segmentation: Beyond Basic Lists
What it is
Mailchimp segments let you slice your audience using multiple conditions (purchase history, engagement, location, tags, signup source, and more). Combining conditions creates highly specific audiences.
Why it matters
Targeted messages convert better. A campaign tailored to lapsed purchasers or VIPs yields higher opens, clicks, and revenue.
How to use it (quick steps)
- Go to Audience > All contacts > New segment.
- Add conditions like - Email Marketing Status, Tag, Last purchase date, Campaign activity.
- Mix AND/OR rules and save as a reusable segment.
Pro tip
Save segments like “Winback - 60–180 days no purchase” or “High-value shoppers - last 90 days, total > $200” to reuse in automations or A/B tests.
Reference: Mailchimp segmentation docs: https://mailchimp.com/help/segment-and-target-contacts/
2) Tags vs Groups and Using Them Strategically
What it is
Tags are internal labels you apply to contacts. Groups let contacts self-identify preferences (e.g., product interest) via forms.
Why it matters
Tags are perfect for operational workflows (SaaS trial stage, lead source). Groups are ideal for opt-in preferences and personalization.
How to use it
- Tag contacts via import, automation, or API.
- Use groups on signup forms to let subscribers choose content preferences.
- Use segments to combine tags and group selections for campaigns.
Example
Send a “Spring Styles” campaign only to contacts with Tag: “fashion-event” AND Group: “Women’s apparel”.
Reference: Tags and groups overview: https://mailchimp.com/help/about-tags/
3) Conditional Merge Tags & Dynamic Content
What it is
Conditional merge tags let you show/hide blocks of content per-recipient. They’re the most underused personalization tool.
Why it matters
You can send one campaign that dynamically changes hero images, CTAs, or product rows based on purchase history, location, or tags - no manual splits.
How to use it (basic syntax)
Example conditional:
*|IF:MERGE_TAG="VIP"|*
  <p>Exclusive offer for VIPs: 25% off</p>
*|ELSE:|*
  <p>Welcome! Use code NEW10 for 10% off</p>
*|END:IF|*
Pro tip
Use conditionals in plain text or custom HTML blocks. For drag-and-drop editors, duplicate content blocks and set visibility rules based on segment conditions when available.
Reference: Merge tags guide: https://mailchimp.com/help/use-merge-tags/
4) Customer Journeys (Advanced Automation)
What it is
Journeys are multi-step, branching automations that respond to contact behavior, time delays, and milestones.
Why it matters
They let you build complex experiences: onboarding flows that branch by user activity, re-engagement tracks, or cross-sell sequences triggered after a purchase.
How to use it (example workflow)
- Create a Journey - Automations > Customer journeys > Create.
- Start trigger - “Signup Form Submission”.
- Branch - “If clicked link in welcome email” → send advanced onboarding; else → send reminder after 3 days.
- Add wait steps, behavioral splits (opened, purchased), and goal steps.
Use case
E-commerce onboarding: Welcome email → 3 days later show best-sellers → if purchase, trigger cross-sell; if not, send limited-time discount.
Reference: Customer Journeys: https://mailchimp.com/features/journeys/
5) Send Time Optimization (Smart Scheduling)
What it is
Mailchimp analyzes contact engagement to suggest the best time to send emails for each recipient or your list as a whole.
Why it matters
Sends at a time when recipients are most likely to open increase open rates without additional segmentation.
How to use it
- When scheduling a campaign, choose “Send to each contact at the best time” (or similar Send Time Optimization option).
Pro tip
Combine with weekday testing: use Send Time Optimization for routine newsletters, but test specific days/times for big promos using A/B testing.
Reference: Send Time Optimization: https://mailchimp.com/features/send-time-optimization/
6) Multivariate & Advanced A/B Testing
What it is
Mailchimp’s testing supports subject lines, from names, content, and send times. Advanced tests let you measure opens, clicks, and revenue.
Why it matters
Move beyond subject-line A/Bs. Test entire creative frameworks or product blocks to learn what drives conversions.
How to use it
- Create campaign > A/B test option.
- Select variable(s) - Subject, From, Content, or Send Time.
- Choose winning metric and test audience slice (e.g., 20% of list), set winner criteria and timing.
Pro tip
Use A/B testing to validate new value props or images (multivariate) before rolling out to full list.
Reference: A/B testing: https://mailchimp.com/features/a-b-testing/
7) Predictive & Comparative Analytics
What it is
Mailchimp provides predictive data points (like predicted demographics and purchase propensity) and comparative benchmarks against industry averages.
Why it matters
These insights inform targeting and content - for example, tailoring a campaign to a predicted age band or increasing bids for audiences with high purchase propensity.
How to use it
- Explore Audience > Insights and Reports > Comparative Benchmarking.
- Use predictive scores in segments - e.g., target “predicted to purchase in next 30 days”.
Reference: Predictive demographics & analytics: https://mailchimp.com/help/predictive-demographics/ and https://mailchimp.com/features/analytics-insights/
8) Transactional Email (Mandrill) & API Power
What it is
Mandrill (Mailchimp Transactional) is the paid add-on for sending high-volume transactional messages (order confirmations, password resets) via API with Mailchimp templates.
Why it matters
Keeping transactional and marketing messages in one platform aligns branding, tracking, and deliverability. Using the API enables highly personalized, event-driven sends.
How to use it
- Enable Transactional Email in your account and connect via API key.
- Use your Mailchimp templates and trigger sends programmatically from your app on events (e.g., purchase).
Pro tip
Send triggered cross-sell suggestions in the order confirmation email using purchased item data.
Reference: Transactional email (Mandrill): https://mailchimp.com/transactional-email/
9) Content Studio, Creative Assistant & Automated Design
What it is
Content Studio stores images and files; Creative Assistant uses brand assets to auto-generate templates and suggested copy.
Why it matters
Speed up campaign creation with on-brand suggestions and consistent image/copy usage across campaigns.
How to use it
- Upload brand assets to Content Studio.
- Use Creative Assistant to generate templates and subject-line suggestions.
Pro tip
Use Creative Assistant to produce alternate banner sizes for multichannel campaigns (email + landing page).
Reference: Creative Assistant: https://mailchimp.com/features/creative-assistant/
10) E-commerce Integrations & Ecommerce 360 Insights
What it is
Mailchimp integrates with major platforms (Shopify, WooCommerce, BigCommerce) to sync purchase data, enabling abandoned cart emails, product recommendations, and revenue tracking.
Why it matters
Syncing order data allows personalized product recommendations in emails, revenue attribution, and lifecycle automations.
How to use it
- Connect your store via Integrations in Mailchimp.
- Enable e-commerce automations - Abandoned cart, Product retargeting.
Use case
Trigger a post-purchase cross-sell email 3 days after shipping, using the purchased category to recommend complementary items.
Reference: Integrations and e-commerce: https://mailchimp.com/integrations/shopify/ and https://mailchimp.com/help/connect-mailchimp-to-a-shopify-store/
Bonus section: Putting features together into three actionable workflows
- New Customer to Loyal Fan (Onboarding Journey + Predictive Segments)
- Trigger - Purchase event (integration).
- Journey steps - Welcome → Usage tips after 3 days → Cross-sell 7 days later if no repeat purchase.
- Use predictive purchase propensity to prioritize VIP outreach.
- Winback Campaign (Segment + Send Time Optimization + Conditional Content)
- Segment - Last purchase 90–180 days, not opened last 3 campaigns.
- Send - Use Send Time Optimization.
- Content - Conditional merge tags to show a special discount only to contacts with high predicted churn risk.
- Transactional Upsell (Mandrill + Dynamic Content)
- Trigger - Order confirmation via API (Mandrill).
- Include dynamic product recommendations with conditional content - include a coupon block only if total order < $50.
Final checklist before you send
- Are your tags and groups consistently applied? (clean data)
- Do your merge tags have fallback values? Use |DEFAULT:| values.
- Have you tested conditional content in both desktop and mobile previews?
- Did you enable preview text and optimized sending time?
Further reading / official docs
- Segment and target contacts: https://mailchimp.com/help/segment-and-target-contacts/
- Merge tags and conditional content: https://mailchimp.com/help/use-merge-tags/
- Customer Journeys: https://mailchimp.com/features/journeys/
- Send Time Optimization: https://mailchimp.com/features/send-time-optimization/
- Predictive demographics: https://mailchimp.com/help/predictive-demographics/
- Transactional email (Mandrill): https://mailchimp.com/transactional-email/