· productivity · 6 min read
Unlocking Coda: Five Lesser-Known Features That Will Transform Your Workflow
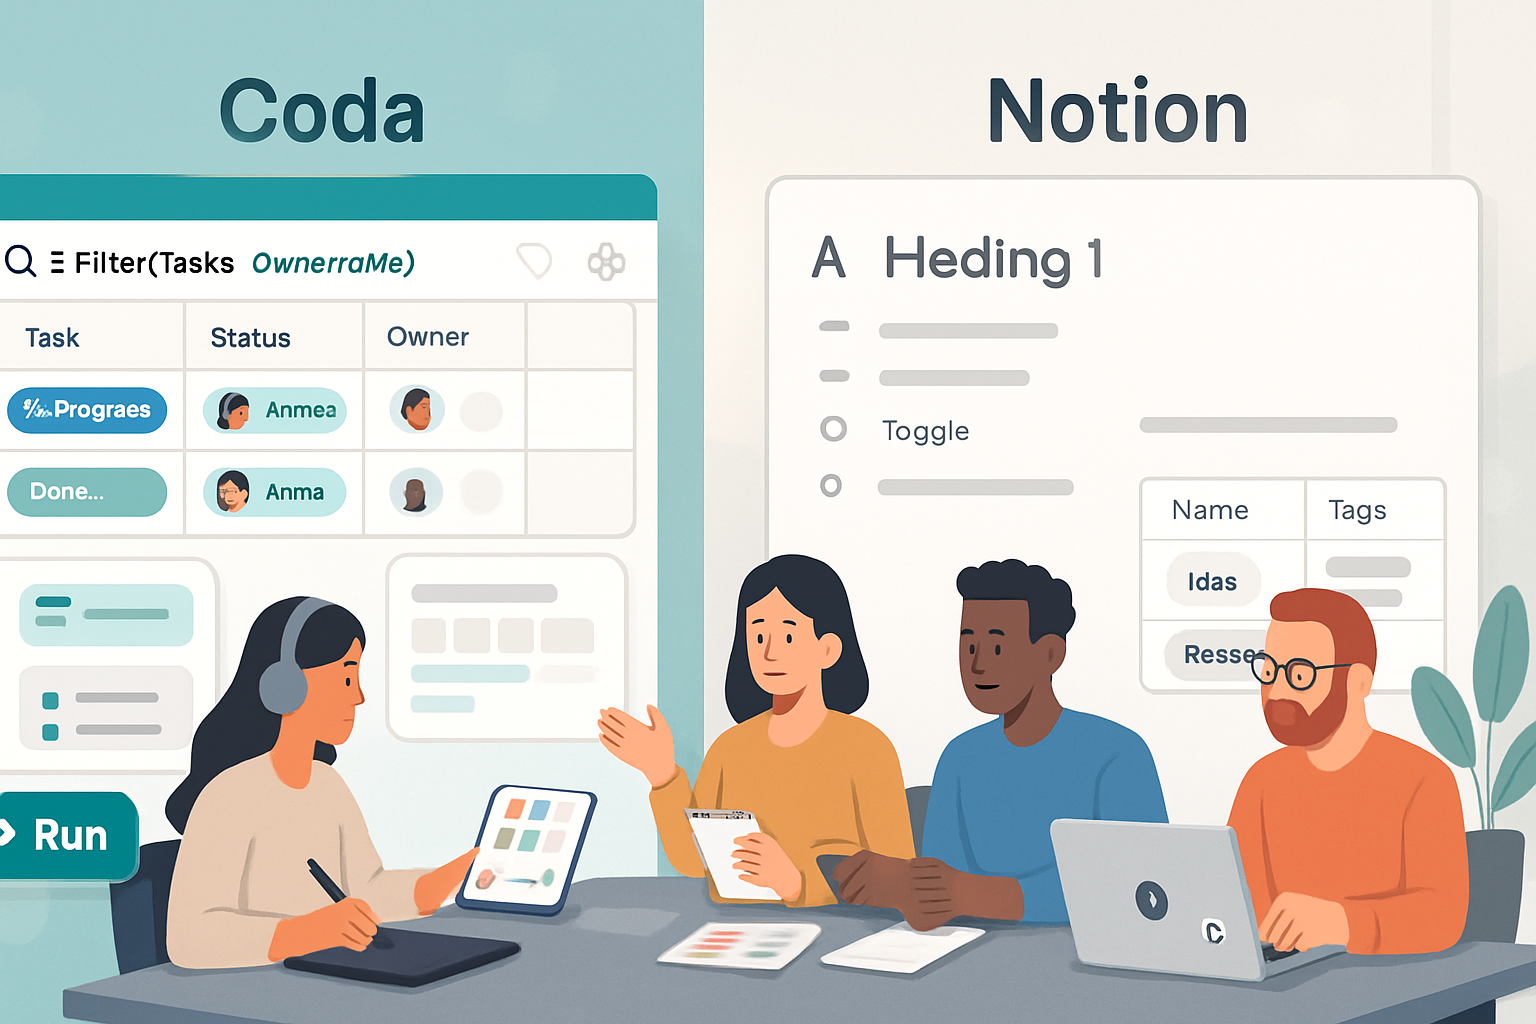
Discover five underused Coda features - Cross-Doc Sync Tables, Button-driven workflows, Document Controls, Named Formulas & Lambdas, and Packs/Webhooks - with practical examples and tactical tips to boost your team's productivity and collaboration.

Why these five features matter
Coda looks simple at first glance - pages, tables, and docs - but its most transformational capabilities live slightly beneath the surface. Use them and you’ll move from spreadsheets and static docs to living systems that automate work, scale across teams, and reduce manual handoffs.
Below are five lesser-known but high-leverage Coda features, with concrete examples, formulas, and tips you can apply today.
1) Cross-Doc Sync Tables: build a single source of truth across docs
Many teams keep multiple Coda docs for specific projects, but you don’t have to silo data. Sync Tables let you expose a table in one doc and consume (and optionally write back to) that table in other docs.
Why it transforms workflows
- Centralized data updates automatically propagate to dashboards and project docs.
- You can preserve doc-specific views while keeping rows consistent.
How to use it (quick steps)
- In the source doc, select the table you want to share. Use the table options menu and choose Share as sync table or copy the doc URL.
- In the destination doc, Insert -> Table -> Sync from doc, choose the source doc/table.
- Configure which columns to sync and whether to allow writeback (two-way sync).
Example: Central Projects table + local project plan
- Create a central
Projectstable with Master fields: Project ID, Name, Status, Owner, Start Date. - Sync that table into each team doc and add local columns (e.g., Team Notes, Weekly Focus) that are not synced.
- Because the central data is synced, status changes in one place propagate automatically to all team docs.
Tips and pitfalls
- Only sync the columns you need - extra columns bloat the destination doc.
- Be careful with writeback for high-frequency updates to avoid conflicting changes.
Learn more: https://coda.io/help
2) Button-driven workflows: one-click multi-step actions
Buttons in Coda do more than add a row. They can run multi-step logic (mutate rows, open links, run automations), making them mini macros for your docs.
Why it transforms workflows
- Replace manual sequences (copy-paste, update fields, notify teammates) with one-click reliability.
- Buttons can trigger downstream automations and Packs.
Common patterns
- Approve / Reject buttons - set Status, add an approved date, notify Slack, and move the row to an archive table.
- Create task from meeting note - extract action items and create rows in a Tasks table with the right metadata.
Example formula for an Approve button (pseudo-syntax)
RunActions(
  ModifyRows(thisRow, thisRow.[Status], "Approved", thisRow.[Approved Date], Today()),
  NotifyRows(thisRow, "approved"),
  OpenWindow(thisRow.[Project Link])
)
Step-by-step
- Add a column of type Button.
- Set the action to
RunActions()and add the actions you need (ModifyRows,AddRow,OpenWindow, etc.). - Choose the button label and icon. Use conditional labels with formulas for dynamic names.
Tips
- Use
DisableIf()to grey-out a button when certain conditions aren’t met. - Combine Buttons with Automations for scheduled or triggered actions if you need asynchronous behavior.
Learn more: https://coda.io/help
3) Document Controls + Linked Views: turn docs into interactive dashboards
Controls (Select lists, Date pickers, People pickers, Sliders) are small UI elements that let readers drive the content of multiple views at once. Paired with Views of the same table, they become powerful, reusable filters.
Why it transforms workflows
- Create one dashboard page that adapts for any team member or meeting.
- Reduce duplicated filtering logic across many views.
Pattern: Global filter control
- Insert a control (e.g., a Select List control named
ctl_Status). - Create several table views and filter them using the control:
Filter(table, Status = ctl_Status). - Change the control and every linked view updates instantly.
Advanced tip: use controls inside formulas
- Use
If(IsBlank(ctl_Assignee), table, Filter(table, Assignee = ctl_Assignee))to make the control optional. - Combine multiple controls using
Filter()and logical operators to build complex dashboards.
Example: Meeting triage dashboard
- Controls:
ctl_Priority,ctl_Owner,ctl_DueDateRange. - Views - Open issues, Blockers, Upcoming.
- One control panel manages the views used during standups or reviews.
Learn more: https://coda.io/help
4) Named Formulas & Lambdas: reuse logic like functions
Coda’s formula language supports creating named formulas (document-level variables) and lambdas (anonymous functions you can pass around). These turn repetitive formulas into maintainable, reusable building blocks.
Why it transforms workflows
- Single source of truth for complex logic - change it once, and every dependent column updates.
- Build composable logic (map, filter, reduce) so the doc behaves like organized code.
How to create a named formula
- Use Insert -> Formula -> Named formula or create a canvas formula like
MyRate = 1.2. - Reference
MyRateanywhere in the doc (tables, buttons, automations).
Lambda example: reusable row formatter
FormatRow = Lambda(row, "[" & row.[Project ID] & "] " & row.Name)Use it like:
FormatRow(thisRow)Map and reduce pattern
- Use
thisTable.Filter(...).FormulaMap(Lambda(r, r.Price * r.Quantity)).Sum()to compute weighted totals cleanly.
Tips
- Name complex formulas descriptively (e.g.,
CalcEAC_Adjusted) to make docs self-documenting. - Keep heavy calculations in named formulas to improve performance and simplify debugging.
Learn more: https://coda.io/help
5) Packs & Webhooks: integrate and extend Coda with external services
Packs let Coda talk to services like Slack, Gmail, Google Calendar, Stripe, and custom APIs. Webhooks and the Fetch() family of formulas let you call external endpoints and bring that data back into Coda.
Why it transforms workflows
- Automate notifications, create rows from external events, update CRM entries from email triggers, and more - all without leaving Coda.
Example use cases
- Slack Pack - Post a message to a channel when a row is approved.
- Gmail Pack - Create tasks from flagged emails by pulling subject/body into a Tasks table.
- Custom Webhook - Send form submissions to an internal endpoint and create a row when your app hits the webhook.
Basic webhook flow
- Use the Automation rule - When row changes -> Action: Send webhook or Call Pack.
- Or set up an external service to POST to Coda if you use a custom Pack or the Coda API.
Security & reliability tips
- Store API keys in a Pack configuration rather than pasting them into doc text.
- Rate limits - be mindful of external API limits - batch when possible.
Learn more: https://coda.io/packs
Putting it together: a sample mini workflow
Imagine a product triage system:
- Central
Bugssync table (Cross-Doc) stores canonical bug data. - Team docs sync that table and add notes.
- A dashboard uses Controls to filter by priority and owner.
- Each bug row has an
EscalateButton that: sets Priority to High, adds a Slack notification via the Slack Pack, and triggers an Automation to assign an on-call user. - Complex scoring (priority score) is computed by Named Formulas and mapped across rows for fast recalculation.
The result: triage becomes one-click, transparent, and reproducible.
Practical rollout tips
- Start small - pick one table and implement Cross-Doc sync.
- Create a small library of Named Formulas and a short doc describing them so teammates reuse them.
- Train teammates on Buttons and Controls - a short demo will accelerate adoption.
- Use automations sparingly at first; add Packs as you validate the value.
Final checklist to get started
- Create a master table and sync it to at least one team doc.
- Add a Button to automate one repetitive task.
- Build a control-driven dashboard with 2–3 views.
- Refactor one repetitive formula into a Named Formula or Lambda.
- Connect one external service via a Pack or webhook.
Coda is powerful because it blends document simplicity with app-like capabilities. These five features - when combined - let your team build systems that reduce manual work, improve visibility, and scale with your needs.
For more how-tos and examples, check Coda’s official docs: https://coda.io/help