· 7 min read
A Step-by-Step Guide to Building Your First Website Without Code
A beginner-friendly, comprehensive tutorial that walks you through planning, building, launching, and maintaining a fully functional website using no-code tools - including platform choices, domain setup, SEO basics, analytics, screenshots (placeholders) and practical tips.

Why a no-code website?
Building a website without writing code is faster, cheaper, and more accessible than ever. Modern no-code platforms let you drag, drop, connect forms, accept payments, and manage content - all with visual tools. This guide walks you through the entire process, from planning and choosing a platform to publishing, promoting, and maintaining your site.
Audience: absolute beginners, creators, small business owners, side-hustlers.
What you’ll learn
- How to plan your site (goals, structure, content)
- How to choose the right no-code platform
- Step-by-step site build - pages, layout, branding, forms
- Domain and hosting basics (connect domain, SSL)
- SEO, analytics, and launch checklist
- Tips, common pitfalls, and maintenance best practices
1. Plan before you build
Good planning saves time.
- Define the purpose - blog, portfolio, small business, online store, landing page.
- Decide core pages - Home, About, Services/Products, Contact, Blog/Updates, Legal (Privacy/Terms).
- Sketch site structure (use a simple sitemap):
- Home
- About
- Services
- Case Studies
- Blog
- Contact
- Prepare content - headline, short intro, service descriptions, photos, logo, CTAs (call-to-action).
- Choose brand basics - color palette (2–3 colors), 1–2 fonts, a logo (use a simple SVG/PNG).
Tip: Keep your first version small - 4–6 pages is plenty.
2. Choose a no-code platform (quick guide)
Pick based on priorities: ease, design control, ecommerce, blogging, price.
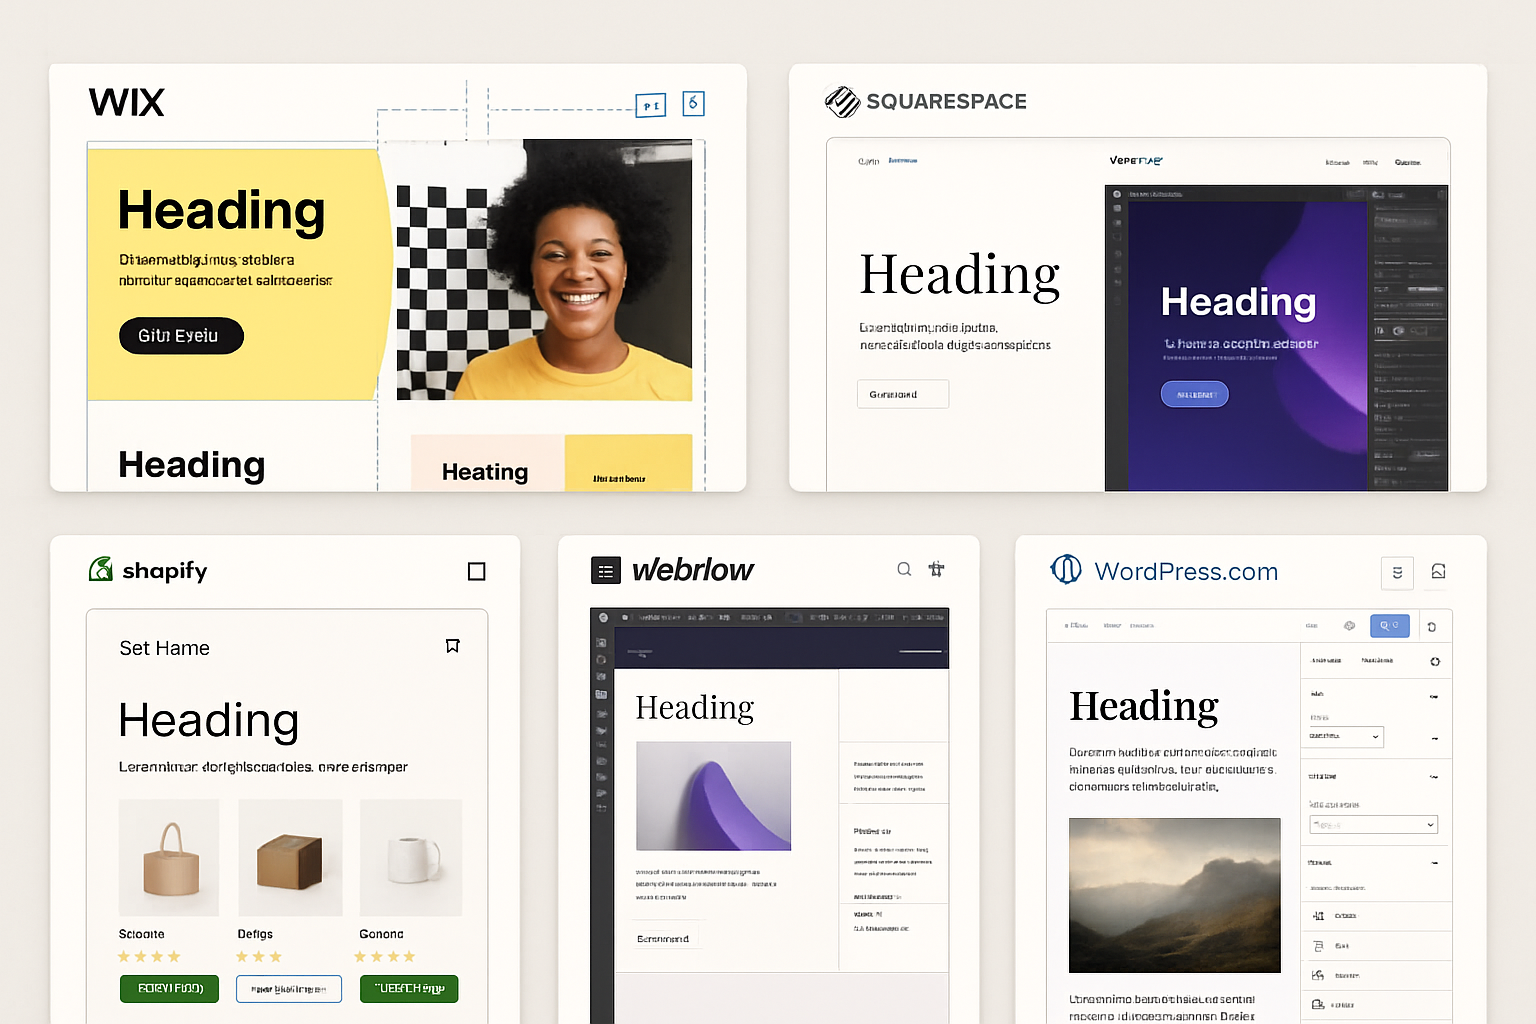
- Wix - Extremely beginner-friendly drag-and-drop editor, many templates. Good for small business and portfolio sites. Wix Help Center
- Squarespace - Polished templates and strong built-in features for creatives. Good design defaults and simple commerce. Squarespace Help
- Webflow - Visual design with advanced layout control, generates clean HTML/CSS; steeper learning curve but great for pixel-perfect sites. Webflow University
- WordPress.com - Familiar CMS with block editor; great for blogging and extensibility with plugins (on paid plans). WordPress.com Support
- Carrd - Ultra-simple, low-cost one-page sites and landing pages. Carrd
- Shopify - If your primary goal is ecommerce, Shopify is purpose-built. Shopify Help
How to decide:
- Need a store? Consider Shopify, Squarespace Commerce, or Wix eCommerce.
- Need full design control? Consider Webflow.
- Want the easiest path & templates? Wix or Squarespace.
- Budget is tight and you need a one-page site? Carrd.
3. Sign up and pick a template
- Create an account on the platform you’ve chosen.
- Browse templates by category and pick one whose layout and style match your goal.
- Import or prepare your logo and brand assets.
Tip: Templates are just starting points - you can replace images and change colors.
4. Basic site structure and layout (step-by-step)
Follow these steps inside the editor:
Edit global site settings - site title, favicon (small icon in browser tab), fonts, colors.
Create pages - Home, About, Contact, Blog (if needed), Products/Services.
Build the Home page:
- Hero section - strong headline, short supporting text, primary CTA button.
- Feature or services section - 3–4 short items with icons/images.
- Social proof - testimonials or client logos.
- Footer - contact info, links to privacy/terms, social icons.
Create an About page with a friendly photo and short story.
Create a Contact page - contact form + email + optional map or phone.
(If e-commerce) Add product pages and set up prices, images, inventory.
Accessibility tip: Use clear headings (H1 for the page title), good color contrast, and include descriptive alt text for images.
5. Add content: images, copy, and CTAs
- Copy - Keep it concise. Use short paragraphs and bullet lists for readability.
- Images - Use high-quality, optimized images (JPEG/WebP). Resize images to appropriate widths (e.g., 1200px for hero).
- Alt text - Describe images for accessibility and SEO.
- CTAs - Use obvious, action-focused text like “Contact us”, “Book a demo”, “Buy now”.
Performance tip: Compress images (TinyPNG or built-in platform tools). Lazy-load images where possible.
6. Forms, email, and integrations
- Add a contact form (most builders have a form element). Connect it to your email or the platform’s inbox.
- For newsletters, connect an email provider - Mailchimp, ConvertKit, or built-in newsletter features.
- Add third-party integrations - chat widgets (Tidio, Intercom), booking systems, or analytics.
Privacy tip: If you collect emails or personal data, add a privacy policy and GDPR-compliant consent if you serve EU users.
7. Domain name and hosting basics
Most platforms include hosting. You’ll usually do one of the following:
- Buy a domain through the website builder (convenient).
- Buy a domain from a registrar (Namecheap, Google Domains, GoDaddy) and connect it.
DNS basics:
- Point your domain to the platform via an A record or CNAME per the platform’s instructions.
- Allow up to 48 hours for DNS propagation (usually much faster).
- Ensure SSL is enabled (HTTPS). Most platforms provide free SSL automatically.
References:
- Cloudflare DNS basics: https://developers.cloudflare.com/dns/
- Example - WordPress.com domain support:
8. SEO basics (so people can find you)
- Page titles and meta descriptions - Write a unique title and concise meta description for each page.
- Headings - Use H1 for the page title, then H2/H3 for sections.
- URL slugs - Keep them short and keyword-friendly (e.g., /web-design-services).
- Alt text - Add descriptive alt text on images.
- Submit sitemap to Google Search Console and Bing Webmaster Tools.
Useful links:
- Google Search Console: https://search.google.com/search-console
- Google’s SEO starter guide: https://developers.google.com/search/docs/beginner/seo-starter-guide
Tip: Focus on 1–2 keywords per page. Write for humans first.
9. Analytics and tracking
Set up analytics so you can measure traffic and behavior:
- Google Analytics (GA4) - Create an account, add your site as a property, and install the GA4 tag (most builders have a field for Google Analytics ID).
- Google Search Console for search insights.
Privacy note: Consider adding a cookie banner or consent mechanism if you operate in regions with privacy laws (GDPR, CCPA).
Reference:
- Google Analytics help: https://support.google.com/analytics
10. Testing and launch checklist
Before you hit publish, test these items:
- Check all links and forms work (submit a test form).
- Preview on desktop, tablet, and mobile (responsive check).
- Test load speed (PageSpeed Insights) and optimize if slow.
- Fill in SEO meta fields and alt text.
- Ensure SSL (HTTPS) is active.
- Proofread copy and check images.
- Add legal pages - Privacy Policy, Terms of Service, Cookie policy if needed.
Helpful tools:
- Google PageSpeed Insights: https://developers.google.com/speed/pagespeed/insights/
- WAVE accessibility checker: https://wave.webaim.org/
11. Publish and promote
- Hit Publish from your builder. If you connected a custom domain, confirm the site resolves to your URL.
- Share on your social networks and email your contacts.
- Submit sitemap to Google Search Console to speed up indexing.
- Consider a small ad campaign (Facebook/Instagram/Google) to get initial traffic.
Pro tip: Start with an “announcement” blog post or pinned social post that outlines what visitors can expect from your site.
12. Post-launch: maintain and improve
- Monitor analytics weekly for traffic and behavior.
- Update content regularly (add blog posts, case studies, or product pages).
- Backup content if your platform allows it, or export content periodically.
- Keep an eye on uptime and renew your domain before it expires.
Maintenance checklist (monthly):
- Check forms and contact email deliverability.
- Review analytics and top pages.
- Update outdated content and offers.
Common pitfalls and how to avoid them
- Overly complex first site - start small and expand.
- Ignoring mobile - always preview and test on phones.
- Large unoptimized images - compress and resize.
- Forgetting legal/privacy requirements - add basic policies.
- Not tracking analytics - set up GA4 and Search Console before launch.
Example project: A simple 5-page business site (walkthrough)
- Platform - Squarespace (example)
- Pages - Home, About, Services, Blog, Contact
- Home hero - “We help small businesses get found online” + CTA “Get a free consult”
- Services - 3 service blocks with icons and “Learn more” links
- Contact - form (name, email, message), map, business email link
- SEO basics - unique titles and meta descriptions per page
- Analytics - GA4 configured in site settings
- Domain - purchased via Namecheap, connected via platform DNS settings
Resources and learning links
- Webflow University (free learning): https://university.webflow.com
- Wix Help Center: https://support.wix.com
- Squarespace Help: https://support.squarespace.com
- WordPress.com Support: https://wordpress.com/support
- Google Search Console: https://search.google.com/search-console
- Google Analytics Help: https://support.google.com/analytics
- PageSpeed Insights: https://developers.google.com/speed/pagespeed/insights/
Final checklist (copy & paste)
- Site purpose and sitemap ready
- Brand colors, fonts, and logo
- Template chosen and customized
- Pages created (Home, About, Contact, etc.)
- Images optimized with alt text
- Contact form and newsletter integrated
- Domain connected and SSL active
- SEO titles/meta descriptions set
- Analytics (GA4) & Search Console added
- Accessibility and mobile tested
- Published and promoted
Building your first website without code is about making choices - pick the platform that matches your goals, start small, and iterate. With the steps above, you’ll have a functioning, attractive site and the know-how to grow it.
Good luck, and enjoy the process of creating your corner of the web!