· business · 8 min read
Revolutionize Your Scheduling: 10 Hidden Calendly Features You Didn't Know Existed
Unlock powerful, under-used Calendly features - from custom branding and routing forms to workflows, payments, and webhooks - and learn how to implement them to streamline scheduling and strengthen your brand presence.

Intro
Scheduling still eats time. If you’re using Calendly only for simple links and availability windows, you’re missing automation, branding and routing features that can save hours, reduce no-shows, and create a better experience for invitees. Below are 10 under-used Calendly capabilities - what they do, why they matter, and exactly how to turn each one on and use it effectively.
1) Custom Branding: Make scheduling feel like your brand
Why it matters
Calendly pages are often the first direct brand touch a customer has with you. Custom branding helps you maintain a consistent professional image, reinforce trust, and create a cohesive experience.
What you can customize
- Logo and header image
- Accent colors and cover photos
- Custom confirmation messages and redirect URLs
- Removing Calendly’s watermark (available on paid plans)
How to enable
- Go to your Calendly account settings → “Branding” or edit an Event Type and open the landing page settings.
- Upload your logo and cover image, set brand colors, and edit the header text.
- Save and preview the event link to verify the look across desktop and mobile.
Pro tips
- Use a 1200×300 px cover image with your primary brand color to avoid cropping issues.
- Match the CTA button color with your site for visual continuity.
References: Customize your event types
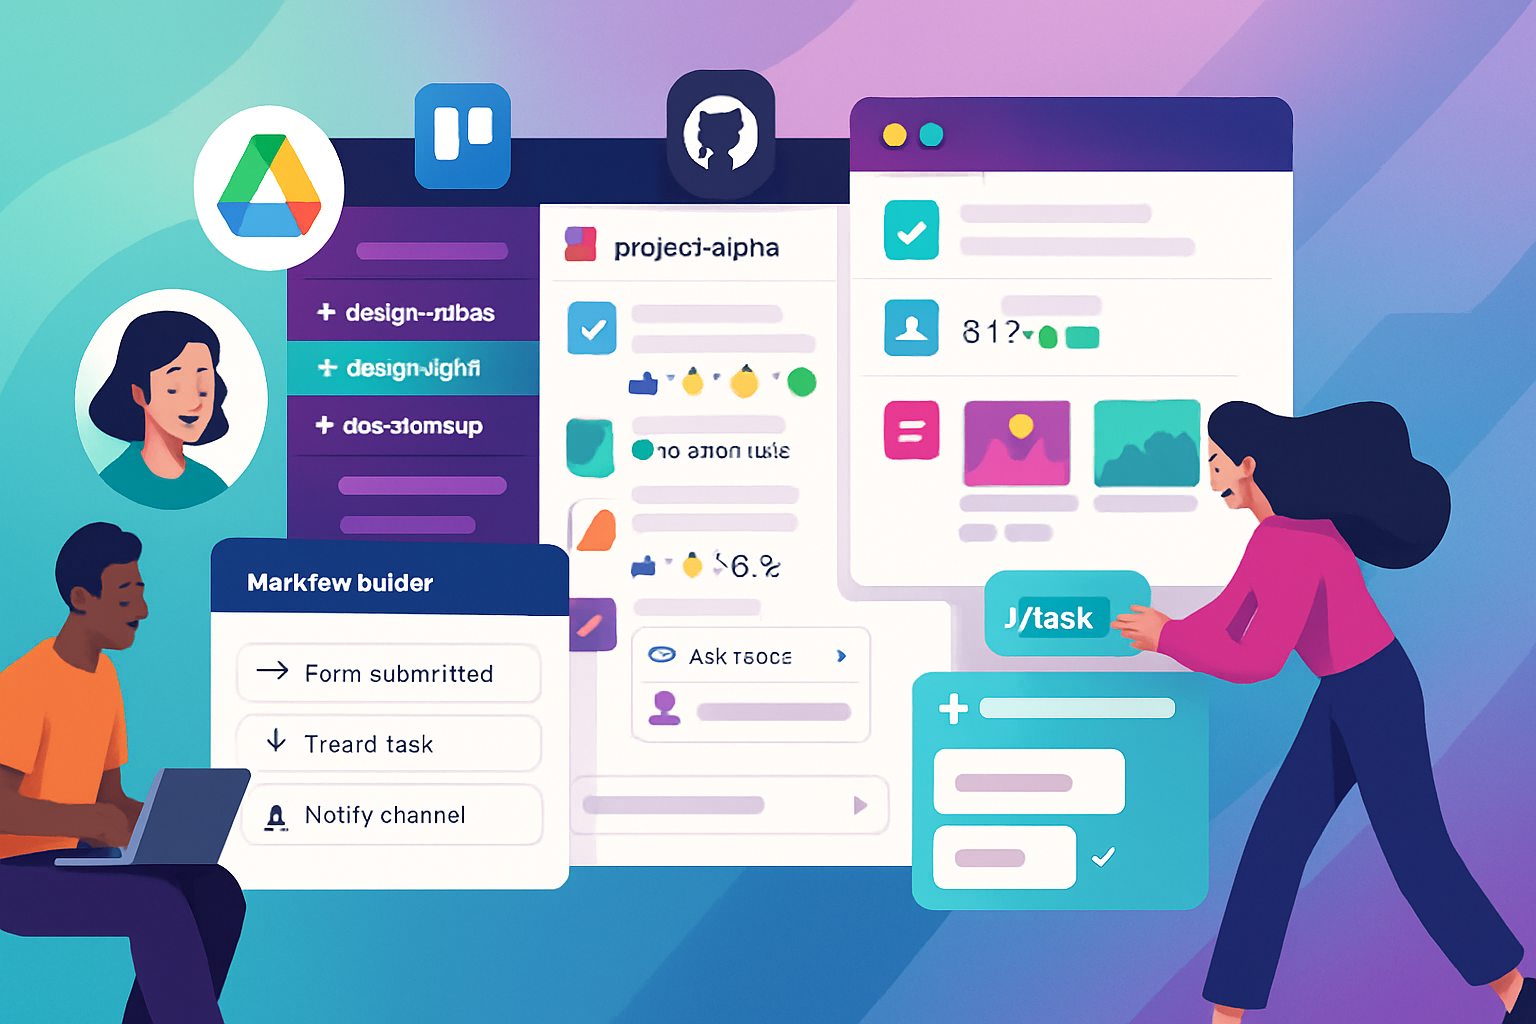
2) Workflows: Automate reminders, follow-ups, and tasks
Why it matters
Workflows let you automate communications - confirmations, reminders, follow-ups, SMS, and internal notifications - eliminating manual touchpoints and reducing no-shows.
Common uses
- Send a booking confirmation with prep instructions
- Trigger a thank-you email with resources after the meeting
- Send an SMS reminder 30 minutes before the call
How to set up
- From Calendly, open the Workflows section (or Event Type > Workflows).
- Create a new workflow and choose the trigger - booking, reschedule, cancellation, or time-based (e.g., X hours before event).
- Add actions - send email, send SMS, add delay, or send internal notification. Configure content and recipients.
- Activate the workflow.
Pro tips
- Use short SMS for last-minute reminders and longer emails for pre-read materials.
- Include dynamic fields (like event time, location, and invitee name) to personalize messages.
References: Create automated workflows
3) Routing Forms & Conditional Logic: Send the right people to the right meeting
Why it matters
Routing Forms capture invitee responses and route bookings to the correct team member or event type. This removes manual triage and ensures prospects meet the best-fit rep or specialist.
How routing works
- Ask qualifying questions during scheduling
- Use answers to route the booking using pre-configured rules (e.g., region, product interest)
How to set up
- Create or edit an Event Type and add a Routing Form.
- Add questions (single-select, multi-select, text) to capture the information you need.
- Create routing rules that map answers to team members, pools, or event types. Test with sample responses.
Pro tips
- Keep the routing form short - 2–4 questions to avoid friction.
- Use clear labels and include an “Other” option to prevent dead ends.
References: Use Routing Forms
4) Round Robin, Collective, and Team Scheduling: Balance load and coordinate groups
Why it matters
Team scheduling features let you handle many types of team bookings: evenly distribute meetings (Round Robin), book any available teammate (Collective), or let the invitee choose a specific person.
Types and when to use them
- Round Robin - distribute meetings fairly across a pool of teammates.
- Collective - require multiple participants to be available simultaneously (useful for interview panels or team demos).
- One-on-one with team selection - let invitees pick a specific person from a team page.
How to set up
- Create a Team event type and choose the scheduling method (Round Robin, Collective, or One-on-One).
- Add team members and set each member’s availability or linked calendars.
- Publish and share the team event link.
Pro tips
- For high-volume inbound lead qualification, use Round Robin with daily limits to avoid overwhelm.
- For interviews, use Collective to ensure panel availability is matched.
References: How Calendly scheduling for teams works (Round Robin) | Collective event type
5) Event Questions and Intake Forms: Capture context before the meeting
Why it matters
Ask custom questions during scheduling so meetings start with context - reducing discovery time and making conversations more productive.
What to ask
- Project or product of interest
- Budget range (if relevant)
- Primary goal for the meeting
- Files or links (optional)
How to add questions
- Edit an Event Type and open the “Invitee Questions” or “Form” section.
- Add and order questions - text, multiple choice, or file upload.
- Mark required vs. optional, then save.
Pro tips
- Use conditional routing with responses to route to subject-matter experts.
- Pre-fill common answers when embedding links in marketing campaigns to reduce friction.
References: Add event questions
6) Collect Payments: Charge for time or services at booking
Why it matters
If you charge for consultations, coaching, or classes, enabling payments eliminates no-shows and automates billing.
What’s supported
- Stripe and PayPal integrations (availability depends on plan and region)
- Fixed-fee charges per event type
How to set up
- Connect Stripe or PayPal to your Calendly account under Integrations → Payments.
- Edit an Event Type and enable payments, set the price and currency.
- Verify your payment flow by testing a booking on a staging link.
Pro tips
- Require payment at booking to reduce last-minute cancellations.
- Use coupons or promo codes (if supported) for limited-time offers.
References: Collect payments through Stripe or PayPal
7) Advanced Availability Controls: Buffer times, minimum notice, and multi-calendar connections
Why it matters
Advanced availability prevents back-to-back meetings, respects prep time, and avoids double-booking across multiple calendars.
Controls to use
- Buffer time before/after events
- Minimum scheduling notice and daily limits
- Connect multiple calendars (Google, Office, Outlook) to block conflicts
How to configure
- In Event Type settings, set buffer times and minimum scheduling notice.
- Connect all your calendars in Account Settings → Calendar Connections.
- Use availability rules and weekly scheduling to define recurring availability windows.
Pro tips
- Add at least a 15–30 minute buffer for client-facing roles to prevent burnout.
- Sync personal and work calendars to avoid accidental bookings during blocked hours.
References: Set your availability
8) Secret Event Types & Unique Scheduling Links: VIP and private bookings
Why it matters
Secret event types or single-use links let you offer private sessions to VIPs, interview candidates, or internal stakeholders without exposing the event to the public event page.
How to use them
- Create an Event Type and choose to hide it from your public event page (or copy the event link and don’t list it)
- Share the link only with the intended recipients
Use cases
- Executive office hours, candidate interviews, or bespoke consultations
Pro tips
- Use secret links for time-limited offers - expire or rotate links after campaigns.
- Pair secret event types with pre-filled invitee questions to speed booking.
References: Add Calendly to your website / Event types docs
9) Embedding, Pre-fill Links & Redirects: Seamless UX on your site
Why it matters
Embedding Calendly on your site reduces friction - visitors can book without leaving your page. Pre-filling fields and redirecting after booking create a polished end-to-end experience.
Embedding options
- Inline embed - full scheduler appears on a page
- Popup widget/button - appears when clicked
- Popup text - opens on page load or via CTA
How to embed and pre-fill
- From an Event Type, click “Share,” choose “Add to Website,” and copy the embed code.
- Paste the code into your site’s HTML or the website builder’s custom HTML block.
- For pre-filled fields, append query parameters to the event link (e.g., name, email) - useful for email campaigns.
- Set a post-booking redirect URL in the event confirmation settings to send invitees to resources or upsell pages.
Pro tips
- Use a lightweight widget for pages where speed matters, and an inline embed for dedicated booking pages.
- Pre-fill name and email when sending booking links from CRM to reduce friction.
References: Add Calendly to your website
10) API & Webhooks: Build custom automations and analytics
Why it matters
When native integrations aren’t enough, the Calendly API and webhooks enable two-way automation: create custom workflows, sync bookings to internal systems, trigger provisioning workflows, and push analytics to dashboards.
Typical use cases
- Auto-create CRM records when a meeting is scheduled
- Trigger provisioning or contract workflows after a paid booking
- Push booking data into BI tools for custom reports
How to get started
- Review the Calendly Developer docs and generate an API key: https://developer.calendly.com/
- Use webhooks to subscribe to event created/updated/canceled events and build a small listener to handle POST requests.
- Integrate with your CRM or back-end systems using the API to fetch event and invitee details.
Pro tips
- Start by creating a simple webhook listener that logs incoming events so you can inspect payloads.
- Use idempotency in your integrations to avoid duplicate CRM records when retries occur.
References: Calendly API and webhooks | Calendly integrations overview
Bonus: Monitor Performance with Analytics
Calendly’s analytics and reporting features help you measure meeting volume, conversion rates (invitee to scheduled), and team performance. Use these metrics to optimize availability, shorten intake forms, or reassign capacity.
Quick steps
- Open your Calendly dashboard → Analytics or Reports.
- Filter by event type, date range and team member to identify trends.
- Export CSVs or connect with BI tools via the API for deeper analysis.
Reference: Calendly analytics
Final checklist: How to unlock these features quickly
- Audit your current event types - remove unused ones and consolidate where possible.
- Connect all relevant calendars and integrations (Zoom, Google, Slack, Stripe, HubSpot).
- Add a Routing Form to any event that needs qualification, and wire it to a Round Robin pool where applicable.
- Build a simple Workflow for confirmation + one reminder (email or SMS) to reduce no-shows.
- Brand your event pages and embed booking widgets on high-traffic pages.
- If you need bespoke automation, start with webhooks and a small API integration.
Closing thoughts
Calendly is more than a scheduling link. Its automation, routing, and integration features can transform scheduling from a time sink into a competitive advantage - improving conversion, cutting manual steps, and reinforcing your brand. Start with one or two items from this list, measure results, then scale the changes across your team.
Further reading
- Calendly Help Center: https://help.calendly.com/
- Calendly Integrations: https://calendly.com/integrations
- Calendly Developer Docs: https://developer.calendly.com/