· business · 6 min read
The Power of Time Zones: How to Effectively Use Calendly for International Clients
Learn how to configure Calendly so scheduling with international clients is effortless: correct time zone detection, event settings, calendar integrations, workflows, and client-facing copy that removes confusion.
Outcome: By the end of this post you’ll be able to set up Calendly so clients across the globe can schedule with confidence - in their local time, with accurate invites, clear expectations, and fewer back-and-forths.
Why this matters
Meeting across time zones adds friction. Mistakes cost time and trust. Get scheduling right once, and you remove a significant source of client friction. Simple. Reliable. Professional.
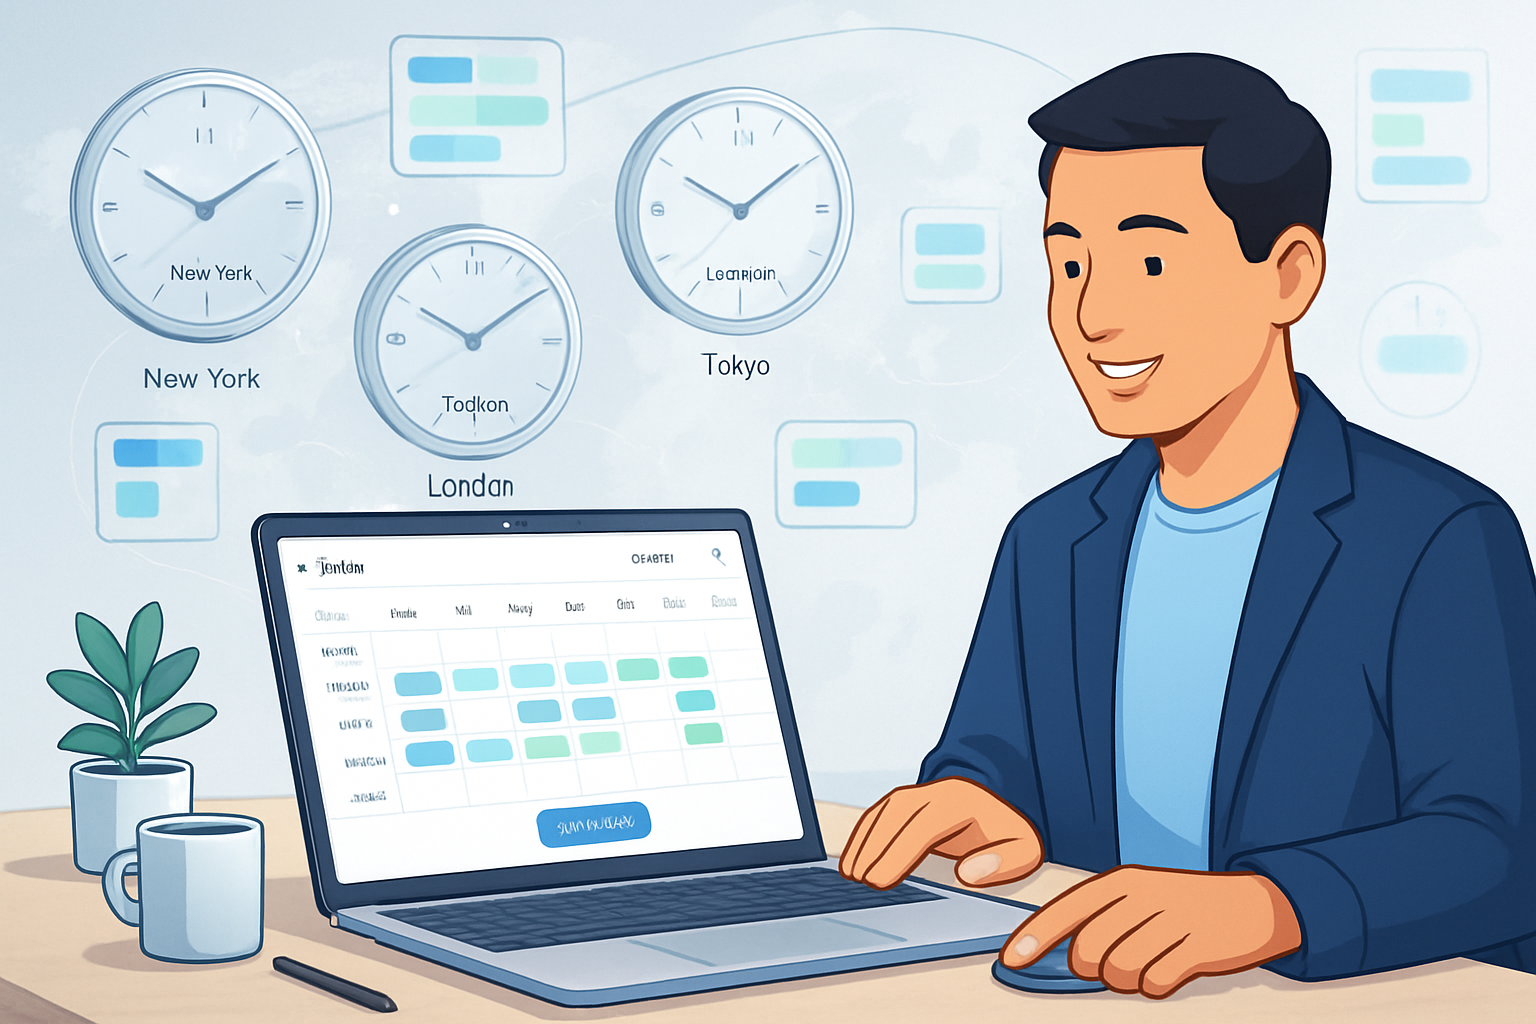
How Calendly handles time zones (the short version)
Calendly detects an invitee’s time zone automatically and displays available times in that zone. You control whether an event type is shown in your timezone (fixed) or adjusted to the invitee’s time zone. Integrations (Google, Outlook, Zoom) ensure calendar invites show the correct time in both participants’ calendars. For the official details see Calendly’s help center on time zones and event settings - useful reference: https://help.calendly.com/hc/en-us/sections/360003378054-Time-Zone
Quick win setup - what to change first
- Set your account time zone
- Go to Account settings → Time Zone and confirm your primary time zone. This is the fallback for event creation.
- Create an event type and set the event time zone behavior
- When creating an event, choose whether the Event Time Zone is Fixed or set to the Invitee’s time zone (recommended for international clients).
- Enable calendar integrations
- Connect Google, Office 365, Outlook, or iCloud so Calendly can check for conflicts and add events to your calendar.
- Connect conferencing (Zoom / Google Meet)
- Link Zoom or Google Meet in Integrations so meeting links are auto-generated and included in the invite.
If you need detailed step-by-step documentation from Calendly, see their integration and event-type docs: https://help.calendly.com/hc/en-us
Step-by-step: Configure Calendly for international clients
1) Account and event time zone settings
- Account time zone - Set this in Account Settings. It’s your baseline.
- Event time zone - For client-facing event types, set to
Why: This removes the burden of manual conversion for your client. They see only times that make sense to them.
2) Build availability with time-zone-aware windows
- Create availability blocks in the event type that reflect your working hours in your timezone. Calendly will translate those windows for invitees.
- Be conservative when booking across large offsets. If you normally work 9–5 GMT, offering 9 AM for a client in PDT may be unreasonable - think in both clocks.
Example: You’re in Berlin (CET) and you accept meetings 9:00–17:00 CET. A New York client (EST/EDT) will see times translated to their local equivalent - good. But explicitly define which hours you’re willing to accept for very early/late meetings (e.g., 07:00–09:00 CET for early US calls).
3) Use buffer times and minimum notice
- Buffer times - Add padding before/after meetings to avoid back-to-back burnout and to accommodate travel or prep.
- Minimum scheduling notice - Prevent last-minute bookings that cross awkward time boundaries for you.
Why: These settings help control meeting cadence, especially when dealing with multiple time zones.
4) Add clear location and conferencing integrations
- Set the Location to Zoom, Google Meet, or Phone. Connect the integration so links appear in the invite.
- For Zoom, enable unique meeting links per invite when possible, and ensure the meeting time in the generated invite follows the recipient’s calendar settings.
Calendly integration docs: https://help.calendly.com/hc/en-us/articles/360007641954-Integrations
5) Customize confirmation and reminder messages
- Use Calendly Workflows to send timezone-aware confirmations and reminders via email or SMS. Remind invitees that the time shown was in their local timezone.
- Schedule reminders at sensible times (e.g., 24 hours and 30 minutes before) - these should be relative to the invitee’s timezone.
See Calendly Workflows: https://help.calendly.com/hc/en-us/articles/360056492153-Workflows
6) Offer multiple event lengths and pre-buffered options
- Offer 15-, 30-, and 60-minute event types. Different clients prefer different slabs.
- If working across zones commonly, offer a “Quick sync (15)” or “Deep dive (60)” so clients can self-select based on their needs and availability.
7) Team scheduling options for distributed teams
- Use Round Robin for evenly distributing incoming meetings across teammates in different time zones.
- Use Collective or Group events if you need multiple participants across regions; Calendly will display slots that work for everyone’s local times.
Team scheduling docs: https://help.calendly.com/hc/en-us/articles/360043091694-Team-scheduling
Copy and UX: What your invite page and messages should say
Clients need clarity. Small copy changes remove large misunderstandings.
- Prominent line on your booking page: “All times are shown in your local time zone.”
- Offer a conversion link - include a link to a reliable converter like
- In confirmation email - remind them of the timezone and include the meeting time in both your local time and theirs when appropriate.
Sample copy (paste-ready):
Thanks for booking - I’m looking forward to our call.
All times on this page are shown in your local time zone. If you’d like, here’s a quick convertor: https://www.timeanddate.com/worldclock/

Meeting details:
- Your local time: {EVENT_TIME}
- My local time (Berlin): {HOST_TIME}

If you need to reschedule, use the link in your confirmation email.
Calendly supports dynamic variables like {EVENT_TIME} in messages; check your account for exact tokens.
Practical scheduling strategies
- Block geographic-friendly windows - Reserve a few specific time blocks geared to major markets (e.g., EMEA-friendly, Americas-friendly, APAC-friendly).
- Use rotating hours - If you work with three major regions, rotate early/late weeks so the inconvenience is shared.
- Offer ‘office hours’ - Publish set weekly times for quicker ad-hoc scheduling without negotiating across time zones.
Troubleshooting and DST considerations
- Daylight Saving Time - Calendly updates for DST automatically based on time zone databases, but always confirm with invitee if you’re near a DST change.
- Incorrect times in invites - Usually caused by calendar integration mismatches or users with incorrectly set device time zones - advise the client to check their device/calendar settings.
- Double-check - When a client reports the wrong time, open the scheduled event in your calendar. The calendar invite will show both time zones. That’s your source of truth.
If you want help debugging specific issues, Calendly’s support docs are a good starting point: https://help.calendly.com/hc/en-us
Etiquette and expectations for international meetings
- Announce which time zone you’re referencing when proposing times.
- When asking clients to pick a time, make it easy - share a direct Calendly link or suggested windows in their zone.
- Be explicit about who’s responsible for calling in or starting the meeting (host normally does this).
- Limit meeting lengths for late/early calls. Keep it focused.
Templates you can reuse
Scheduling message (when offering times manually):
Hi [Name],

Here are some times I’m available next week (all shown in your local time):
- Tue 10:00–10:30
- Wed 14:00–14:30
- Fri 08:00–08:30

Pick whichever works or use my Calendly link to see more options: {CALENDLY_LINK}

Thanks,
[Your name]
Reschedule / cancellation message: (use Calendly’s automated reschedule links preferably)
No problem - I’ve updated the meeting. Please confirm on your calendar.
If the time looks off, check the timezone shown in your calendar invite or use this convertor: https://www.timeanddate.com/worldclock/
Checklist - Ready-to-go setup for international clients
- Account time zone set
- Event types set to display in invitee’s time zone
- Calendar integrations connected (Google/Outlook/iCloud)
- Conferencing integrated (Zoom/Meet) and set as Location
- Buffer times and minimum notice configured
- Workflows enabled for confirmation and reminders
- Clear copy on scheduling page about time zone
- Offer multiple event lengths and regional windows
Final thoughts - what this really gives you
Less confusion. Fewer reschedules. More professional client experiences. That’s the payoff. Calendly’s timezone features remove the heavy lifting of manual conversions - but only if you configure them thoughtfully: the right availability windows, clear messaging, and integrations do the rest.
Use these settings, templates, and practices. Clients get the convenience. You get reliable scheduling. Everyone wins.
References
- Calendly Time Zone and Event Settings: https://help.calendly.com/hc/en-us/sections/360003378054-Time-Zone
- Calendly Integrations: https://help.calendly.com/hc/en-us/articles/360007641954-Integrations
- Calendly Team Scheduling: https://help.calendly.com/hc/en-us/articles/360043091694-Team-scheduling
- Time zone converter: https://www.timeanddate.com/worldclock/