· business · 7 min read
Mastering Zoom: 10 Hidden Features You Didn't Know Existed
Unlock advanced Zoom capabilities-from Immersive View and optimized video sharing to live transcription, studio effects, and pre-assigned breakout rooms-to run more polished, efficient and engaging virtual meetings.

Introduction
Zoom is more than the grid of faces and the mute/unmute button. Under the surface are powerful, lesser-known tools that can make your meetings feel smoother, more polished, and more inclusive. Below are 10 hidden or underused Zoom features, how to enable them, practical tips, and real-world use cases so you can apply them right away.
Quick note: Some features require the latest Zoom desktop or mobile client and may depend on your account type (free vs paid) or admin settings. If a feature isn’t available, check the Zoom web portal or ask your IT/admin to enable it.
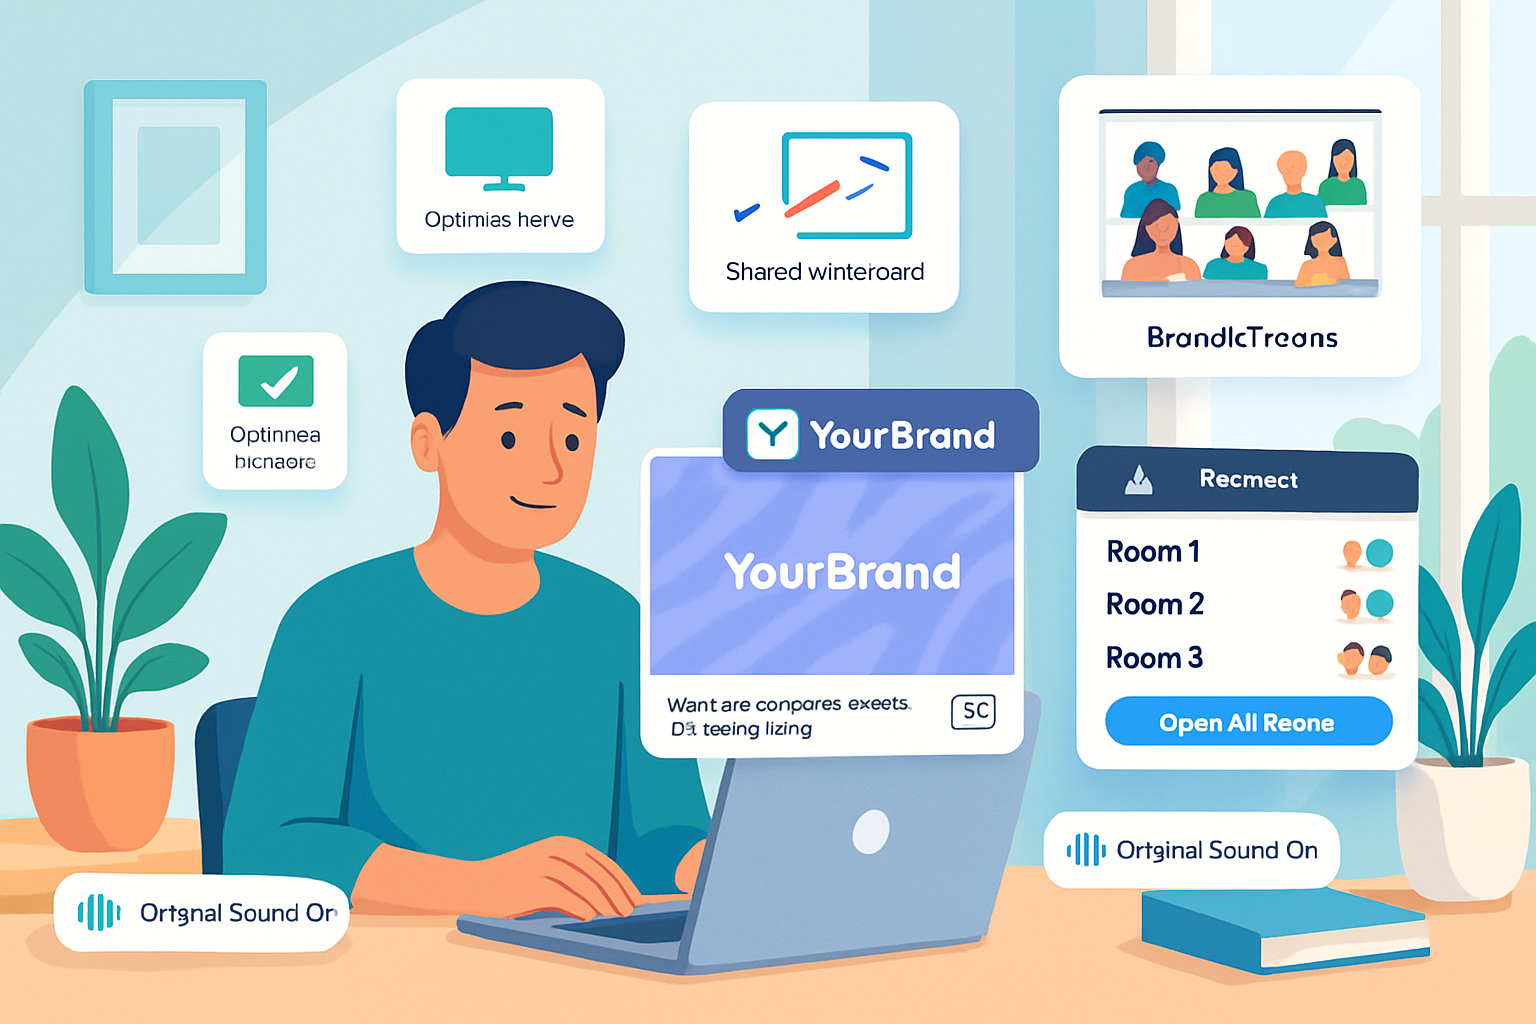
- Optimized Screen Sharing for Video and Music
Why it matters
Standard screen sharing can make videos and music stutter or lose audio quality. Zoom has built-in optimizations that send high-frame-rate video and system audio to participants for a smoother experience.
How to use
- Click Share Screen > select the window or application you want to share.
- Check “Share computer sound.”
- Check “Optimize for video clip” (or “Optimize Screen Sharing for Video Clip”) when sharing a video.
Tip
If you’re streaming a presentation with embedded videos, use a browser window and enable both options. For music or multi-track audio, enable Original Sound in Audio Settings to preserve fidelity.
Reference: Zoom Share Screen options
- Immersive View - Put Everyone in the Same Virtual Room
Why it matters
Immersive View lets the host place participants into a single virtual scene (like a classroom or boardroom), creating a more cohesive and engaging layout for attendees.
How to enable and use
- On desktop, open Settings > View More Settings (this opens the web portal) > In Meeting (Advanced) > enable Immersive View.
- During a meeting, click View > Immersive View and choose from layouts or upload a custom background scene.
Tips
Use Immersive View for panel discussions, classrooms, or team kickoffs. Upload a branded or themed background image for a professional touch.
Reference: Zoom Immersive View
- Multiple Spotlights and Multi-Pinning
Why it matters
Want the gallery to focus on more than the speaker? Hosts can spotlight multiple participants so every attendee sees the selected people prominently. Individual participants can pin multiple videos for their own view.
How to use
- Host - Click the three dots on a participant’s video > Spotlight for Everyone. Repeat to spotlight additional participants (limits depend on meeting type).
- Participant - Click the three dots > Pin for Me to pin up to multiple participants.
Tips
Spotlight several panelists for webinars, or pin a sign language interpreter plus the presenter for accessibility.
Reference: Spotlight and pin video
- Live Transcription & Automatic Captions
Why it matters
Automatic live transcription (closed captions) boosts accessibility, helps non-native speakers, and creates a searchable record of a meeting.
How to enable
- Account admins - Sign in to the Zoom web portal > Account Settings > Meeting > enable “Closed captioning” and “Save Captions”. Also enable “Live Transcription” for automatic captions.
- In-meeting - Click Live Transcript > Enable Auto-Transcription.
Tips
Download the transcript after the meeting to produce minutes or searchable notes. For better accuracy, ask speakers to use good microphones and avoid talking over each other.
Reference: Live transcription
- Breakout Rooms - Pre-assign, Auto-move & Let Participants Choose
Why it matters
Breakout rooms are great for small-group activities. Pre-assigning or allowing participants to choose rooms saves time and avoids chaos.
How to use
- Enable Breakout Rooms in the web portal under Settings > In Meeting (Advanced).
- To pre-assign - When scheduling a meeting on the web portal, use the Breakout Room pre-assign options or upload a CSV with participant emails.
- To let participants choose - Enable “Allow participants to choose room” in the Breakout Room options.
Tips
For training sessions, pre-assign groups based on role or experience. Use the “Move all to breakout rooms” for timed activities and Broadcast a message to bring participants back smoothly.
Reference: Breakout room options and pre-assign
- Meeting Templates, Scheduling Shortcuts & Advanced Registration
Why it matters
If you schedule many recurring or themed meetings, Templates save time and ensure consistent settings (e.g., requiring registration, enabling waiting room, or specific co-hosts).
How to use
- In the Zoom web portal, schedule a meeting and use Save as a Meeting Template (or navigate to Templates under Meetings).
- For webinars or meetings requiring attendees to pre-register, enable Registration when scheduling and configure approval and questions.
Tips
Combine templates with calendar integrations (Outlook/Google) and always attach meeting agendas or pre-read materials in the calendar invite.
Reference: Meeting templates
- Virtual Backgrounds, Video Filters and Studio Effects
Why it matters
Virtual backgrounds and filters help control the image you present-remove distractions, add branding, or inject personality. Studio Effects (eyebrows, mustache, lip color) let hosts apply subtle grooming tweaks.
How to use
- Desktop - Settings > Background & Filters. Upload images or short MP4s as backgrounds. Use Video Filters and Studio Effects from the same panel.
- If using a green screen, enable “I have a green screen” for smoother results.
Tips
Use a branded background for client calls. Avoid animated backgrounds if your CPU is limited. Studio Effects are great for light touch-ups but avoid overdoing filters in professional settings.
Reference: Virtual background and Studio Effects
- Advanced Audio - Original Sound, Stereo and Noise Suppression
Why it matters
Default audio processing removes background noise and can compress or alter music. Original Sound preserves raw audio (useful for musicians or high-quality playback). You can also choose stereo audio.
How to enable
- Settings > Audio > Advanced > Enable “Show in-meeting option to ‘Enable Original Sound’” and enable “Stereo audio” if needed.
- In meeting, toggle Original Sound on/off in the top-left corner of the Zoom window.
Tips
For music lessons, performances, or high-fidelity media playback, enable Original Sound and ask non-essential background noise to be muted. Use high-quality microphones where possible.
Reference: Original sound and audio settings
- Annotation Tools, Whiteboard, and Remote Control
Why it matters
Real-time collaboration is easier with annotation (draw, text, stamps), the interactive Whiteboard, and remote control (take control of a shared screen)-perfect for workshops, brainstorming, and training.
How to use
- When someone shares their screen, click Annotate to access drawing tools.
- Use Whiteboard from Share Screen > Whiteboard or from the Zoom app (local Whiteboard or cloud-saved whiteboards).
- For remote control - The sharer clicks View Options > Request Remote Control (or gives remote control to another participant).
Tips
Save whiteboards and annotations to the cloud for future reference. Set annotation permissions so only select participants can annotate if you want structure.
Reference: Annotation and Whiteboard
- Keyboard Shortcuts, Custom Hotkeys & Accessibility Tweaks
Why it matters
Hotkeys speed up common actions-mute/unmute, start/stop video, toggle screen share-without fumbling through menus. Custom hotkeys let you tailor Zoom to your workflow. Accessibility options (high contrast, screen reader support) improve usability.
Useful shortcuts (defaults)
- Mute/unmute - Alt+M (Windows), Shift+Cmd+A (Mac)
- Start/stop video - Alt+V (Windows), Shift+Cmd
- Screen sharing - Alt+S (Windows), Shift+Cmd+S (Mac)
How to set custom hotkeys
- Desktop client > Settings > Keyboard Shortcuts. Check or set your preferred combination for commonly used actions.
Accessibility tips
Enable “Always show meeting controls” and use keyboard navigation for quicker accessibility. If you host people who rely on assistive tech, enable live transcription and spotlight the interpreter.
Reference: Keyboard shortcuts
Bonus: Quick Checklist to Make These Features Work Smoothly
- Keep Zoom updated.
- Check audio/video device settings before meetings.
- Use wired Ethernet or strong Wi-Fi for video-heavy shares.
- Test captions, background, and immersive view in a private meeting.
- Communicate expectations to attendees (e.g., when to mute, annotation rules).
Conclusion
Zoom’s deeper features let you improve professionalism, accessibility and engagement with just a little setup. Pick two features to try this week-maybe Immersive View for your next panel and Live Transcription for every meeting-and build from there. The small effort of enabling the right settings often pays big dividends in meeting efficiency and participant experience.
References
- Zoom Support - Share your screen:
- Zoom Support - Immersive View:
- Zoom Support - Spotlight video:
- Zoom Support - Live transcription:
- Zoom Support - Breakout rooms:
- Zoom Support - Meeting templates:
- Zoom Support - Virtual Backgrounds:
- Zoom Support - Original Sound:
- Zoom Support - Annotations:
- Zoom Support - Keyboard shortcuts:


