· creativity · 5 min read
10 Sketch Tips That Will Transform Your Design Process
Boost your design speed and clarity with 10 practical sketching techniques - from fast gestures and shape language to useful tools and workflows that move ideas into prototypes faster.
Why sketching still matters
Sketching is the fastest way to externalize ideas, test assumptions and communicate intent. Whether you’re exploring product form, mapping a user flow, or pitching a feature to stakeholders, a quick sketch beats a long explanation. The goal isn’t beautiful artwork - it’s clarity: what will this do and why.
Below are 10 practical sketch tips that will reshape how you work, with exercises, tools, and concrete ways to fold these techniques into your process.
1) Timebox and iterate: use short cycles to remove perfectionism
Speed is your friend. Timeboxing forces choices and prevents endless fiddling.
- Practice - set a timer for 2 minutes and make 8 very small thumbnails (a variation of the “Crazy 8s” exercise from the Google Design Sprint).
- Use progressive fidelity - 2–5 minute thumbnails → 10–15 minute roughs → 30+ minute focused sketch.
Example timebox template:
00:00–02:00  : 8 thumbnails (15s each)
02:00–10:00  : 3 chosen concepts, rough refinement
10:00–30:00  : detailed sketch of one concept
Benefits: more ideas, better decisions, faster convergence.
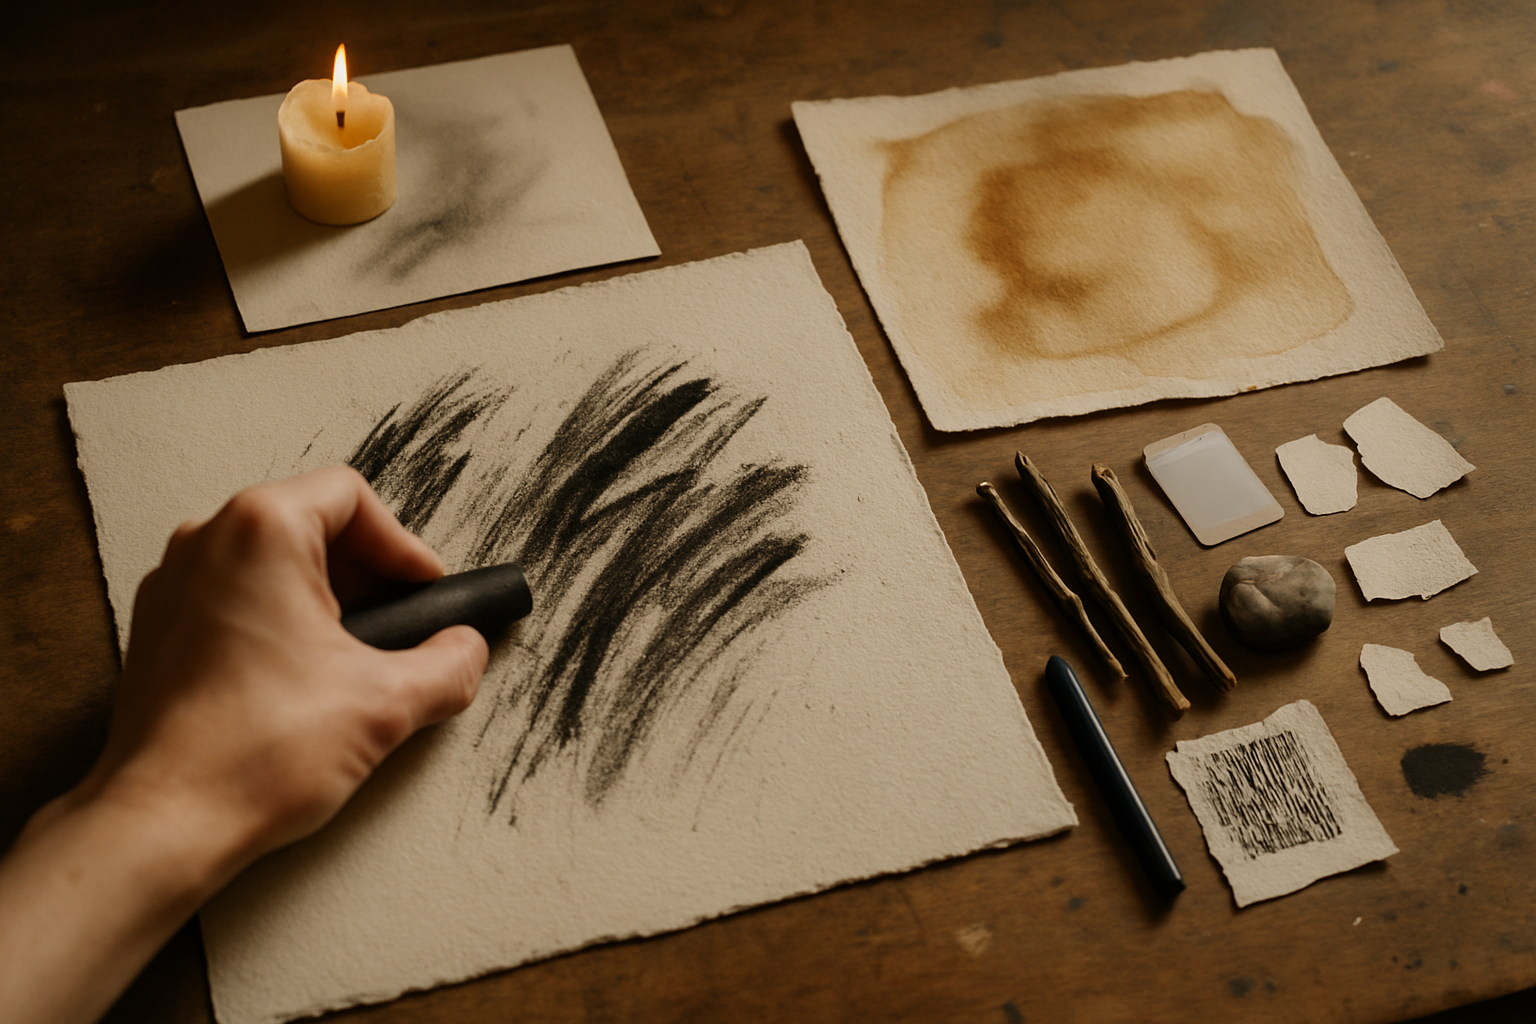
2) Warm-up with gestures and shapes
Start every session with 30–60 seconds of freehand lines and circles to loosen your wrist and warm the eye. Gesture sketches capture motion, flow and emphasis - particularly useful for interaction design and product form.
Exercise: Draw 30 circles in 60 seconds, then 20 quick gestures for a screen transition.
Why it helps: faster confident strokes, fewer tentative lines, and stronger silhouette thinking.
3) Use simple shape language and modular components
Break complex objects into basic shapes (rectangles, circles, triangles). Reuse these shapes as building blocks so your sketches are readable and consistent.
- Create a small “shape library” of buttons, cards, input fields, avatars, etc.
- For physical product sketches, think in terms of extruded shapes and cutouts.
This modular approach speeds iteration and makes it easy to mix-and-match ideas.
4) Prioritize hierarchy and composition early
Before detailing, indicate the visual hierarchy: headlines, primary actions, content blocks.
- Use size, bold strokes, and placement to show importance.
- Apply the rule of thirds or a simple grid to organize elements.
Quick trick: shade the most important area lightly with a marker to anchor the composition.
5) Annotate deliberately - less drawing, more explanation
A sketch doesn’t need to show every interaction. Add short annotations to explain behavior, states, or data:
- Use arrows to indicate motion.
- Label transitions (“tap → menu slides up”).
- Add conditional notes (“if logged out - show sign-in modal”).
Annotations make sketches actionable for engineers and PMs without over-rendering details.
6) Embrace low-fidelity color and contrast to test concepts
Use one or two colors (highlighter or marker) to block primary areas: call-to-action, alerts, or focal surfaces.
- Color blocks quickly communicate priority and state without precise rendering.
- Reserve full color for later stages when you must evaluate brand or visual design decisions.
Exercise: Redraw a sketch using only grayscale plus one accent color.
7) Use shorthand symbols and consistent notation
Create a personal shorthand for repeated ideas: hamburger icon, ellipsis for options, zig-zag scribble for motion blur, dotted outline for overlays.
- Keep a legend on the back of your sketchbook or inside the first page.
- This speeds reading across your team - they’ll learn your visual language.
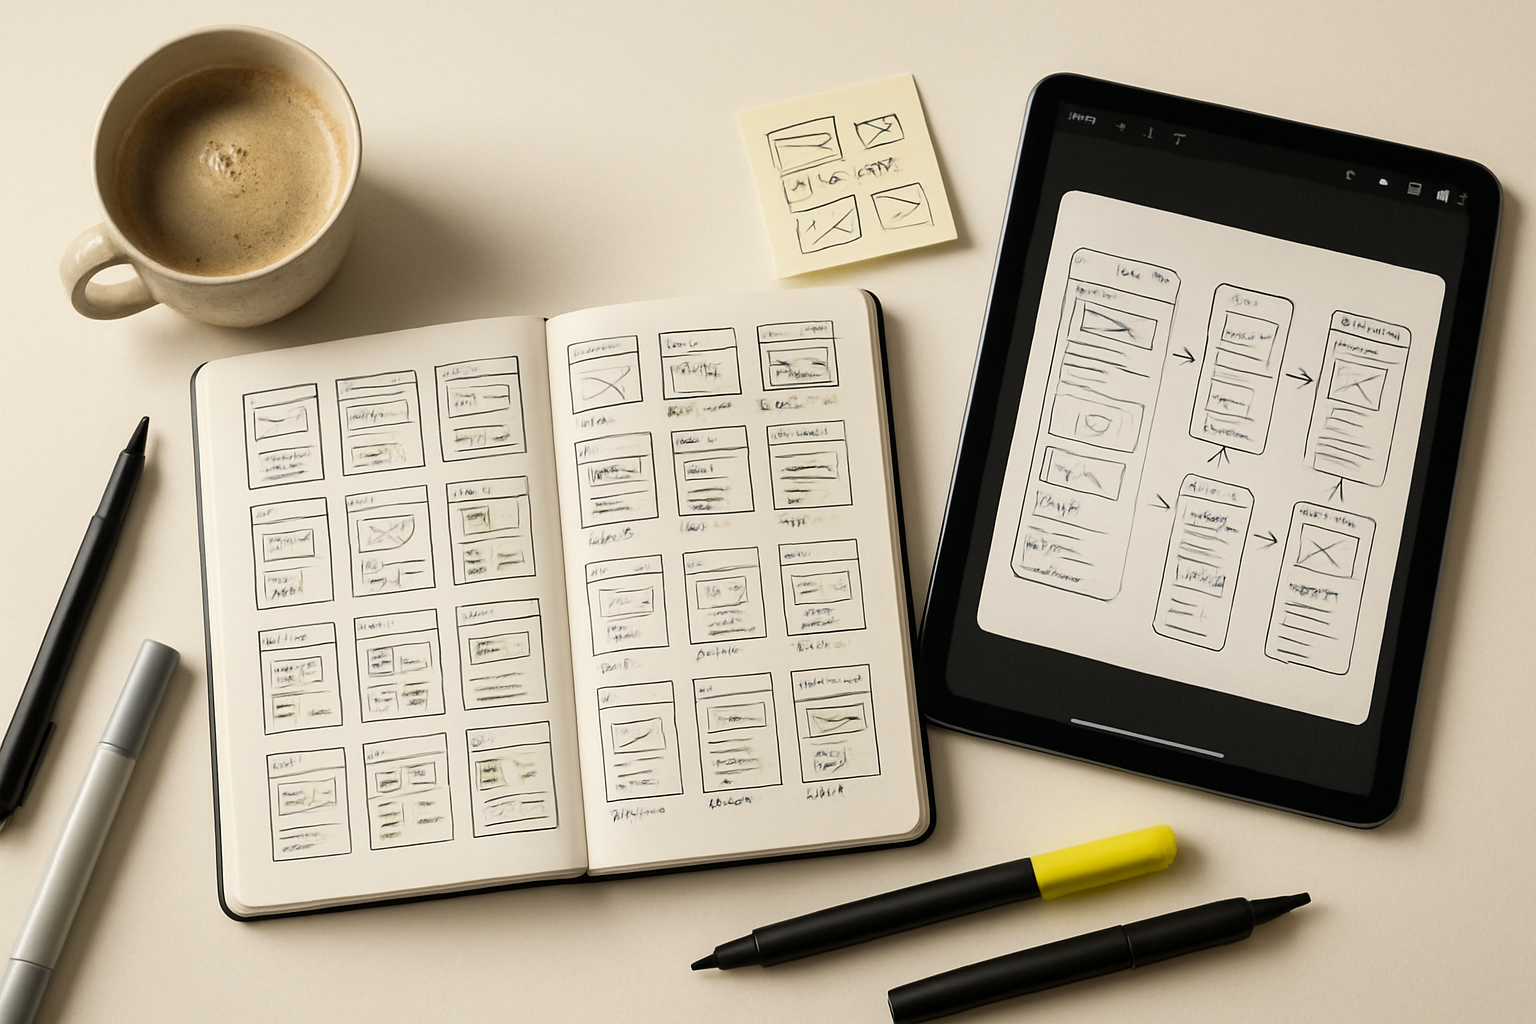
8) Combine paper and digital to capture and scale ideas
Paper is fast. Digital is shareable.
Workflow suggestions:
- Sketch on paper, photograph with a scanning app (e.g., Adobe Scan), then import into Figma, Sketch, or Procreate.
- Use a tablet (iPad + Apple Pencil + Procreate / Notes / GoodNotes) for hybrid sketching that’s still fast but immediately shareable.
- Convert rough shapes into vectors with Illustrator’s Image Trace or Figma plugins when you need crisp assets.
Tools: Procreate, Figma, Adobe Capture
9) Design with constraints: limit tools, colors, or time to force creativity
Artificial constraints help reveal important trade-offs and speed decisions.
Examples:
- Use only two pen weights and one highlighter color for a session.
- Limit a feature sketch to a single A4 page.
- Sketch a responsive UI within a locked 375px width frame.
Benefits: clearer tradeoffs, fewer distractions, faster validation.
10) Make sketching a habit: daily micro-practice and weekly review
Consistency beats intensity. Build a practice routine that fits your schedule.
Suggested plan:
- Daily (10 minutes) - warm-ups + 3 rapid thumbnails.
- Weekly (30–60 minutes) - theme session (e.g., onboarding flows, settings screens).
- Monthly - review and digitize the best sketches; convert a few into clickable prototypes.
Track progress by keeping a sketchbook or a digital folder labeled by date and topic.
Quick checklist to use before you sketch
- Who is this for? (persona / user scenario)
- What problem am I solving? (one sentence)
- Timebox set? (yes / no)
- Primary focus - concept / flow / visual?
- Annotation legend visible?
Use this checklist to save the last-minute overthinking and stay purposeful.
Practical examples
- Product design - Start with 8 thumbnails for layout alternatives, pick 2, refine interactions with annotated frames, then record a 30s walkthrough video of the sketches to share with stakeholders.
- UX flow - Sketch a three-panel user journey showing entry, key decision point, and outcome. Use arrows to show transitions and annotate edge cases.
- Industrial design - Use gesture strokes to find the silhouette, then overlay simple shapes to check ergonomics and proportions.
Recommended resources and reading
- Bill Buxton - a pioneer on the importance of sketching in design practice (Bill Buxton - Wikipedia).
- Paper prototyping and why low-fidelity matters - Nielsen Norman Group (
- Google’s Crazy 8s for fast ideation: Crazy 8s - Design Sprint Kit
Final notes
Sketching is a muscle: the more you build it, the quicker and clearer your design thinking becomes. Use timeboxing, shape language, annotations and a small set of tools to turn rough ideas into shared understanding rapidly. With these 10 tips you’ll spend less time debating pixels and more time testing meaningful solutions.